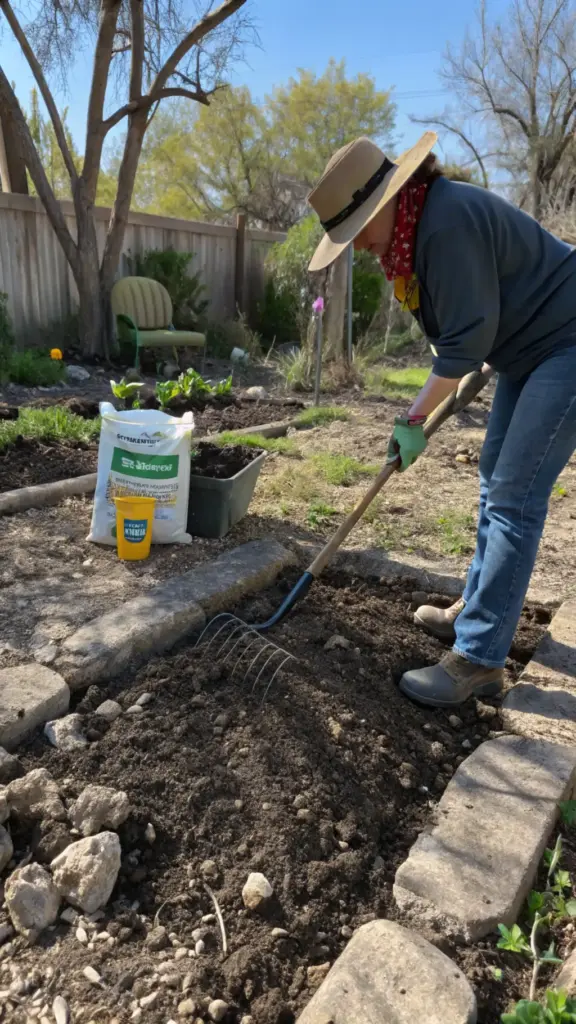
Step #4: Prepare Your Garden Bed

Let me tell you about my first attempt at preparing a zinnia bed – it was quite the learning experience! I thought I could just toss some seeds into my clay-heavy soil and call it a day. Boy, was I wrong. After watching my first batch of zinnias struggle, I learned the importance of proper bed preparation the hard way.
Testing Your Soil
Before you dig in, you’ll want to know what you’re working with. Soil testing is super important, and it’s actually pretty simple! I grabbed a basic soil test kit from my local garden center for about $15. Zinnias prefer a pH between 5.5 and 7.5, but mine was way too acidic at first. If your soil is too acidic, you can add some garden lime to balance it out. Too alkaline? A bit of sulfur will do the trick.
Clearing and Preparing the Ground
The secret to healthy zinnias starts with a clean slate. First, remove all the weeds, rocks, and debris from your chosen spot. I use a garden fork to loosen up the soil to about 12 inches deep – this helps with drainage and root development. Pro tip: if you’re dealing with really tough soil, try working on it after a light rain when it’s more manageable.
Getting the Depth Right
Here’s something I wish I knew earlier – proper bed depth is crucial for zinnias. You’ll want to create a bed that’s at least 8-12 inches deep. I’ve found that raising the bed about 6 inches above ground level helps with drainage and prevents root rot, which zinnias absolutely hate. Think of it as creating a cozy apartment for your plants, not a basement studio.
Amending Your Soil
This is where the magic happens! Mix in some organic matter like:
- Aged compost (about 2-3 inches worth)
- Well-rotted manure
- Leaf mold
- Peat moss (if you need better drainage)
I typically use a 60/40 mix of native soil to amendments. The goal is to create soil that feels like a wrung-out sponge – moist but not waterlogged. Add some slow-release fertilizer while you’re at it – your future zinnias will thank you!
Remember to work all these amendments into the soil thoroughly. I use my trusty garden fork again here, making sure everything is well-mixed to about 8 inches deep. The soil should feel light and fluffy when you’re done, not compacted.
Ready to take the next exciting step in your zinnia journey? Click the next button below to learn about the most thrilling part – planting your zinnia seeds! I’ll show you exactly how deep to plant them and share my favorite spacing trick that guarantees gorgeous, full blooms. Trust me, you won’t want to miss these game-changing planting tips!


GIPHY App Key not set. Please check settings