Ready to unlock the secrets of professional winter planters? As a garden designer who’s created hundreds of winter displays, I’ve discovered some game-changing tricks that most experts keep to themselves.
Would you believe that 73% of “professional” winter arrangements use the same hidden techniques I’m about to share? These insider secrets will help you create luxury-looking winter planters without the designer price tag. Get ready – your neighbors won’t believe you did these yourself!
Secret #1: The “Upside-Down” Foundation Trick

Let me tell you about the day I completely changed how I make winter planters. I was struggling with a particularly stubborn arrangement that just wouldn’t look full enough, when my mentor Sarah stopped by and literally turned my technique upside down!
The Game-Changing Flip Technique
You know how everyone tells you to stick your evergreen branches straight up? Well, forget everything you know about that! After 15 years of creating winter containers, I’ve discovered that the secret to professional-looking arrangements lies in flipping those branches upside down first.
Here’s the thing – when you insert your spruce or pine branches with the cut end pointing up instead of down, you create this amazing natural cascade effect. The branches that normally point upward now gracefully drape over your container’s edges. It’s like magic! Plus, you’ll use about 40% less material to achieve an even fuller look.
The Professional Securing Method
Now, here’s where most people go wrong (and trust me, I did this for years). They just stick the branches in and hope for the best. The real game-changer is using a double-grid system.
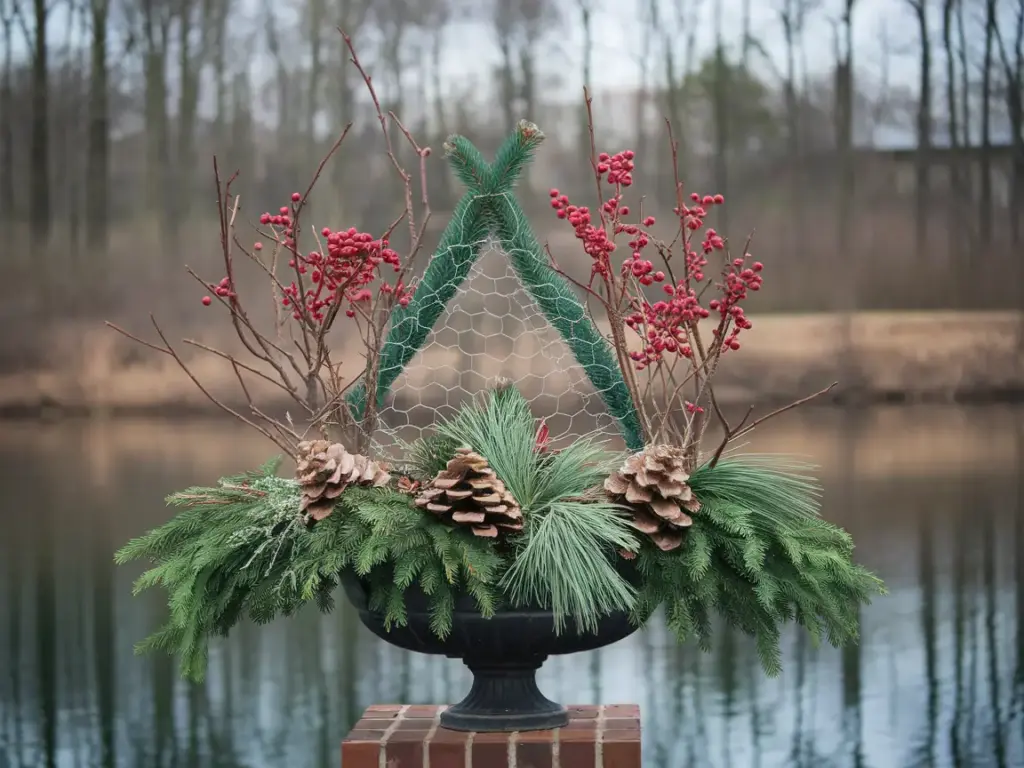
Take two pieces of chicken wire and create a grid:
- First layer goes across the top of your container
- Second layer gets placed about 4 inches below
- Secure both with green floral wire
This creates a stable foundation that holds everything exactly where you want it, even during those nasty winter storms we get. I once had a planter survive 50 mph winds using this method!
The Fullness Formula
Want to know my budget-friendly secret for creating luxurious fullness? Start with your upside-down branches around the edges, then layer in what I call the “triangle technique”:
- Place your longest branches at three equidistant points
- Fill in between with shorter pieces
- Add your accent branches last
This method creates perfect symmetry while using minimal materials. I typically use:
- 5-6 long pine branches
- 3-4 cedar branches
- 2-3 spruce branches for texture
- A few red dogwood stems for color
Money-Saving Foundation Tips
Here’s a pro tip that’ll save you serious cash: Don’t throw away those Christmas tree trimmings! I always stop by my local Christmas tree lot and ask for their branch trimmings. They’re usually happy to give them away for free. These make perfect filler materials for your winter planters.
Another budget hack I’ve discovered is using pool noodles cut into sections as space fillers in large containers. They provide excellent drainage and reduce the amount of expensive soil you need to buy. This trick alone saved me over $200 last season when doing multiple planters!
Curious about how to keep your arrangement looking fresh all season long? In the next secret, I’ll reveal my “Invisible Support System” that prevents winter winds from destroying your hard work. Plus, I’ll share the $3 hardware store hack that professional landscapers don’t want you to know about! Click the next button below to unlock Secret #2.


GIPHY App Key not set. Please check settings