Expert Planting Techniques

Let me tell you something – after 15 years of growing peas, I’ve learned that the planting stage can make or break your harvest. I still remember my first attempt at growing peas, when I scattered the seeds randomly and hoped for the best. Boy, was that a rookie mistake!
Getting the Spacing Just Right
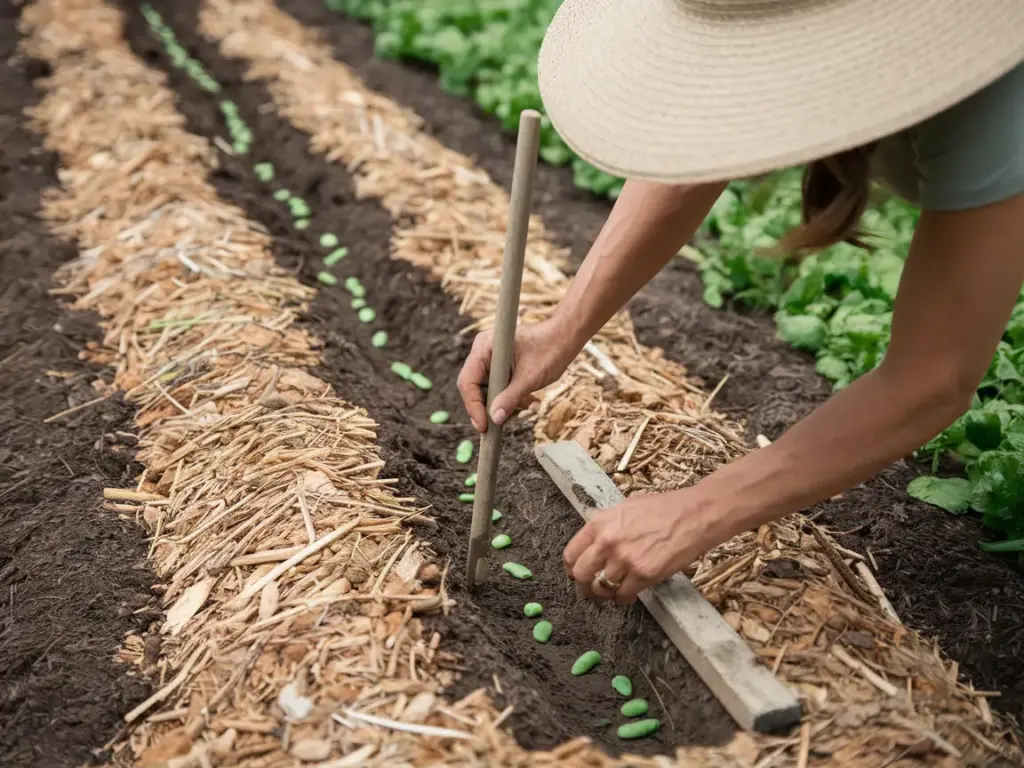
When it comes to seed spacing, precision matters more than you might think. I’ve found that spacing pea seeds about 3 inches apart is the sweet spot. In my garden, I use the width of my hand as a quick measuring tool – it’s not perfect, but it works! Plant your seeds at a depth of 1-2 inches, depending on your soil type. Here’s a pro tip I wish someone had told me years ago: in sandy soil, go a bit deeper; in clay soil, stay closer to the surface.
The Art of Direct Sowing
Direct sowing is absolutely the way to go with peas – they hate being transplanted! I learned this the hard way when I tried starting them indoors one year. What a disaster that was! The best method I’ve discovered is to create a neat furrow using the edge of a board. This gives you that straight line that not only looks professional but makes maintenance so much easier down the road.
The Pre-Soak Secret
Here’s something that revolutionized my pea-growing game: pre-soaking the seeds. I soak mine for 12-24 hours before planting, and let me tell you, the difference in germination time is remarkable! Just don’t soak them longer than 24 hours – I made that mistake once and ended up with some pretty sad-looking seeds.
Support Structure Success
When it comes to support structures, I’m a big fan of cattle panels. They’re sturdy, reusable, and perfect for climbing peas. I used to use twine and bamboo stakes, but after one windy season knocked everything down, I switched to metal panels and never looked back. Make sure to install your supports before you plant – trying to add them later is like trying to floss a cat’s teeth!
Mulching Magic
Mulching is crucial for pea success, and I’ve experimented with pretty much everything. Straw has become my go-to choice, creating a nice 2-inch layer around the plants. It keeps the soil cool, retains moisture, and suppresses those pesky weeds. Just make sure to keep the mulch from touching the plant stems directly – that’s a lesson I learned after dealing with stem rot one particularly wet spring.
Remember to check your soil moisture regularly – peas like consistent moisture but not soggy feet. I stick my finger about an inch into the soil; if it feels dry at that depth, it’s time to water.
Want to know what happens after your peas start growing? Click the next button below to discover my essential care and maintenance tips, including my secret weapon against aphids (hint: it involves something you probably have in your kitchen right now!).


GIPHY App Key not set. Please check settings