Step-by-Step Guide to Taking Aloe Cuttings

After spending years perfecting my technique with aloe propagation, I’ve learned that success or failure often comes down to those crucial first steps. Let me share exactly what I’ve learned about taking cuttings that actually thrive.
Selecting the Perfect Leaves
Choosing the right leaves is absolutely critical – I can’t stress this enough! After countless failed attempts, I’ve learned to look for these specific characteristics:
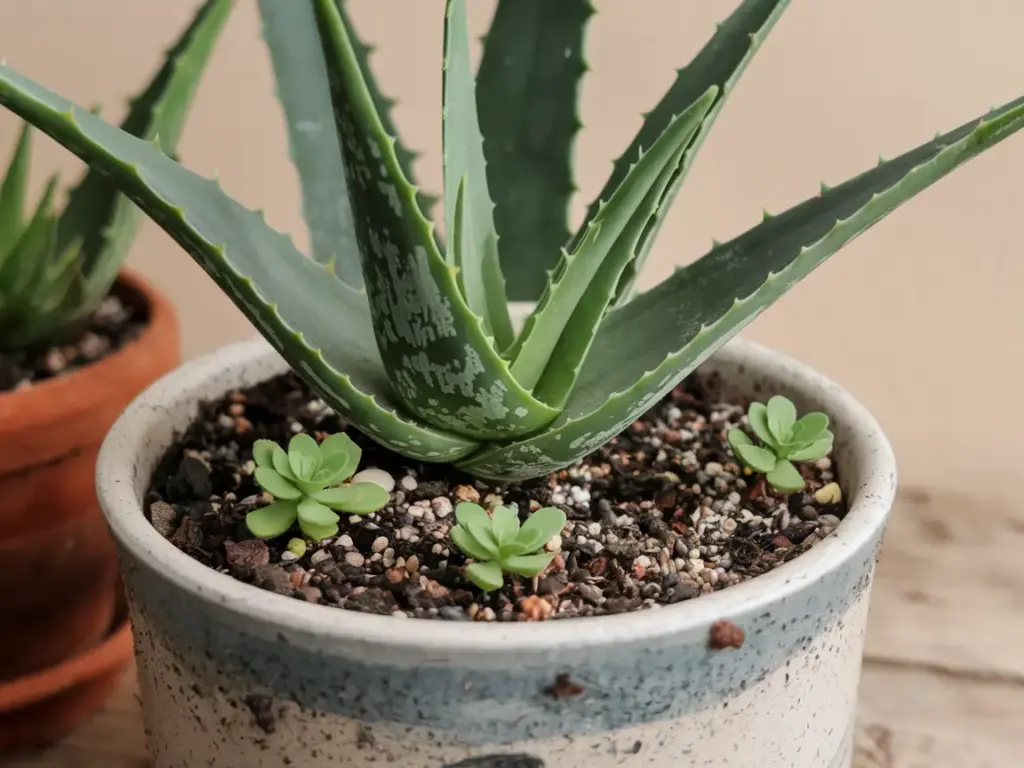
Look for leaves that are at least 4-6 inches long and nice and plump. The best candidates are those mature leaves from the middle rows of the plant – not too old, not too young. You want that Goldilocks sweet spot! I always check for leaves that are:
- Free from any spots or discoloration
- Thick and juicy with no wrinkles
- At least three years old
- Positioned in the middle section of the plant
Avoid any leaves showing signs of stress or damage. Trust me, I’ve tried propagating slightly damaged leaves thinking “it’ll probably be fine” – narrator: it was not fine.
The Art of Making the Cut
Here’s where technique really matters! I remember ruining several perfectly good leaves before figuring out the right approach. First, make sure your tools are completely sterilized – I use isopropyl alcohol and let them dry completely.
The cutting technique I’ve found most successful is:
- Make a clean, 45-degree angle cut as close to the base as possible
- Use a single, confident motion (no sawing back and forth!)
- Immediately dip the cut end in cinnamon powder (yes, really – it’s a natural fungicide)
The Critical Curing Period
This is where patience becomes your best friend. After taking your cuttings, you need to let them cure properly before planting. Here’s my tried-and-true process:
- Place cuttings on clean paper towels in a warm, dry location
- Keep them out of direct sunlight
- Wait at least 48-72 hours until you see a dry, callused end
- Look for that slightly wrinkled, cork-like texture at the cut end
The biggest mistake I see people make (and I did this too!) is rushing this step. Proper callusing is non-negotiable for successful propagation.
Preparing Your Growing Medium
While your cuttings are curing, it’s time to prep your soil mix. After trying various combinations, here’s my winning recipe for successful rooting:
- Mix your well-draining succulent soil as discussed earlier
- Pre-moisten the soil mixture (should feel like a wrung-out sponge)
- Fill pots leaving 1 inch at the top
- Make small holes about 2 inches deep for your cuttings
One trick I’ve learned: Press the soil down firmly but not too compact. You want it stable enough to hold your cutting upright but not so dense that it restricts root growth.
Ready to learn the crucial next steps for ensuring your cuttings actually grow into healthy plants? Click the next button below to discover my detailed care instructions for those first critical weeks. I’ll share exactly how to water, position, and nurture your cuttings to maximize their chances of success – including the watering trick that doubled my propagation success rate!


GIPHY App Key not set. Please check settings