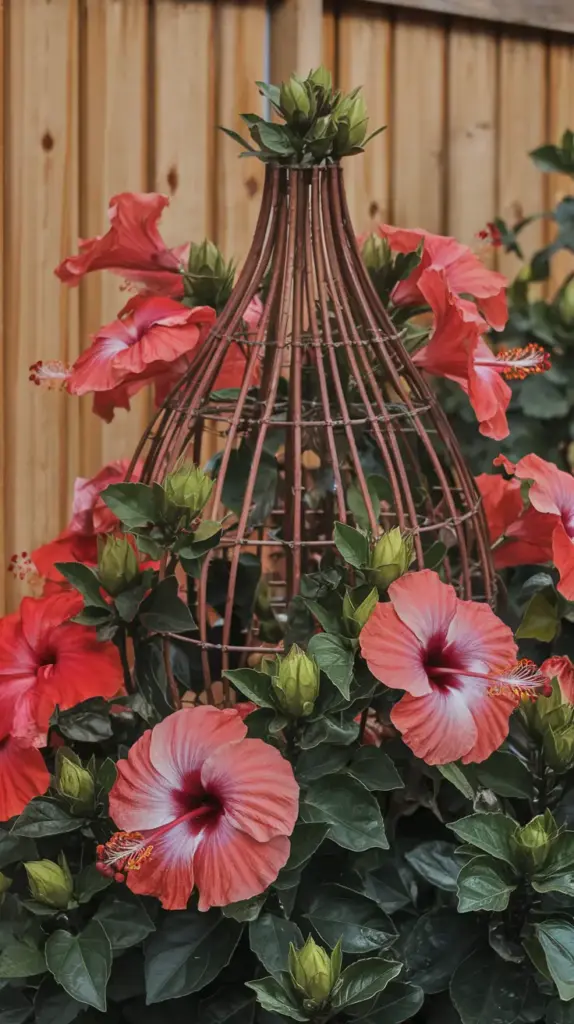
Secret #5: Shape for Maximum Blooms

Let me tell you about my biggest “aha moment” with hibiscus shaping. After years of just randomly trimming my plants, I finally discovered why some of my hibiscus bushes were blooming like crazy while others barely produced any flowers. It all comes down to strategic shaping – and trust me, it’s a game-changer!
The Perfect Plant Structure
Creating the ideal hibiscus shape isn’t just about making it look pretty (though that’s definitely a bonus!). The key is to develop what I call the vase-shaped structure. Think of your hibiscus like a beautiful bouquet – you want the branches to spread outward from the center, creating that classic V-shape.
I learned this the hard way when one of my prized hibiscus plants became so dense in the middle that it started producing fewer blooms. Now I make sure to maintain a strong central framework with 4-6 main branches angling outward at about 45 degrees. This creates the perfect foundation for abundant flowering.
Mastering Air Flow
Here’s something that took me years to figure out: proper air circulation is absolutely crucial for healthy blooms. When I first started growing hibiscus, I’d let the branches get all tangled up, creating what I now call the “jungle effect.” Big mistake!
To promote good airflow, I follow these steps:
- Remove any branches that cross or rub against each other
- Thin out the center of the plant by removing about 25% of the interior growth
- Keep at least 6 inches of space between major branches
The Light Penetration Secret
One of my favorite techniques is what I call the window method. Just like your house needs windows to let light in, your hibiscus needs strategic gaps in its canopy. I create small “windows” throughout the plant by:
- Removing dense foliage clusters
- Creating deliberate gaps between major branches
- Ensuring sunlight can reach the inner branches
Balance and Symmetry
Think of your hibiscus as a living sculpture. Balance is everything! When I’m shaping, I step back every few cuts to check the overall symmetry. One time, I got so focused on one side that I ended up with a lopsided plant that took months to correct!
My tried-and-true symmetry tips include:
- Working in quarters around the plant
- Maintaining similar branch lengths on opposite sides
- Creating an even distribution of flowering zones
- Keeping the plant’s height about equal to its width
Remember to stand back and look at your plant from all angles while shaping. I like to take photos from different sides to help spot any imbalances – it’s amazing what you notice in pictures that you might miss in person!
Ready to take your hibiscus care to the next level? In Secret #6, I’ll show you exactly how to care for your freshly shaped plant, including my special post-pruning fertilizer recipe that’ll have your hibiscus bouncing back faster than ever. Click the “next” button below to discover these essential aftercare techniques that’ll keep your plant thriving!


GIPHY App Key not set. Please check settings