Planting and Early Care: Essential Guide for Your Kitchen Scrap Zucchini

Let me tell you something about starting zucchini from kitchen scraps – it’s both an art and a science! After years of teaching gardening workshops, I’ve learned that this early stage can make or break your success. Here’s everything you need to know about getting those seeds to sprout and thrive.
The Perfect Seed Starting Setup
The first time I tried growing zucchini from saved scraps, I made the rookie mistake of just tossing the seeds in some potting soil. Boy, was that a learning experience! Now I know better. You’ll want to start with clean, dried seeds from your kitchen scraps. I like to lay them out on a paper towel for about 3-4 days until they’re completely dry.
For the best results, use a seed starting mix rather than regular potting soil. It’s lighter and helps prevent those pesky fungal problems that can plague new gardeners. I plant my seeds about 1 inch deep in small containers – those yogurt cups with drainage holes work perfectly!
Mastering Moisture Management
Here’s where most people go wrong (including yours truly in the early days). Too much water is just as bad as too little! The soil should feel like a wrung-out sponge – damp but not waterlogged. I use a spray bottle for watering until germination, which usually takes 5-7 days if you keep the temperature around 70-85°F.
One trick I’ve learned is to cover the containers with clear plastic wrap until the seeds sprout. This creates a mini greenhouse effect that zucchini absolutely loves. Just remember to remove the wrap as soon as you see the first signs of green!
Essential Seedling Care Tips
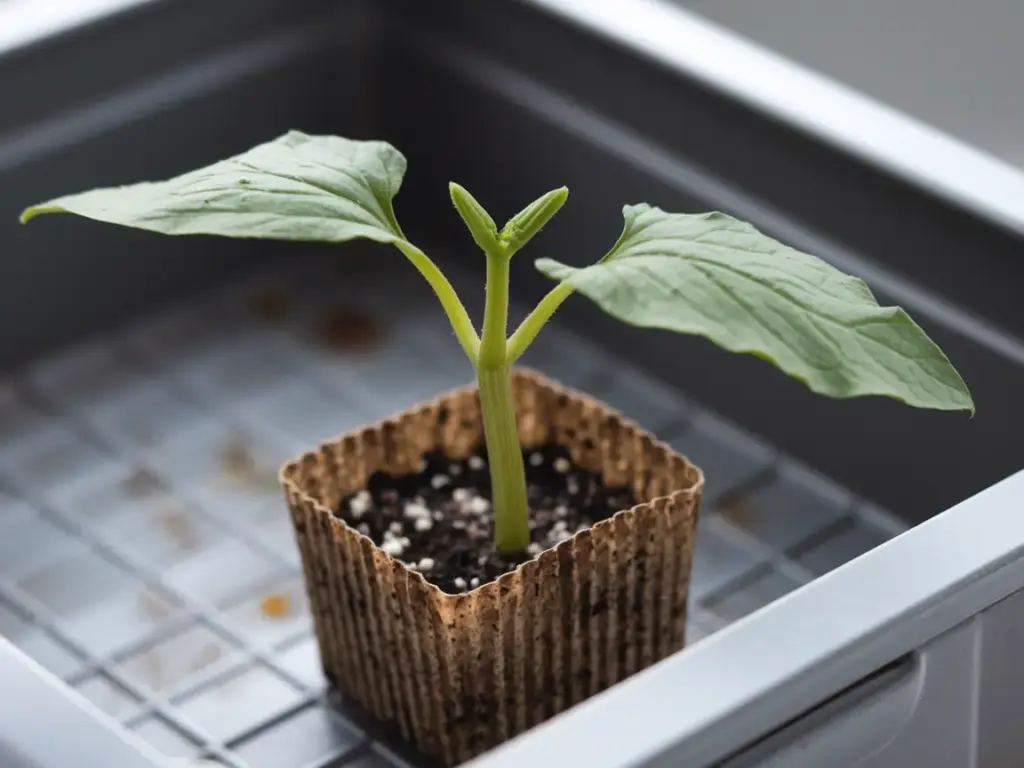
Once your seeds sprout, it’s time to play plant parent! Position your seedlings in a spot that gets at least 6 hours of direct sunlight daily. If you’re growing indoors like I do during the cooler months, a sunny windowsill works great, but you might need to supplement with grow lights.
The trickiest part is avoiding the dreaded “leggy” seedlings. These happen when plants stretch for light, making them weak and spindly. I rotate my containers a quarter turn daily to prevent this. Also, keep a small fan running nearby – this strengthens the stems and helps prevent fungal issues.
The Art of Transplanting
Knowing when to transplant is crucial. Wait until your seedlings have at least 2-3 true leaves – those are the ones that look like actual zucchini leaves, not the first round ones (called cotyledons). I learned this the hard way after losing several batches by transplanting too early!
The best time to transplant is usually about 3-4 weeks after germination. I always “harden off” my plants first by gradually exposing them to outdoor conditions over a week. This prevents transplant shock, which can set your plants back significantly.
Ready to take your zucchini growing journey to the next level? Click the “next” button below to discover my tried-and-true maintenance techniques, including my secret recipe for organic fertilizer that keeps these hungry plants producing all season long! Trust me, you won’t want to miss these game-changing tips for maintaining healthy zucchini plants and preventing common problems before they start.


GIPHY App Key not set. Please check settings