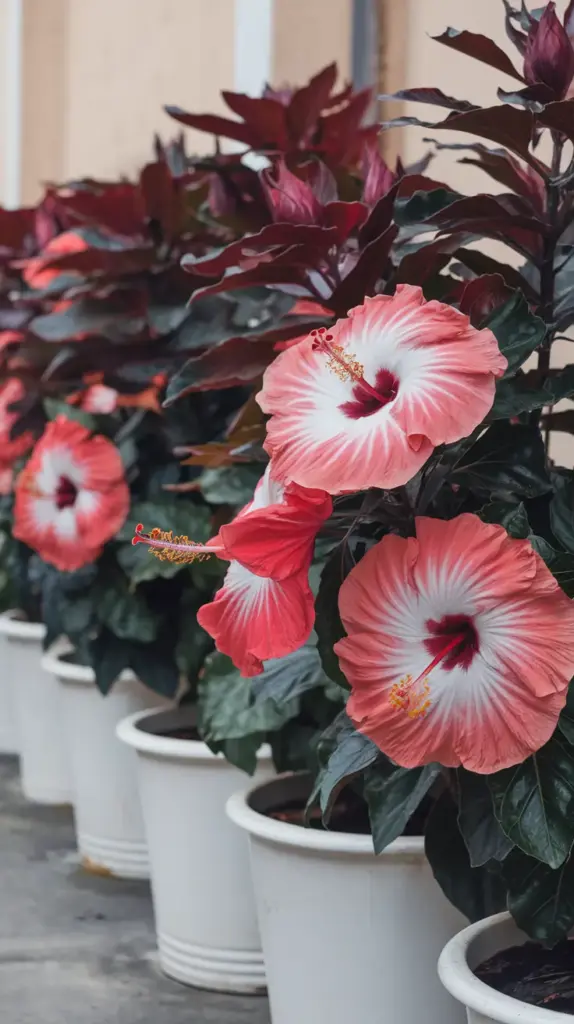
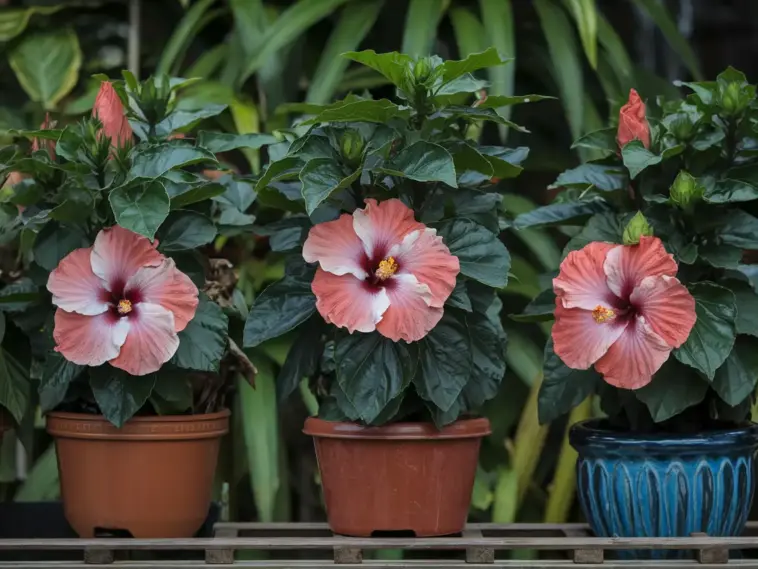
Did you know that hibiscus flowers can bloom up to 8 inches in diameter? These stunning tropical beauties aren’t just for exotic gardens anymore!
As a passionate gardener who’s grown dozens of hibiscus varieties, I’m excited to share that container growing has made it possible to enjoy these spectacular blooms almost anywhere. Whether you’re a beginner or a seasoned plant parent, these 7 steps will help you create a stunning hibiscus display that’ll be the envy of your neighborhood!
Step 1: Choosing the Perfect Pot and Location

Let me tell you something – I learned the hard way that pot selection can make or break your hibiscus growing success! After killing three beautiful plants because of poor container choices (ouch!), I’ve finally mastered the art of selecting the perfect home for these tropical beauties.
Getting the Pot Size Right
Here’s the thing about hibiscus roots – they’re kind of like teenagers, they need their space! A 12-inch deep pot is your absolute minimum, but I’ve found that 15-inch containers work even better for long-term growth. My most successful hibiscus actually lives in an 18-inch pot, and let me tell you, it’s absolutely thriving!
The width matters too. For a single hibiscus plant, you’ll want a pot that’s at least 14 inches in diameter. Trust me on this one – I once tried cramming a mature hibiscus into a 10-inch pot, and it threw a fit by dropping all its flower buds!
Mastering Drainage Requirements
If there’s one thing I’m passionate about (besides the actual flowers), it’s proper drainage. Your pot needs at least 3-4 drainage holes, and they should be about the size of a quarter. I actually drill extra holes in my plastic pots because excess water is a hibiscus’s worst nightmare.
Here’s a pro tip that changed my game: elevate your pots using pot feet or a plant stand. This ensures better airflow and prevents water from pooling at the bottom. Your hibiscus will thank you with more blooms!
Choosing Container Materials
After experimenting with various materials, I’ve found that terracotta and ceramic pots are ideal for hibiscus plants. While plastic pots are lighter and cheaper, they tend to heat up quickly in summer and cool down too fast in winter. However, if you’re in a really hot climate, high-quality plastic containers can actually be beneficial as they retain moisture better.
Sun Exposure and Placement
Your hibiscus needs its vitamin D! Place it where it’ll get 6-8 hours of direct sunlight daily. But here’s something I discovered through trial and error – in really hot climates (I’m looking at you, Southwest gardeners!), providing afternoon shade can prevent leaf burn.
I keep my containers on my east-facing patio, where they get morning sun but are protected from the harsh afternoon rays. The plants seem to love this arrangement, rewarding me with gorgeous blooms almost year-round!
Wind Protection Strategies
Don’t underestimate the wind factor! These plants may look tough, but strong winds can damage their delicate flowers and leaves. I learned this lesson when a gusty day destroyed an entire flush of blooms (I may have shed a tear or two). Now, I use decorative trellises or position my pots near protective structures.
Ready to take the next step in your hibiscus growing journey? Click the “next” button below to discover the perfect soil mix and planting techniques that will give your hibiscus the strong foundation it needs. I’ll share my secret blend that keeps my plants blooming like crazy – trust me, you won’t want to miss this!


GIPHY App Key not set. Please check settings