4. Perfect Your Watering Technique to Prevent Root Rot Forever
I killed more Anthurium Clarinervium plants with “kindness” than I care to admit. My biggest mistake was thinking that more water equals more love – a philosophy that led to three beautiful plants meeting their soggy demise in my first year of plant parenting.
The turning point came when I finally understood that these tropical beauties would rather be slightly thirsty than drowning. Once I mastered proper watering techniques, my success rate went from maybe 30% to nearly 100%.
The Finger Test Method That Never Lies
Forget those fancy moisture meters – your finger is the most reliable tool you’ll ever need for watering Anthuriums. I stick my index finger straight down into the soil about 2 inches deep, right next to the stem.
If it feels even slightly damp down there, I wait another few days. Anthurium roots need that wet-dry cycle to stay healthy – constant moisture is basically a death sentence for these plants.
The texture matters just as much as moisture level. Properly dried potting mix should feel almost fluffy when you poke it, not dense or compacted.
I learned this technique from an old-school nursery owner who’d been growing tropical plants for 40 years. He told me, “If you wouldn’t stick your finger in it, don’t make your plant’s roots live in it.”
Bottom Watering vs. Top Watering: When to Use Each
Bottom watering became my secret weapon after I noticed my plants developing those telltale brown leaf spots from overhead watering. I fill a tray with water and let the plant soak it up from the drainage holes for about 30 minutes.
This method is perfect for Anthurium Clarinervium because it keeps water off those gorgeous velvety leaves. Water droplets can cause permanent spotting on the foliage – learned that lesson the expensive way!
Top watering works better when you need to flush out built-up salts from fertilizer or hard water. I do this maybe once a month, watering slowly until it runs out the drainage holes.
The key with top watering is going slow and steady. I use a watering can with a narrow spout to direct water right at the soil surface, never splashing the leaves.
Water Quality: The Game-Changer Nobody Talks About
Living in different cities taught me that water quality can make or break your Anthurium success. Chicago’s hard water was slowly poisoning my plants with mineral buildup, even though I thought I was doing everything right.
Filtered water changed everything for me. I started using a simple Brita pitcher, and within a month, my plants looked healthier than they ever had with straight tap water.
If you’re in NYC or LA, your water is generally plant-friendly, but it’s still worth letting it sit out overnight to let the chlorine evaporate. Chlorinated water doesn’t kill plants immediately, but it definitely stresses them over time.


Distilled water is the gold standard, but honestly, it gets expensive fast when you have multiple plants. I save it for my most finicky specimens and use filtered tap water for everything else.
Seasonal Watering Schedules That Actually Work
This was a total game-changer – realizing that my watering schedule needed to change with the seasons! In winter, when my heating system is running constantly, the air gets super dry and plants need water more frequently.
Summer is trickier because higher humidity means slower soil drying. I went from watering every 5-7 days in winter to every 10-14 days during humid summer months.
Spring and fall are the sweet spots when Anthurium growth really takes off. During these seasons, I pay extra attention to the finger test because active growth means faster water uptake.
I keep a simple calendar note on my phone tracking when I water each plant. Consistent watering schedules matter way more than perfect timing – plants hate surprises.
Emergency Root Rot Rescue That Actually Works
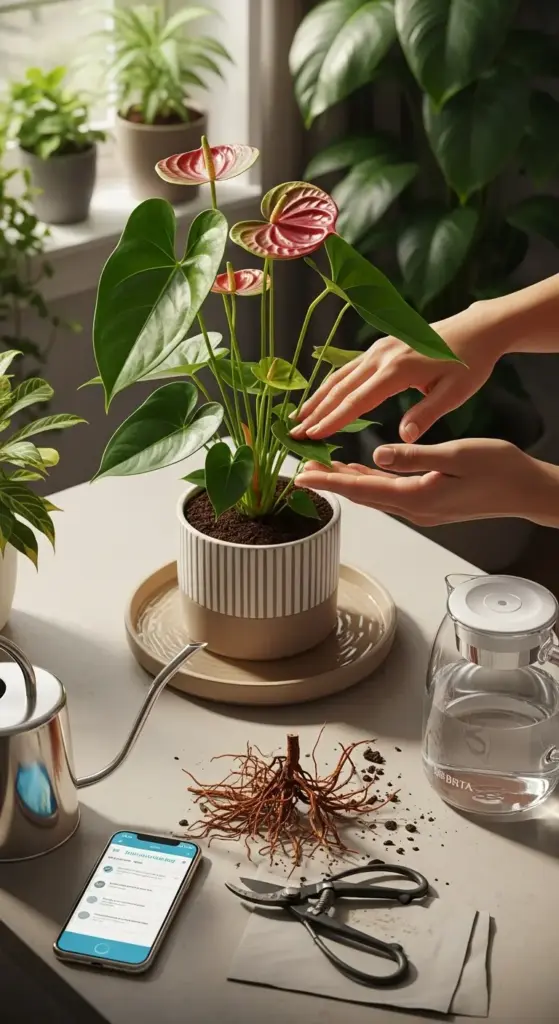
The smell hits you first – that musty, rotten odor when you lift the pot. I’ve rescued plants from the brink of root rot death, but it requires immediate action and zero sentimentality about cutting away damaged parts.
First step is getting that plant out of its soggy potting mix immediately. I rinse the roots gently under lukewarm water to see what I’m working with – healthy roots are firm and white, while rotted ones are brown and mushy.
The hardest part is being ruthless with the pruning. Any root that’s brown, slimy, or falls apart when touched has to go, even if it means removing 70% of the root system.
After trimming, I let the plant sit out for a few hours to dry before repotting in completely fresh, well-draining soil. This “recovery period” gives the cut roots time to callus over and prevents further rot.
Hydrogen peroxide became my secret weapon for root rot treatment. I dip the trimmed roots in a 3% solution for about 30 seconds – it kills lingering bacteria without harming healthy tissue.
The recovery process is slow and nerve-wracking. I’ve had plants look absolutely terrible for 2-3 months before finally pushing out new growth, but patience pays off with these resilient beauties.
Think you’ve mastered the watering game? Temperature control is where most plant parents stumble next – click below to discover how to create the perfect temperature zone that keeps your Anthurium thriving year-round!


GIPHY App Key not set. Please check settings