Garden Care Made Simple: How to Keep Your Plants Thriving
Let me tell you about the summer I almost quit gardening entirely.
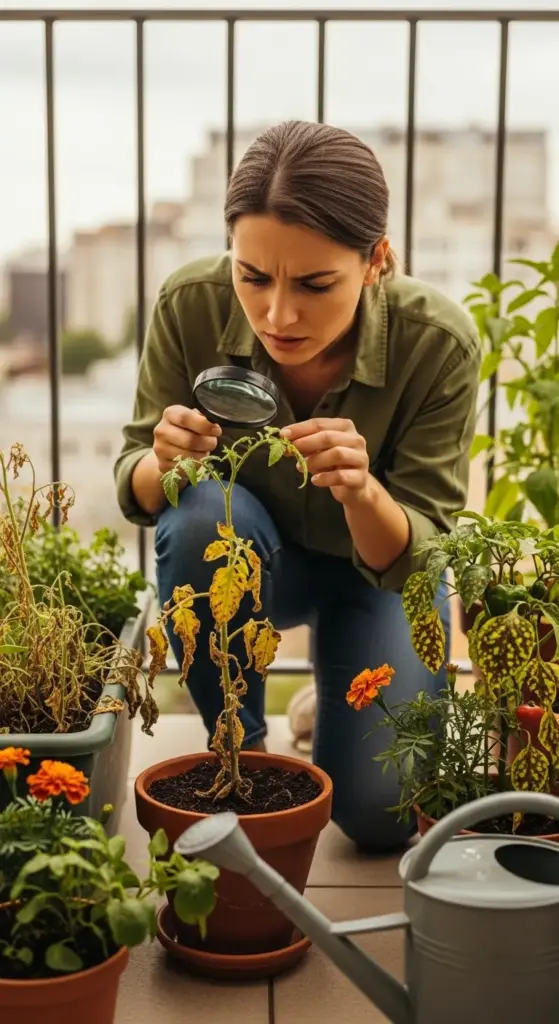
It was my second year, I had a beautiful little balcony setup going — herbs, cherry tomatoes, a couple of pepper plants, some marigolds — and within about three weeks, everything started dying. Yellowing leaves, drooping stems, weird brown spots, tiny bugs I couldn’t identify.
I was devastated. And honestly? A little embarrassed. I’d been so proud of that garden.
Turns out I was making three critical care mistakes simultaneously — overwatering, under-fertilizing, and ignoring early signs of a pest problem until it was almost too late. Every single issue was fixable. I just didn’t know what to look for yet.
That summer taught me more about plant care than any book or YouTube video ever could. And I’m going to share everything I learned so you don’t have to go through the same heartbreak. 🌿
Watering Basics: The Number One Beginner Struggle
Here’s the uncomfortable truth that took me way too long to accept.
Overwatering kills more plants than underwatering. It’s not even close.
Most beginners — myself very much included — water on a schedule rather than watering based on what the plant actually needs. Every day, like clockwork. And that consistency feels responsible and caring, but it’s actually one of the most common ways to accidentally kill your plants.
The Finger Test: Your Most Important Gardening Tool
Before you water anything, do this first.
Stick your finger about one inch into the soil. If it feels moist, don’t water. If it feels dry, water thoroughly. If you’re not sure, wait another day and check again.
That’s it. That’s the whole system. It sounds almost too simple, but this one habit will save more plants than any fancy moisture meter or watering schedule ever will.
How Much Water Does Each Plant Actually Need?
Let’s get specific, because “water regularly” is the most useless gardening advice ever given. 😄
Herbs (basil, mint, parsley, chives): Water when the top inch of soil is dry. In summer heat, this might mean every 1-2 days for outdoor containers. Indoors, usually every 3-4 days.
Tomatoes and peppers: These need consistent, deep watering — not frequent shallow watering. Water deeply until it drains from the bottom, then wait until the top 2 inches are dry before watering again. In peak summer, outdoor containers may need water daily.
Lettuce and salad greens: Keep soil consistently moist but never waterlogged. Every 1-2 days in warm weather, less frequently in cooler months.
Lavender and rosemary: These are drought-tolerant Mediterranean herbs. Water only when the soil is completely dry — usually every 5-7 days indoors, slightly more often outdoors in heat.
Succulents and cacti: Water deeply, then wait until the soil is bone dry before watering again. In summer, this might be every 10-14 days. In winter, even less.
The Right Way to Water Container Plants
Water slowly and deeply — not quickly and shallowly.
Pour water slowly around the base of the plant until you see it draining freely from the bottom drainage holes. That’s how you know the entire root zone got water. Quick surface watering only moistens the top inch of soil and encourages shallow, weak root growth.
Water in the morning whenever possible. Morning watering gives leaves time to dry during the day, which significantly reduces the risk of fungal diseases. Wet leaves sitting overnight are basically an invitation for problems.
Common Watering Mistakes to Avoid
Watering on a fixed schedule regardless of conditions. A rainy week in Seattle requires very different watering than a heat wave in Dallas. Always check the soil first.
Watering from overhead onto leaves. Water the soil, not the plant. Wet foliage — especially on tomatoes — is a leading cause of fungal diseases like powdery mildew and early blight.
Using pots without drainage holes. Water has nowhere to go and sits at the bottom, rotting the roots. Non-negotiable: always use pots with drainage.
Letting plants sit in standing water. Empty your drainage trays after watering. Roots sitting in pooled water will rot within days.
Understanding Sunlight: It’s More Complicated Than You Think
Sunlight is the single most important factor in whether your garden succeeds or fails — and it’s the thing most beginners underestimate.
I spent an embarrassing amount of time wondering why my basil was leggy and pale before I finally measured how much actual direct sun my windowsill was getting. Turns out “sunny window” and “enough sun for basil” are not the same thing.
Decoding Plant Light Labels
Every plant tag comes with a light requirement — but what do those terms actually mean?
Full Sun: Minimum 6-8 hours of direct sunlight per day. Direct means the sun is actually hitting the plant, not just brightening the room. Required for tomatoes, peppers, basil, and most vegetables.
Partial Sun / Partial Shade: 3-6 hours of direct sun per day. Good for lettuce, mint, parsley, and many flowering plants.
Full Shade: Less than 3 hours of direct sun. Very few edible plants thrive here, but many ornamental plants do — ferns, impatiens, and some hostas.
How to Assess Your Light Situation
Spend one full day observing your space before you decide what to plant where.
Check your windowsill or balcony at 9am, 12pm, 3pm, and 6pm. Note where direct sunlight falls at each time. This gives you a realistic picture of your actual light conditions rather than an optimistic guess.
South-facing windows and balconies get the most light — usually 6+ hours of direct sun. Best for sun-loving plants.
East-facing gets gentle morning sun — good for herbs and lettuce that prefer cooler conditions.
West-facing gets strong afternoon sun — good for most vegetables and herbs, but can be intense in summer.
North-facing gets the least light — challenging for most edible plants but workable for shade-tolerant herbs like mint and chives, or ornamental plants.
When You Don’t Have Enough Natural Light
Don’t give up. This is exactly what grow lights are for.
A basic LED grow light positioned 4-6 inches above your plants for 12-16 hours per day can completely compensate for low natural light conditions. They’re especially useful for apartment dwellers in cities like Chicago, Minneapolis, and New York during winter months when natural light is limited.
Look for grow lights with a full spectrum rating — these mimic natural sunlight most closely. The GE BR30 Full Spectrum LED Grow Light is a popular, affordable option at about $13-$15 per bulb and fits standard light fixtures. No special equipment needed.
Simple Fertilizing and Soil Care for Beginners
Think of fertilizer as a multivitamin for your plants — not a magic fix, but an important part of keeping them healthy and productive over time.
Container plants need more regular fertilizing than in-ground plants because nutrients get washed out of the soil every time you water. It’s just the nature of container gardening.
When to Start Fertilizing
Don’t fertilize for the first 4-6 weeks after planting if you’re using a quality potting mix — most mixes contain slow-release fertilizer already mixed in.
After that initial period, start a regular fertilizing routine during the active growing season (spring through early fall).
Stop fertilizing in late fall and winter when most plants slow down or go dormant. Fertilizing during dormancy pushes weak, leggy growth that the plant can’t sustain.
The Simplest Fertilizing Routine That Actually Works
Every two weeks during the growing season, mix a balanced liquid fertilizer into your watering can according to the package directions and water your plants as normal.
That’s the whole routine. Seriously.
Miracle-Gro All Purpose Plant Food mixed at ½ teaspoon per gallon of water every two weeks is genuinely all most beginner container gardens need. It costs about $10-$12 and lasts an entire season.


For edible gardens where you prefer a more natural approach, worm castings mixed into the top layer of soil every 4-6 weeks is an excellent organic alternative. A 4-pound bag costs about $12-$15 and improves both nutrition and soil structure.
Refreshing Your Soil Each Season
Container soil breaks down over time — it compacts, loses nutrients, and eventually stops draining properly.
At the start of each new growing season, replace at least the top 2-3 inches of potting mix in your containers with fresh potting soil. For smaller pots, replace the entire soil volume.
Mix in a handful of compost or worm castings when you refresh the soil for an extra nutrient boost. This simple habit makes a noticeable difference in how well your plants perform season after season.
Identifying and Fixing Common Plant Problems
This is the section I wish I’d had during that disastrous second summer. 😅
Most plant problems fall into a handful of categories — and once you know what to look for, they’re usually fixable if you catch them early.
Yellowing Leaves: The Most Common Complaint
Yellow leaves are the plant equivalent of your body running a fever — something is off, but it could be several different things.
Yellow leaves + soggy soil = overwatering. This is the most common cause. Let the soil dry out completely before watering again. If the roots smell musty or look brown and mushy, you may have root rot — repot into fresh dry soil immediately and cut away any rotted roots.
Yellow leaves + dry soil = underwatering. Water thoroughly and consistently. The plant should recover within a day or two.
Yellow leaves on older, lower leaves only = natural aging. Plants shed older leaves as they grow. This is completely normal and not a cause for concern.
Yellow leaves with green veins = nutrient deficiency, usually iron or magnesium. This is called chlorosis. Treat with a liquid fertilizer that contains micronutrients, or add a small amount of Epsom salt (1 tablespoon per gallon of water) as a foliar spray.
Brown Leaf Tips and Edges
Brown crispy tips usually indicate one of three things: low humidity, inconsistent watering, or fertilizer burn.
For low humidity — common in heated apartments during winter — try misting your plants with a spray bottle daily or placing a small humidifier nearby.
For fertilizer burn — caused by over-fertilizing — flush the soil thoroughly with plain water to wash out excess salts, and reduce your fertilizing frequency.
Drooping and Wilting
Wilting is almost always a watering issue — but it can go either way.
Check the soil immediately. Dry soil + wilting = needs water. Water thoroughly and the plant should perk up within a few hours.
Wet soil + wilting = overwatering or root rot. This is more serious. Let the soil dry out completely and check the roots if the plant doesn’t recover.
Common Pests and How to Deal With Them
Pests are inevitable in any garden — indoors or outdoors. The key is catching them early before they become a serious infestation.
Aphids — tiny green, black, or white insects clustered on new growth and the undersides of leaves. They suck sap from plants and reproduce incredibly fast.
Fix: Spray plants thoroughly with a mixture of 1 teaspoon dish soap + 1 quart of water. Repeat every 3-4 days for two weeks. Works surprisingly well.
Fungus Gnats — tiny black flies hovering around your soil. The adults are annoying but harmless — it’s the larvae in the soil that damage roots.
Fix: Let the soil dry out more between waterings (fungus gnats thrive in consistently moist soil), and place yellow sticky traps near your plants to catch adults. Mosquito Bits sprinkled on the soil surface kills larvae effectively — about $10 at most garden centers.
Spider Mites — nearly invisible mites that leave fine webbing on leaves and cause stippled, bronze-looking foliage. They thrive in hot, dry conditions.
Fix: Increase humidity around your plants and spray with the same dish soap solution used for aphids. Neem oil spray (about $10-$15 at garden centers) is also highly effective and works as a preventative treatment too.
Whiteflies — small white flying insects that cluster on the undersides of leaves. Common on tomatoes, peppers, and herbs.
Fix: Yellow sticky traps catch adults effectively. Spray plants with insecticidal soap or neem oil for a more thorough treatment.
Powdery Mildew
Powdery mildew looks exactly like it sounds — a white, powdery coating on leaves. It’s a fungal disease that spreads in warm, humid conditions with poor air circulation.
Fix: Mix 1 tablespoon baking soda + 1 teaspoon dish soap + 1 gallon of water and spray affected leaves thoroughly. Remove severely affected leaves and improve air circulation around your plants. Caught early, it’s very manageable.
Seasonal Garden Care Tips for US Urban Climates
Your garden’s needs change with the seasons — and adjusting your care routine accordingly makes a huge difference in how well your plants perform year-round.
Spring: The Fresh Start 🌱
Spring is the most exciting season in the garden — and the busiest.
For Northeast gardeners (New York, Philadelphia, Washington DC): Wait until after your last frost date (mid-April to early May) before moving plants outside. Start seeds indoors under grow lights in late February or March.
For Midwest gardeners (Chicago, Minneapolis, Detroit): Last frost can come as late as mid-May. Don’t rush it — one late frost can wipe out weeks of work overnight.
Spring tasks for all regions:
- Refresh container soil with fresh potting mix and compost
- Start seeds indoors 6-8 weeks before last frost date
- Clean and sanitize pots from last season before reusing
- Prune any dead or damaged growth from overwintered plants
Summer: Peak Growing Season ☀️
Summer is when your garden really comes alive — but it’s also when heat stress and pests become your biggest challenges.
For Southern gardeners (Atlanta, Dallas): Summer heat can be brutal on cool-weather crops. Lettuce and spinach will bolt in temperatures above 80°F — replace them with heat-tolerant crops like sweet potatoes, okra, and basil.
For West Coast gardeners (Los Angeles): Water conservation becomes critical in summer. Mulch the top of your containers with a thin layer of straw or wood chips to retain moisture and reduce watering frequency.
Summer tasks for all regions:
- Water deeply and consistently — check containers daily in heat waves
- Fertilize every two weeks with a balanced liquid fertilizer
- Deadhead flowering plants regularly to encourage continuous blooming
- Monitor for pests weekly — early detection is everything
- Harvest herbs frequently to prevent bolting
Fall: The Second Season 🍂
Fall is criminally underrated as a gardening season — especially for cool-weather crops.
As temperatures drop below 75°F, lettuce, spinach, kale, arugula, and herbs like cilantro and parsley absolutely thrive. These crops actually taste better in fall — cooler temperatures make leafy greens sweeter and more tender.
For Northeast and Midwest gardeners: Start fall crops in late August or early September to get a full harvest before the first frost.
Fall tasks for all regions:
- Plant cool-weather crops for a fall harvest
- Begin reducing fertilizing frequency as growth slows
- Bring tender plants indoors before the first frost
- Start collecting seeds from this season’s plants for next year
Winter: Rest and Plan ❄️
Winter is not the end of gardening — it’s the planning season.
For most US cities, winter is the time to move your garden indoors. Herbs like basil, mint, and parsley grow beautifully on a sunny windowsill or under grow lights all winter long.
Winter tasks for all regions:
- Maintain an indoor herb garden under grow lights
- Clean, dry, and store all outdoor tools and containers
- Order seeds for next season — popular varieties sell out fast by February
- Plan next year’s garden layout and try new plant varieties
- Refresh and replenish your supply of potting mix and fertilizer
You’ve got the care routine down — now let’s talk about doing all of this without breaking the bank. Hit Next below and we’re getting into gardening on a budget — how to grow a beautiful, productive garden for under $50, where to find free plants and seeds, and the smartest ways to shop for supplies without overspending. 💸 This section is full of tips you’re going to use immediately. 👇


GIPHY App Key not set. Please check settings