Step 6: Add Finishing Touches

Let me tell you about the day I learned the hard way why finishing touches matter on raised beds. I had just built my first set of garden beds, and in my excitement to start planting, I skipped some crucial final steps. Six months later, I was dealing with rotting wood and uneven watering. Never again! Now I know these finishing touches aren’t just decorative – they’re essential for longevity and functionality.
Edge Finishing and Protection
The first thing I always do now is protect those exposed edges. Cedar might be naturally resistant, but every bit of protection helps! I’ve found that adding a beveled edge to the top boards not only looks professional but also prevents water from pooling. Here’s a pro tip I wish I’d known earlier: Use a 45-degree angle cut on the top edges to create perfect water runoff.
For weather protection, I swear by natural wood sealant. After testing various products, I’ve settled on using a mix of linseed oil and beeswax. Apply two coats, letting each one dry completely. Trust me, this extra day of work adds years to your bed’s life! Just remember to reapply annually – I mark it on my calendar for early spring.
Irrigation Setup
The secret to a thriving raised bed is consistent watering, and nothing beats a proper irrigation system. I learned this after spending countless summer mornings with a watering can! Now I install a simple drip irrigation system with a timer. Here’s my tried-and-true setup:
- Install a main water line along the top edge
- Space drip emitters every 12 inches
- Use stake holders to secure the lines
- Add a battery-powered timer at the spigot
- Include a pressure regulator to prevent blowouts
Adding Support Structures
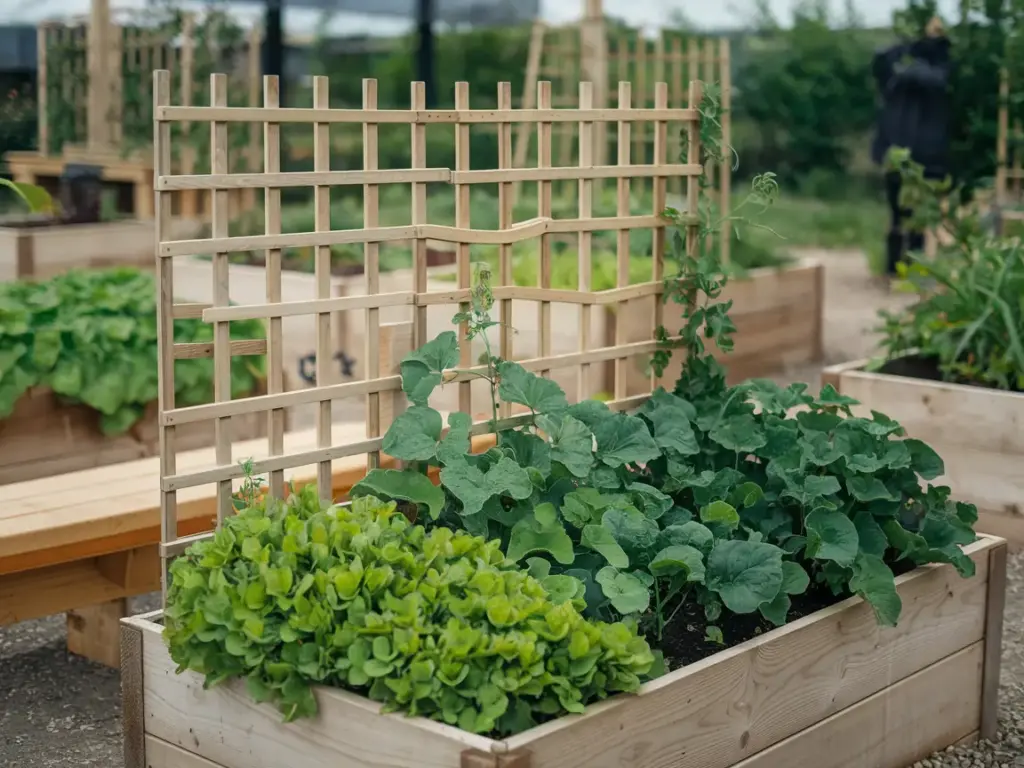
One thing that transformed my gardening game was adding permanent trellis attachment points. I install galvanized pipes at each corner, secured with U-brackets. This way, I can add or remove trellises seasonally without damaging the bed structure. It’s a game-changer for vertical gardening!
For decorative elements, I’ve started adding copper cap tops to my corner posts. Not only do they look fantastic, but they also prevent water from seeping into the end grain of the posts. Some gardeners in my community have even added solar-powered cap lights – they’re both practical and pretty!
Ready to take the final step in creating your perfect raised bed? In the next section, we’ll dive into the crucial process of filling your bed with the perfect soil mix. I’ll share my secret recipe that’s been perfected over years of trial and error – including the exact ratios that have given me the best results. Click the next button below to discover how to create the ultimate growing environment for your plants!


GIPHY App Key not set. Please check settings