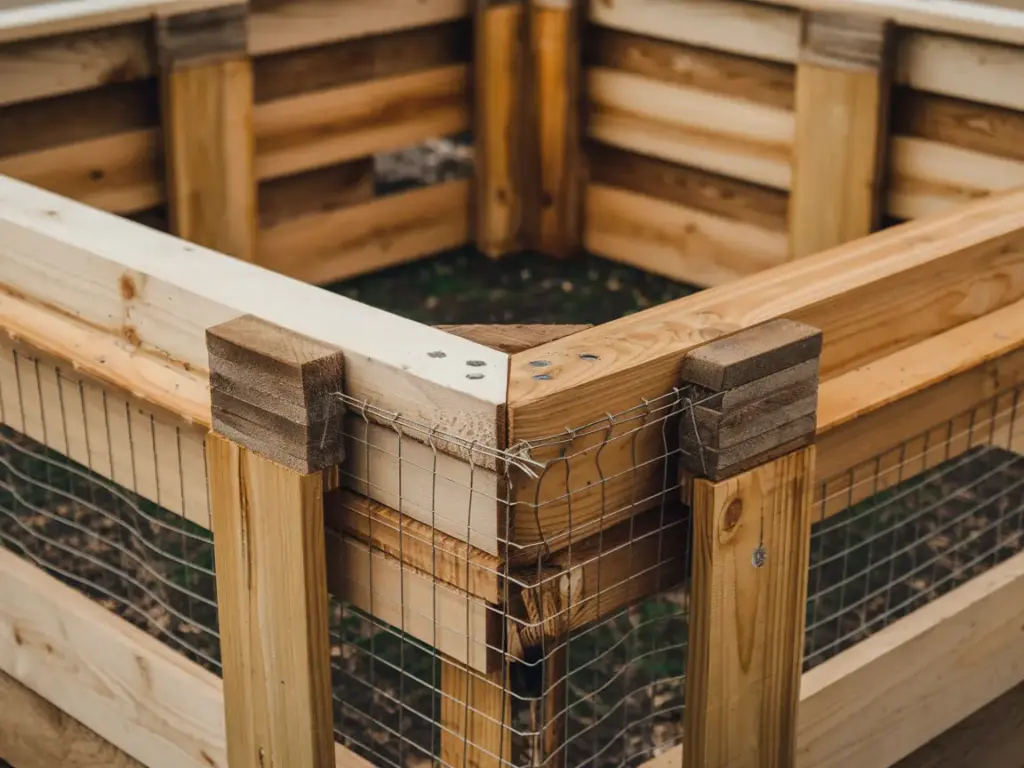
Step 5: Assemble Your Raised Bed Frame

Let me tell you about the most crucial part of building your raised bed – the assembly! I learned this the hard way when my first attempt literally fell apart after the first heavy rain. Now, after building over 20 raised beds, I’ve got this process down to a science.
Corner Assembly: The Foundation of Success
The corners are where the magic happens, folks! I always start by laying out my pre-cut boards on a flat surface. Here’s a pro tip I wish someone had told me years ago: pre-drilling your holes is absolutely non-negotiable. Trust me, I’ve split enough boards learning this lesson the hard way!
For each corner, I use three 3-inch deck screws per joint. Position your boards at perfect 90-degree angles (I use a speed square for this), and make sure to offset the screws slightly to prevent the wood from splitting. The key is to work systematically, one corner at a time, checking for square as you go.
Securing the Boards and Adding Support
Once your corners are together, it’s time for the long sides. This is where I see a lot of folks make mistakes. Support braces are crucial, especially for beds longer than 6 feet. I install one brace every 2-3 feet along the sides using galvanized brackets.
The secret to preventing bowing is to install your support braces before filling the bed with soil. I learned this after watching my neighbor’s beautiful bed turn into a bulging mess after the first season!
Hardware Cloth: Your Garden’s Best Friend
This step is optional, but let me tell you why it’s worth it. After losing an entire crop of carrots to gophers in my early gardening days, I never skip the hardware cloth installation. Use 1/4-inch mesh – anything bigger and those pesky voles will find their way through!
Secure the hardware cloth to the bottom frame using galvanized staples every 6 inches. Make sure to bend the edges up slightly along the sides before securing them. This creates an impenetrable barrier against burrowing pests.
The All-Important Level Check
Here’s where patience really pays off. Using a 4-foot level, check both the length and width of your bed. I can’t stress enough how important this is – an unlevel bed will cause water to pool on one side, potentially leading to root rot and uneven growing conditions.
If you notice any wobbling, now’s the time to fix it. Small adjustments now will save you huge headaches later. I keep a bag of paver sand nearby to make minor adjustments under the frame as needed.
Ready to put the finishing touches on your raised bed? Click the next button below to discover how to add those professional finishing touches that’ll make your bed look amazing and last for years. We’ll cover everything from protective coatings to installing that drip irrigation system you’ve been thinking about!
Remember: A well-assembled frame is the backbone of a productive garden bed. Take your time with this step – your future harvests will thank you!


GIPHY App Key not set. Please check settings