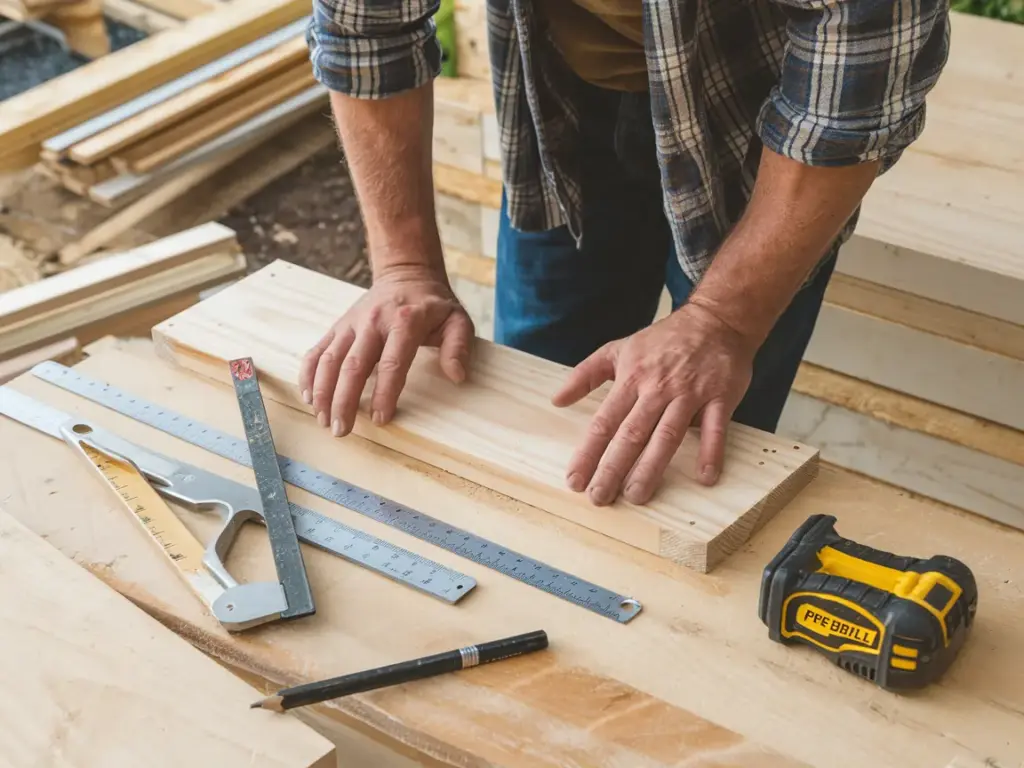
Step 4: Cut and Prepare Your Materials

Let me tell you about the day I learned the hard way why proper material preparation matters. I had rushed into cutting my lumber for a raised bed project, and boy, was that a mistake! Now, after building over 20 raised beds, I’ve got a foolproof system to share with you.
Getting Your Measurements Right
First things first – you’ll want to measure twice and cut once. I always start with standard 8-foot boards, which are perfect for creating a 4×8 foot raised bed. The secret to professional-looking results is taking the time to mark everything clearly.
I use a carpenter’s pencil and speed square to mark my cuts at:
- 4 pieces at 96 inches (long sides)
- 4 pieces at 48 inches (short sides)
- 8 pieces at 11 inches (corner posts)
Pro tip: Add an extra 1/4 inch to your measurements to account for the saw blade width. Trust me, this little detail makes a huge difference!
Lumber Preparation Essentials
Before you make any cuts, inspect each board carefully. Look for warping, splits, or knots that might cause problems later. I once skipped this step and ended up with a wonky corner that drove me nuts all season!
Here’s my pre-cutting checklist that never fails:
- Sand rough edges with 80-grit sandpaper
- Mark all cut lines with a contrasting pencil
- Check for any protruding nails or staples
- Store boards flat to prevent warping
Pre-drilling: Your Best Friend
Let me share something I learned the expensive way – pre-drilling prevents splitting, every single time. I use a countersink bit that’s slightly smaller than my screws.
The magic formula I’ve discovered is:
- For 2-inch screws: use a 1/8-inch drill bit
- Space holes 12 inches apart
- Keep 2 inches from board edges
- Drill at a slight angle for corner joints
Corner Joint Success
The corners are where most DIY raised beds fail, but not yours! I’ve found that using corner posts creates the strongest joints. Think of these as the anchors of your entire structure.
My tried-and-true technique:
- Pre-drill through the side boards into corner posts
- Use 3 screws per connection
- Keep everything square using a speed square
- Check for level after each joint
Wood Treatment Done Right
This is where a lot of folks get nervous, but don’t worry! For food-safe garden beds, I stick to natural treatments. The key is protecting the wood without compromising your future harvest.
I’ve had great success with:
- Raw linseed oil for cedar
- Beeswax and mineral oil mixture
- Natural wood sealers specifically rated for vegetable gardens
Ready to see these materials come together into something amazing? Click the “next” button below to move on to Step 5, where I’ll show you my favorite assembly tricks that’ll have your raised bed standing strong in no time. We’ll cover everything from the perfect screw pattern to ensuring your corners are square – it’s easier than you might think!


GIPHY App Key not set. Please check settings