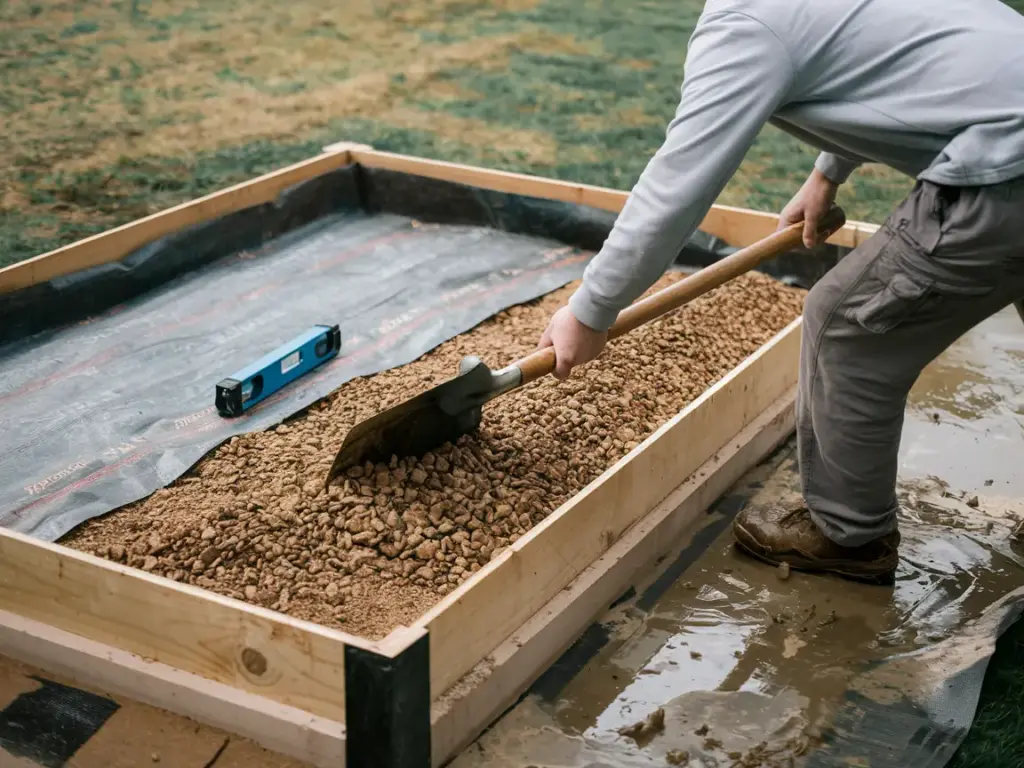
Step 3: Prepare Your Construction Site

Let me tell you about the time I learned the hard way about proper site preparation. I had rushed into building my first raised bed without properly preparing the ground, and six months later, the whole thing was tilting like the Tower of Pisa! Now, after building over 20 raised beds, I know exactly what needs to be done to create a solid foundation.
Clearing the Ground Like a Pro
First things first – you’ve got to get that ground ready! Start by removing all grass and weeds from your chosen spot. I use a flat shovel to slice under the grass layer, but here’s a pro tip: if you’re working with a larger area, rent a gas-powered sod cutter from your local hardware store. It’ll save your back and cut your work time in half!
One mistake I see beginners make is not clearing a big enough area. Always clear at least 12 inches extra on all sides of your planned bed dimensions. Trust me, you’ll want that extra space for maintenance and mowing later.
Getting Everything Level
Leveling might seem tedious, but it’s absolutely crucial. I learned this through trial and error (mostly error!). You’ll need:
- A long spirit level
- Some wooden stakes
- String
- A laser level (if you’re fancy – I finally invested in one last year)
The key to perfect leveling is working in small sections. I divide my area into 2-foot squares using string lines. For each square, I check the level both lengthwise and crosswise. Sometimes you’ll need to remove soil, sometimes add it – just take your time with this step.
Installing Your Weed Barrier
Here’s where a lot of folks go wrong – they skip the weed barrier or use the wrong type. After trying pretty much everything out there, I’ve found that commercial-grade landscape fabric is worth every penny. Make sure to overlap the edges by at least 6 inches and secure it with landscape staples every 2 feet.
Choosing Your Base Material
The base material you choose can make or break your raised bed’s longevity. I typically use a layer of crushed gravel (about 2 inches deep) before adding my weed barrier. This creates excellent drainage and helps prevent your beds from settling unevenly. If you’re in an area with lots of burrowing critters like I am, add a layer of hardware cloth right on top of your gravel – it’s a game-changer!
Marking and Measuring
Measure twice, build once – that’s my golden rule! I use:
- Marking spray paint for outlining
- Wooden stakes at each corner
- String to ensure straight lines
- A measuring tape (get a good one!)
Make sure your corners are perfectly square by using the 3-4-5 triangle method. This old carpenter’s trick has never failed me!
Ready to start putting those beds together? Click the “next” button below to dive into Step 4, where I’ll show you my favorite techniques for cutting and preparing your materials. I’ve got some really cool tips about pre-drilling that’ll make your life so much easier – trust me, you won’t want to miss it!
Remember: A well-prepared site is like a good foundation for a house – take your time here, and everything else will fall into place perfectly.


GIPHY App Key not set. Please check settings