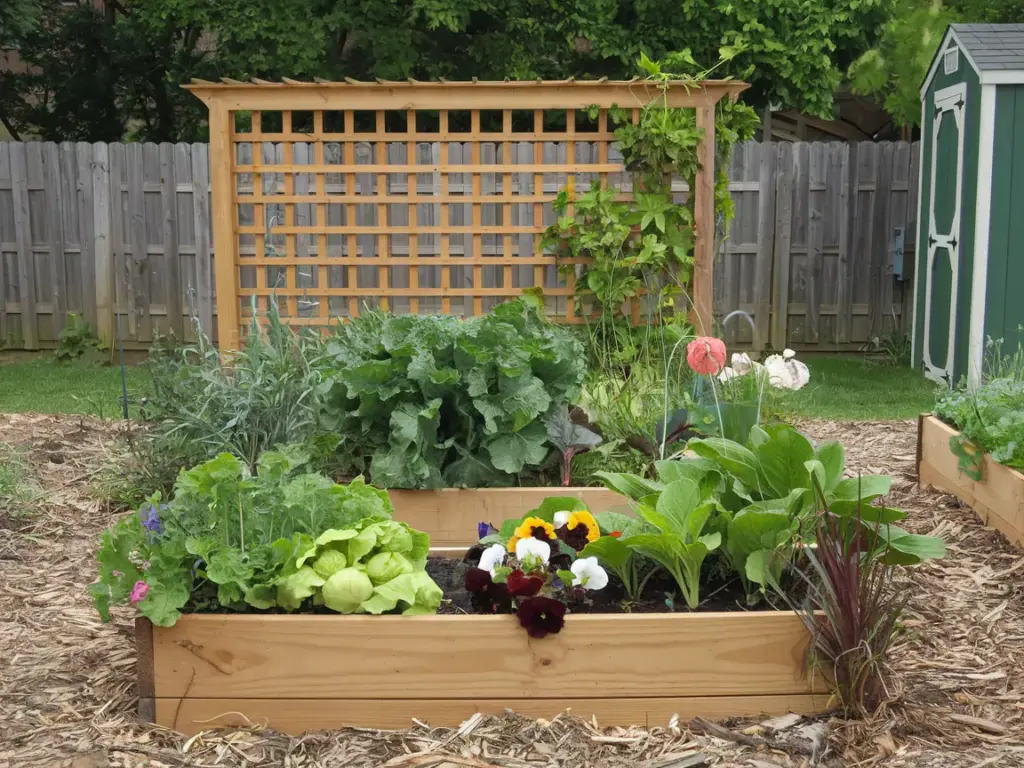
Step 2: Choose Your Perfect Location

Let me tell you about the time I made the biggest mistake in my gardening journey. I was so excited to build my first raised bed that I completely ignored proper location planning. Boy, did I learn my lesson! After a season of struggling with waterlogged soil and shade-stunted vegetables, I had to rebuild everything. Now, I’m here to help you avoid my costly mistakes.
Sunlight: The Make-or-Break Factor
The sun exposure is absolutely critical for your raised beds. Most vegetables need at least 6-8 hours of direct sunlight to thrive. I keep a little notebook now and spend a full day tracking sun patterns before finalizing any garden bed location. Pro tip: use your smartphone to take photos of your yard every 2 hours – this creates a perfect sun map!
Watch out for sneaky shade sources like:
- Trees that will leaf out in summer
- Neighbor’s structures or fences
- Your own house’s shadow pattern
Ground Preparation and Leveling
Here’s something most guides won’t tell you: ground leveling isn’t just about aesthetics. After watching my first raised bed slowly tilt over a season (what a nightmare!), I learned that proper leveling affects everything from water distribution to structural integrity.
Start by removing grass and roots, then use a long level and some string to check your slope. If you’ve got more than a 2-inch slope across your bed area, you’ll need to do some serious leveling. I usually create a slight grade (about 1% slope) for optimal drainage.
Space and Accessibility Planning
Bed width is crucial – I learned this the hard way when I couldn’t reach the middle of my first 6-foot-wide bed! The sweet spot is 4 feet wide maximum. Trust me, your back will thank you later. For length, I stick to 8-foot sections because standard lumber comes in 8-foot pieces, and it’s perfect for space optimization.
Remember to leave enough room between beds for:
- A wheelbarrow to pass (minimum 3 feet)
- Comfortable kneeling space
- Future expansion possibilities
Drainage Considerations
Proper drainage can make or break your raised bed success. I once built a beautiful bed in a low spot of my yard – big mistake! After every rain, it became a mini swimming pool. Now I always check these drainage factors:
- Natural water flow patterns
- Soil composition underneath
- Distance from house foundation
- Slope of the surrounding area
A quick drainage test: Dig a 12-inch hole, fill it with water, and time how long it takes to drain. If it’s not empty within 24 hours, you’ll need to choose a different spot or add additional drainage solutions.
Ready to move forward with your perfect location? Click the next button below to discover Step 3: Prepare Your Construction Site, where I’ll show you my favorite ground-clearing tricks and the exact measurements you need to mark out your space. Trust me, you won’t want to miss my secret technique for keeping your lines perfectly straight!


GIPHY App Key not set. Please check settings