10. Growing Baby Carrots in Containers: A Root Vegetable Success Story

Let me tell you about my first attempt at growing carrots in containers – it was a disaster! I crammed them into a shallow window box and ended up with the most twisted, stubby carrots you’ve ever seen. But after three seasons of trial and error, I’ve finally cracked the code to growing these sweet, crunchy vegetables in pots.
The Deep Container Secret
Here’s something I learned the hard way – container depth is absolutely crucial. You know those cute little 6-inch pots? Yeah, forget about those! I now swear by containers that are at least 12 inches deep. My best harvests have actually come from my 15-inch deep containers. Trust me, your carrots will thank you for the extra legroom.
Last summer, I experimented with different containers and found that those long window boxes marketed for herbs? They’re actually perfect for carrots! Just make sure they have proper drainage holes. I actually drilled extra holes in mine after dealing with some root rot issues early on.
Soil Preparation: The Game Changer
The biggest revelation in my container carrot journey was discovering that soil preparation makes or breaks your harvest. Regular potting mix just won’t cut it, folks. I create my own blend using:
- 60% high-quality potting soil
- 30% coco coir (helps with moisture retention)
- 10% perlite (for drainage)
One trick I stumbled upon by accident? Sifting the soil. I was getting frustrated with all the lumpy carrots I was harvesting, until I realized those lumps were caused by chunks of bark and debris in my soil. Now I sift everything through an old colander first. Game changer!
The Art of Thinning (Don’t Skip This!)
Okay, confession time – I used to be terrible at thinning my carrots. It felt wrong removing perfectly good seedlings! But I learned this lesson the expensive way: overcrowded carrots = no carrots worth eating. Now I follow what I call the “finger spacing rule” – each seedling should have about a finger’s width of space around it.
Pro tip: Don’t just yank out the extra seedlings! Use scissors to snip them at soil level. Those tiny carrot tops make a surprisingly tasty addition to salads. Who knew?
Timing and Patience: The Waiting Game
Growing carrots in containers requires more patience than growing them in the ground. In my experience, container carrots typically take about 70-80 days from seed to harvest. I start mine in early spring and do another batch in late summer for a fall harvest.
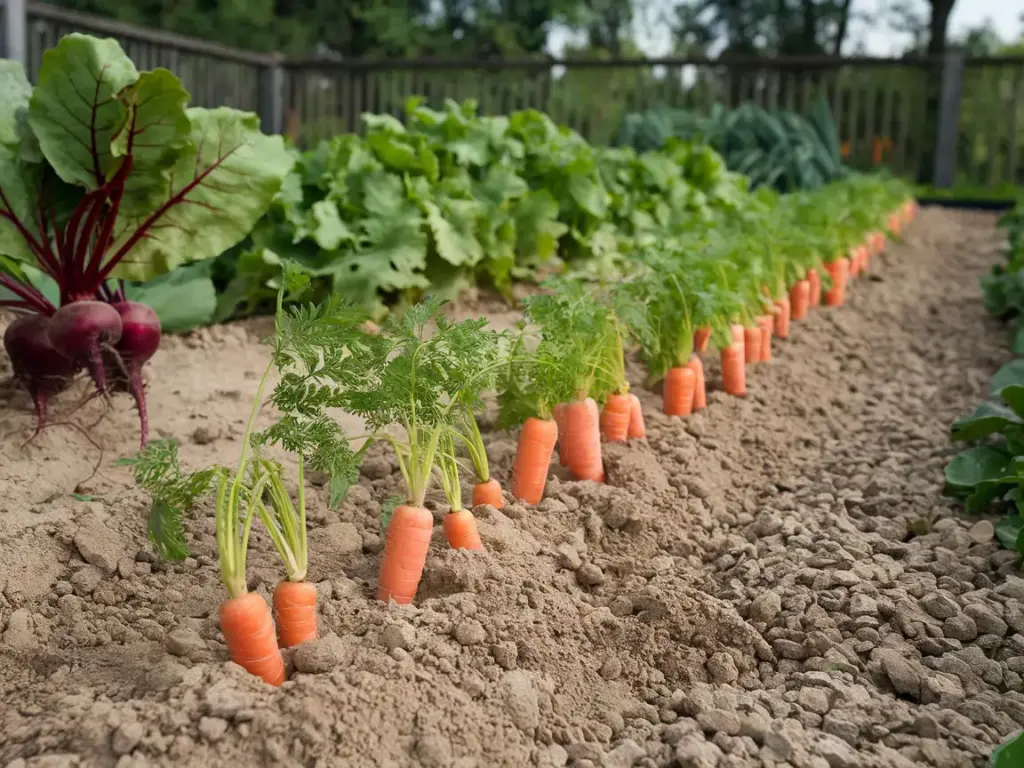
The trickiest part? Knowing when they’re ready. I’ve developed a little system I call the “shoulder check” – when you can see the top of the carrot (the shoulder) peeking about 1/4 inch above the soil, they’re usually ready to pull.
Harvest Time Success Indicators
Want to know if your carrots are ready? Here’s my foolproof method:
- Look for shoulders emerging from soil
- Check that the diameter at the top is at least 1/2 inch wide
- Gently brush away soil to peek at the color intensity
- The greens should be thick and vibrant
I learned this neat trick from an old-timer at my community garden: water thoroughly the day before harvesting. Makes pulling them out so much easier!
Ready to level up your container gardening game? Our next section tackles common container gardening challenges and their solutions – including that pesky issue of dealing with limited sunlight that every urban gardener struggles with. Click the next button below to discover how to overcome these obstacles and keep your container garden thriving all season long!


GIPHY App Key not set. Please check settings