9. Extend the Season with Frost-Resistant Netting
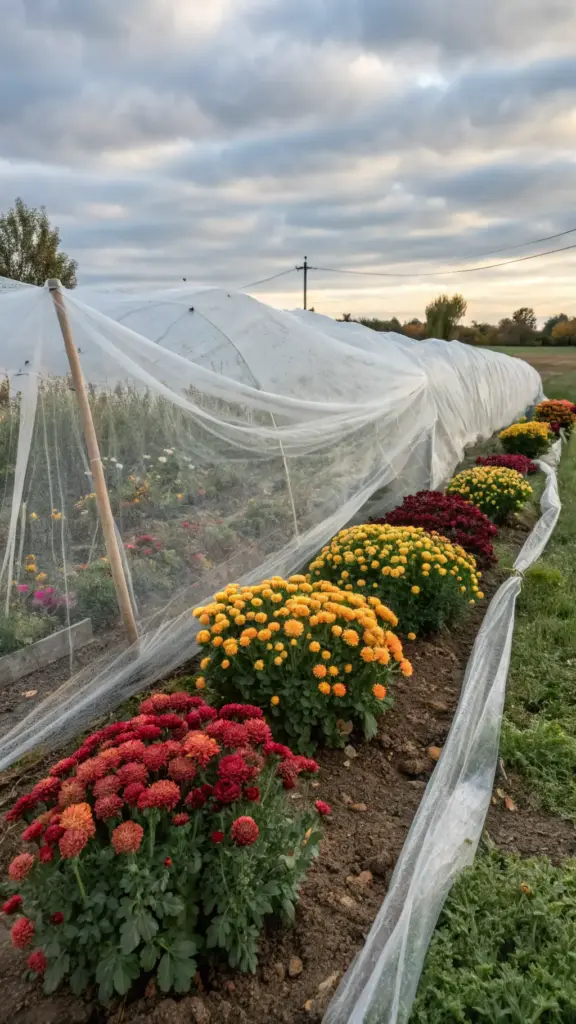
Let’s face it—no one likes saying goodbye to their garden when the frost rolls in. But here’s the good news: you don’t have to! With frost-resistant netting, you can protect your blooms and keep your garden looking fabulous well into late fall—or even kickstart it in early spring. Whether you’re nurturing tulips in March or chrysanthemums in November, this simple trick will help you create year-round beauty. Let’s dive in!
Why Frost Protection is a Gardener’s Best Friend
I’ll never forget the first time I lost an entire bed of tulips to an unexpected spring frost. It was heartbreaking—those little green shoots had just started peeking out, full of promise, only to be wiped out overnight. That’s when I learned about frost-resistant netting, and let me tell you, it’s been a lifesaver ever since.
This type of netting acts like a cozy blanket for your plants, trapping heat and shielding them from icy temperatures. It’s lightweight enough to let sunlight through but tough enough to keep Jack Frost at bay. Plus, it gives you the freedom to experiment with seasonal flowers that might not normally survive in your climate.
Popular Seasonal Flowers to Protect
Here’s the fun part: frost-resistant netting works wonders for some of the most popular seasonal blooms. Here are a few favorites to try:
- Tulips: These cheerful spring bloomers are notorious for being frost-sensitive. Cover them with netting during late winter or early spring to protect those tender shoots.
- Chrysanthemums: A staple of fall gardens, mums can handle a little chill, but a hard frost can ruin their buds. Keep them snug under frost-resistant netting for longer-lasting color.
- Pansies: These cold-hardy beauties can bloom through light frosts, but a layer of netting ensures they stay vibrant even during colder nights.
One year, I extended my mum season by nearly a month using this method. My neighbors were convinced I had some kind of gardening superpower—but really, it was just the netting doing its thing.
How to Use Frost-Resistant Netting Effectively
Using frost-resistant netting is easier than you might think. Here’s how to get started:


- Install before the frost hits: Don’t wait until you see ice on the ground. Drape the netting over your plants as soon as frost is in the forecast.
- Secure it properly: Use stakes, hoops, or frames to keep the netting elevated slightly above your plants. This prevents damage to delicate leaves and stems.
- Remove during the day: On sunny days, take the netting off to let your plants breathe and soak up sunlight.
Pro tip: For extra protection, combine your netting with mulch around the base of your plants. This helps retain soil warmth and keeps roots cozy.
Plan for Year-Round Beauty
Here’s a thought: why should your garden only shine for a few months of the year? With frost-resistant netting, you can plan for year-round beauty by extending the life of your seasonal flowers and experimenting with new varieties. Imagine having tulips greeting you in early spring, followed by vibrant mums lighting up your fall landscape.
I once challenged myself to keep something blooming in my garden every month of the year. It wasn’t easy, but with tools like frost-resistant netting, I pulled it off—and it was so rewarding. Every season brought something new to admire.
Tips for Extending Your Growing Season
- Know your frost dates: Check local weather patterns to predict when frost is likely to hit.
- Layer strategically: Combine frost-resistant netting with other protective measures like cloches or row covers for maximum effect.
- Experiment with cold-hardy plants: Try growing flowers like violas, calendulas, or ornamental kale alongside your usual favorites.
Alright, so now you know how frost-resistant netting can help you extend your growing season and keep your garden thriving through frosty mornings and chilly nights. Ready to take things to the next level? Click the “Next” button below to discover how companion planting strategies can boost your garden’s health and productivity. Spoiler alert: teamwork makes the garden dream work! 🌱


GIPHY App Key not set. Please check settings