8. Maximize Yield with Layered Netting Techniques
If you’ve ever felt like your garden could use a little more oomph—more blooms, more veggies, more life—you’re in the right place. One of my favorite tricks for small spaces is layered netting techniques. It’s like building a vertical lasagna, but instead of noodles and cheese, you’re stacking plants and netting to create a thriving, multi-tiered garden. And the best part? It’s perfect for teaching kids about layers in nature while maximizing your yield. Let’s dig in!
Why Layering Works Wonders for Small Spaces
I’ll admit, I used to think gardening in tight spaces was impossible. My first attempt at growing vegetables in a tiny backyard was a disaster—everything was overcrowded, and my poor tomatoes were competing for sunlight like they were in some kind of plant Hunger Games.
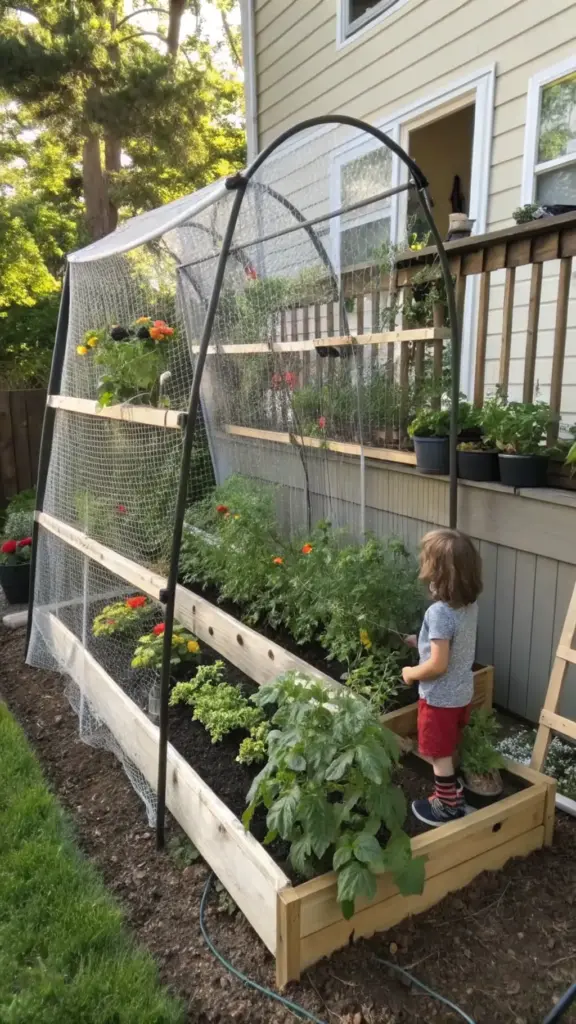
Then I discovered layered netting techniques, and it completely changed the game. By stacking plants vertically and using netting to support each layer, I was able to grow twice as much in the same amount of space. Plus, it added a cool architectural vibe to my garden. It’s like giving your plants their own high-rise apartment.
Step-by-Step Guide to Layered Netting
Don’t worry if you’re new to this—I’ve got you covered. Here’s how to create a multi-tiered garden even if you’ve never layered anything more complicated than a sandwich:
- Plan your layers: Start by deciding which plants go where. Place taller plants like tomatoes or sunflowers on the top tier and shorter ones like lettuce or herbs below.
- Install sturdy frames: Use wooden stakes, metal poles, or PVC pipes to create a frame for each layer. Make sure it’s stable enough to hold the weight of your plants and netting.
- Add netting for support: Stretch soft mesh netting across each tier to support climbing plants or keep stems upright. Secure it tightly to prevent sagging.
- Plant strategically: Place seeds or seedlings in each layer, making sure they have enough room to grow. Water regularly and watch the magic happen!
One summer, I built a three-tier garden with my kids, and it became our favorite family project. They loved helping me “build a plant skyscraper,” and it sparked endless conversations about how layers work in nature—like forests with tall trees, shrubs, and ground cover.


Teach Kids About Layers in Nature
Here’s a fun way to get the kiddos involved: explain how layered gardens mimic natural ecosystems. In a forest, you’ve got towering trees, middle-layer shrubs, and ground-level plants all working together. Your garden can do the same thing—just on a smaller scale.
I remember my son asking, “Mom, why do plants need layers?” That question led to an impromptu science lesson about how different plants need different amounts of sunlight, water, and nutrients. By the end of the summer, he was pointing out layers everywhere we went—on hikes, in parks, even in our own backyard.
Pro tip: Turn it into a game! Have your kids name each layer (e.g., “Sky Garden,” “Middle Kingdom,” “Ground Floor”) and let them decide which plants go where.
Benefits of Layered Netting Techniques
- Maximizes space: Perfect for urban gardens, balconies, or small backyards.
- Boosts productivity: Grow more plants in less space without sacrificing quality.
- Encourages biodiversity: Different plants attract pollinators and create a balanced ecosystem.
- Adds visual interest: A layered garden looks dynamic and intentional, not cluttered.
Tips for Success
- Choose compatible plants: Pair plants with similar light and water needs in each layer.
- Monitor growth: Keep an eye on how your plants are developing and adjust netting as needed.
- Involve the whole family: Gardening is a great bonding activity, and layered gardens make it even more exciting.
Alright, so now you know how layered netting techniques can help you maximize your garden’s potential while teaching kids (and maybe yourself!) about the beauty of layers in nature. Ready to extend your growing season and protect your precious plants from frost? Click the “Next” button below to discover how frost-resistant netting can keep your blooms thriving year-round. Spoiler alert: winter doesn’t have to mean goodbye to your garden! ❄️


GIPHY App Key not set. Please check settings