Root Rot: The Hidden Danger Below the Soil
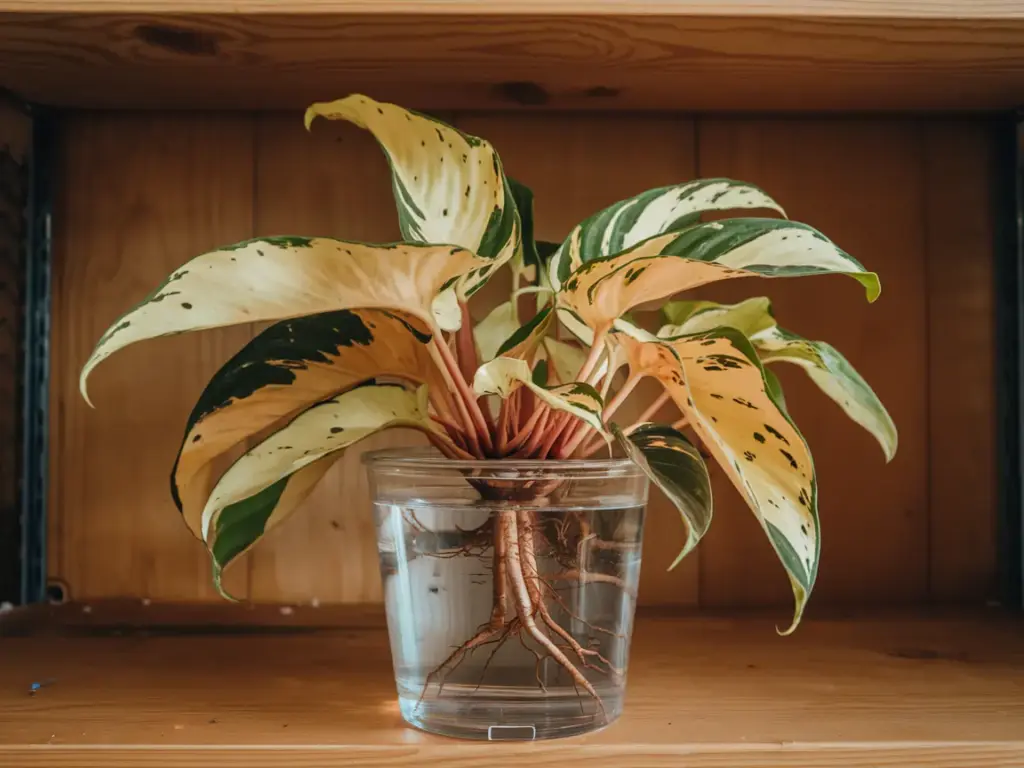
Alright, plant pals, it’s time to get our hands dirty and talk about the silent killer of the plant world – root rot. Remember when I thought my snake plant was just being dramatic? Turns out, it was screaming for help from below the soil. Oops!
The Rot-ten Truth: Causes and Symptoms
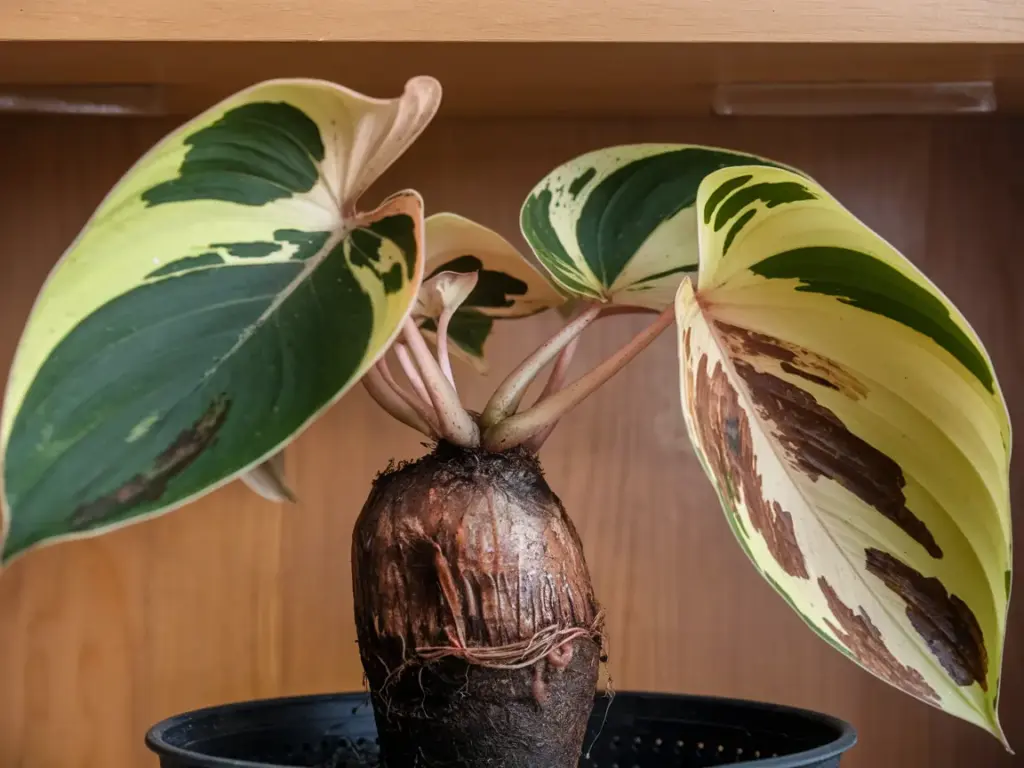
Let’s dig into this underground menace that’s like a horror movie for your plants.
Causes of root rot:
- Overwatering: The number one culprit (I’m looking at you, overzealous waterers)
- Poor drainage: When your pot turns into a mini swamp
- Fungal pathogens: The opportunistic party crashers of the plant world
I once overwatered my pothos so badly, its roots looked like they were auditioning for a zombie movie. Not my finest moment.
Symptoms to watch for:
- Wilting leaves (even when the soil is wet)
- Yellowing or browning leaves (starting from the bottom)
- Stunted growth or sudden leaf drop
- A funky, musty smell coming from the soil (like wet socks – yuck!)
My poor fiddle leaf fig once had such bad root rot, it smelled like it was fermenting its own kombucha down there. Spoiler: it wasn’t.
CSI: Root Rot Unit – Investigating the Crime Scene
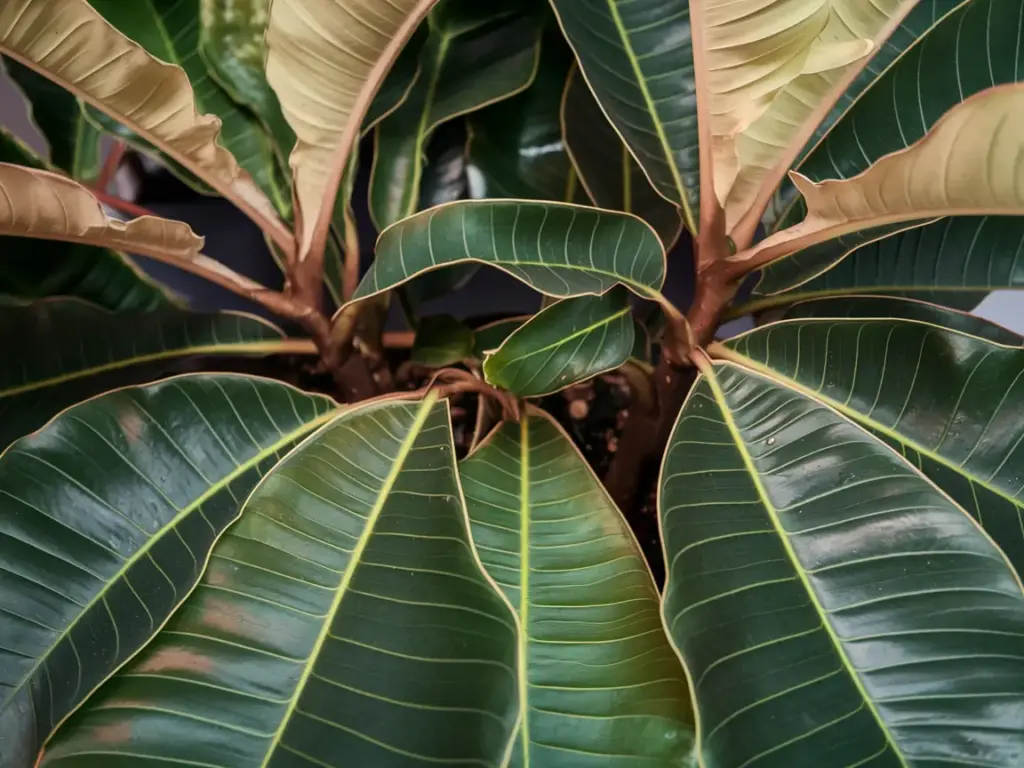
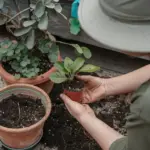
Time to play plant detective again. Checking for root rot is like performing surgery on your plant – a bit scary, but sometimes necessary.
How to check for root rot:
- Gently remove the plant from its pot
- Inspect the roots – healthy roots are firm and white
- Look for brown, mushy, or slimy roots (the telltale signs of rot)
I once spent an entire Saturday playing doctor with my plants. My living room looked like a botanical ER, but hey, desperate times call for desperate measures!
The Great Root Rescue: Treatment and Prevention
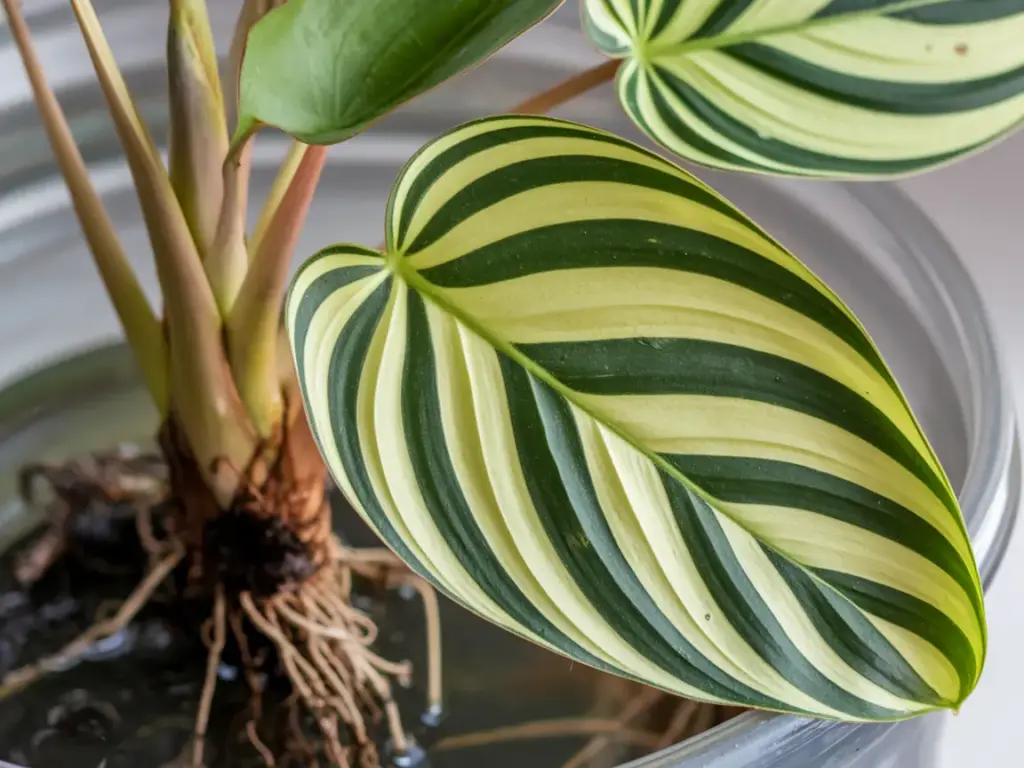
Alright, it’s time for some plant rehab. Let’s turn that root rot into root recovery!
Treatment steps:
- Trim away all rotted roots with clean, sharp scissors
- Repot in fresh, well-draining soil
- Adjust watering habits (remember, less is more)
I once had to perform emergency surgery on my monstera. It was touch-and-go for a while, but now it’s thriving like a champ!
Preventive measures:
- Use pots with good drainage holes
- Mix perlite or sand into your potting mix for better drainage
- Feel the soil before watering (when in doubt, don’t water)
- Invest in a moisture meter (it’s like a Fitbit for your plants)
Pro tip: Bottom watering can help prevent overwatering. It’s like letting your plant decide how much it wants to drink at the root pub.
Remember, preventing root rot is easier than curing it. I learned this the hard way after turning my indoor jungle into a swamp experiment.
Now, you might be thinking, “Great! I’ve mastered pest control, I’m a root rot expert, what else could possibly go wrong?” Oh, my sweet summer child, buckle up because we’re about to dive into the mysterious world of pH.
In our next section, we’ll be exploring the delicate balance of soil acidity and alkalinity. Ever wonder why your plant looks iron deficient even though you’re feeding it like a king? Or why your hydrangeas are stubbornly refusing to change color? We’ll uncover the secrets of pH imbalance and how it affects nutrient uptake. Get ready to become a soil chemistry whiz – your plants are counting on you! Trust me, this next part is going to be pHantastic (sorry, I couldn’t resist)!


GIPHY App Key not set. Please check settings