Method 5: Air Layering – Advanced Technique
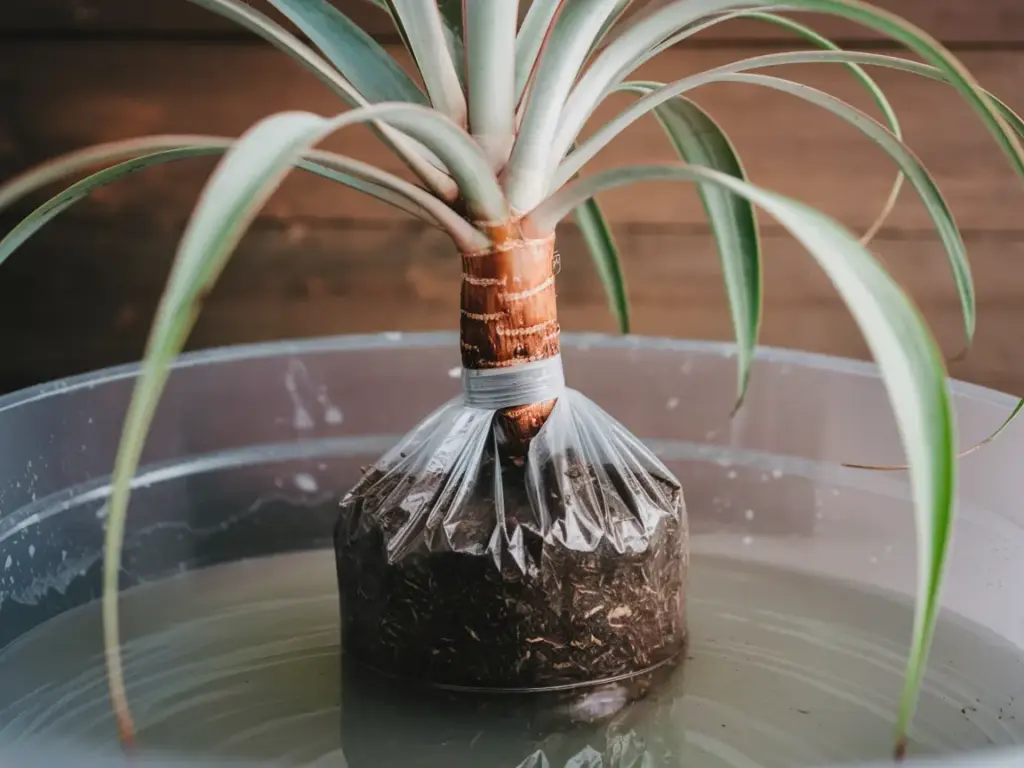
Alright, plant ninjas, it’s time to level up your propagation game with air layering! When I first heard about this technique, I thought it was some kind of plant magic. Turns out, it’s just science mixed with a little patience. Let’s dive in!
What in the World is Air Layering?
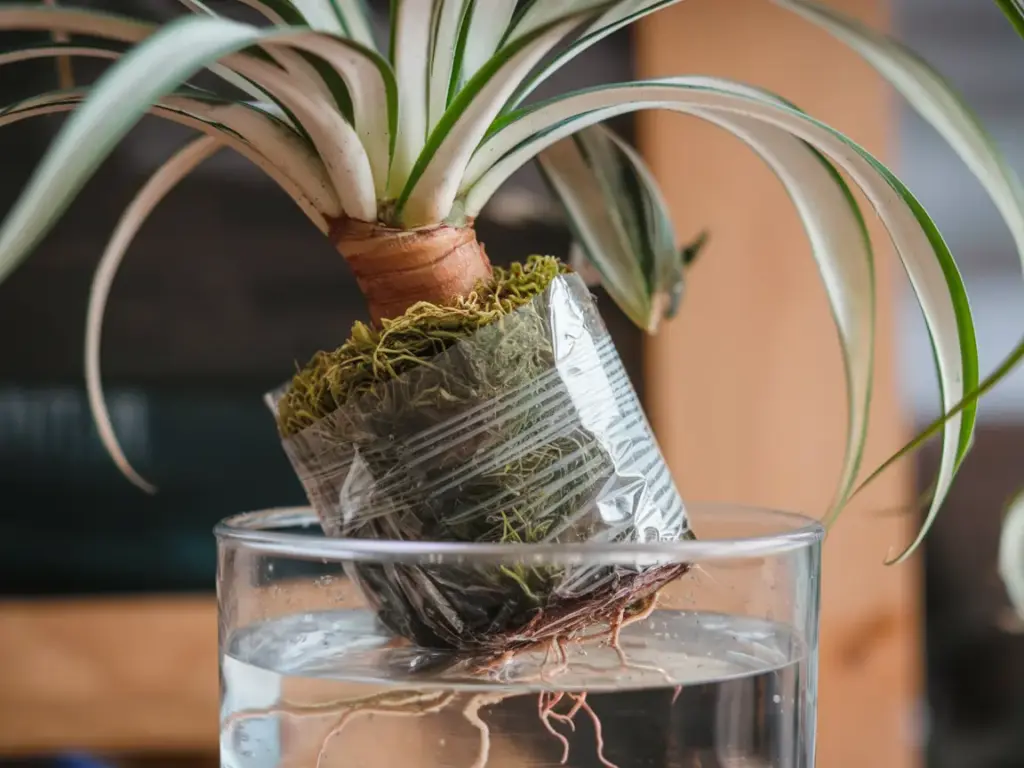
Air layering is like convincing your spider plant to grow roots while it’s still attached to the mother plant. It’s the plant equivalent of learning to ride a bike with training wheels – the baby plant gets all the support it needs before going solo.
This method is great for spider plants because:
- It allows for larger propagations than traditional methods.
- You can create a fully rooted plant before separating it from the mother.
- It’s a fun way to impress your plant friends. Trust me, they’ll think you’re some kind of plant wizard!
Gathering Your Air Layering Arsenal
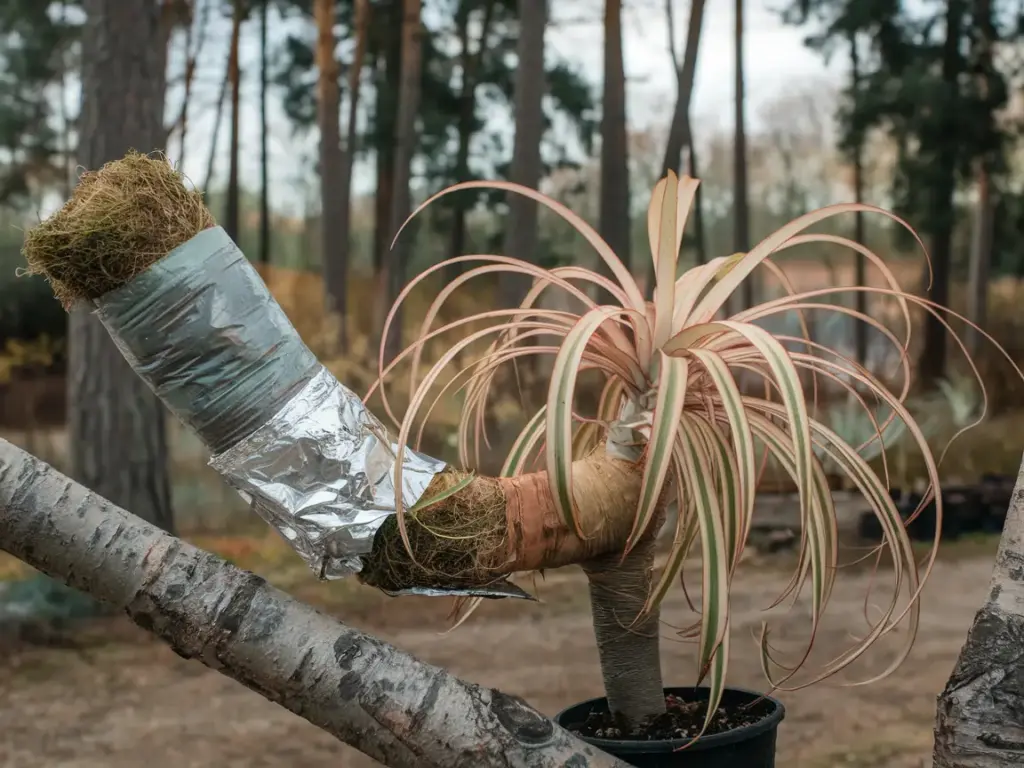
Before we start, let’s make sure we have all our tools ready. Here’s what you’ll need:
- Sharp, clean knife or scissors
- Sphagnum moss (moistened)
- Plastic wrap
- Twist ties or string
- Rooting hormone (optional, but recommended)
Pro tip: I once tried to use regular potting soil instead of sphagnum moss. Let’s just say it was a messy disaster. Stick with the moss, folks!
The Air Layering Process: Step by Step
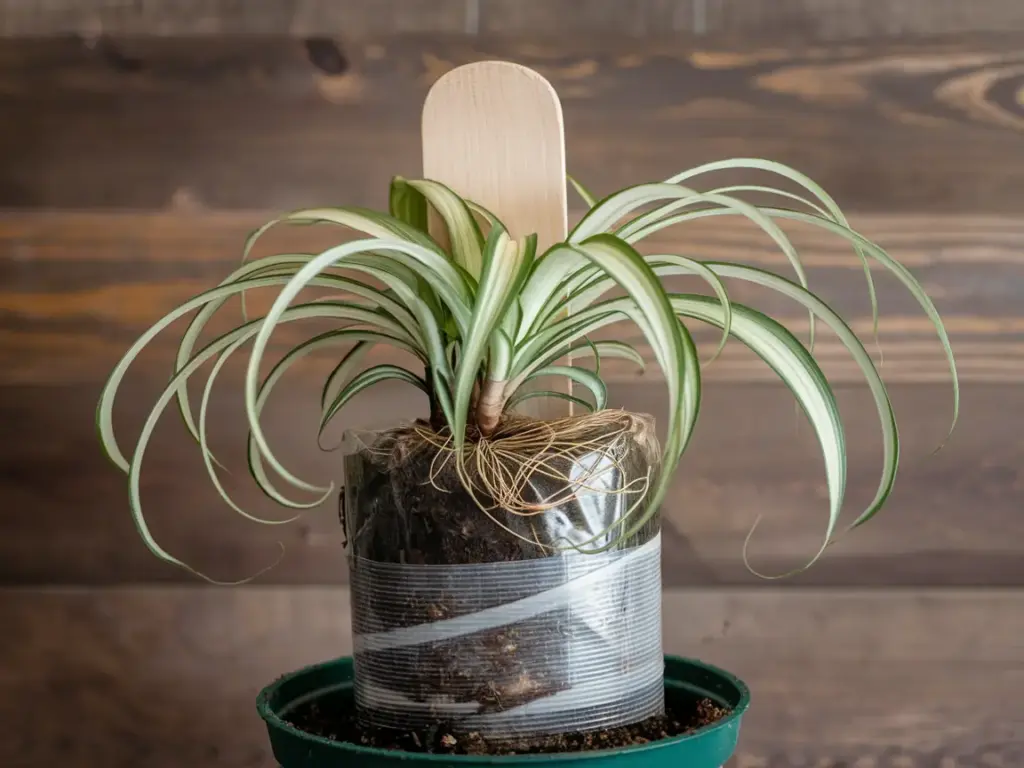
Alright, here’s where the magic happens. Follow these steps, and you’ll be air layering like a pro in no time!
- Choose a healthy stem on your spider plant. Look for one that’s at least pencil thickness.
- Make a small upward cut about 1/3 of the way through the stem. This is where your new roots will form.
- Apply rooting hormone to the cut if you’re using it. It’s like giving your plant a little growth boost!
- Wrap the moistened sphagnum moss around the cut area. Make it about the size of a golf ball.
- Cover the moss ball with plastic wrap, securing it above and below with twist ties or string.
- Poke a few small holes in the plastic for air circulation. We want moist, not moldy!
The first time I did this, I felt like I was performing plant surgery. It’s oddly satisfying!
The Waiting Game: When to Pot Your New Plant
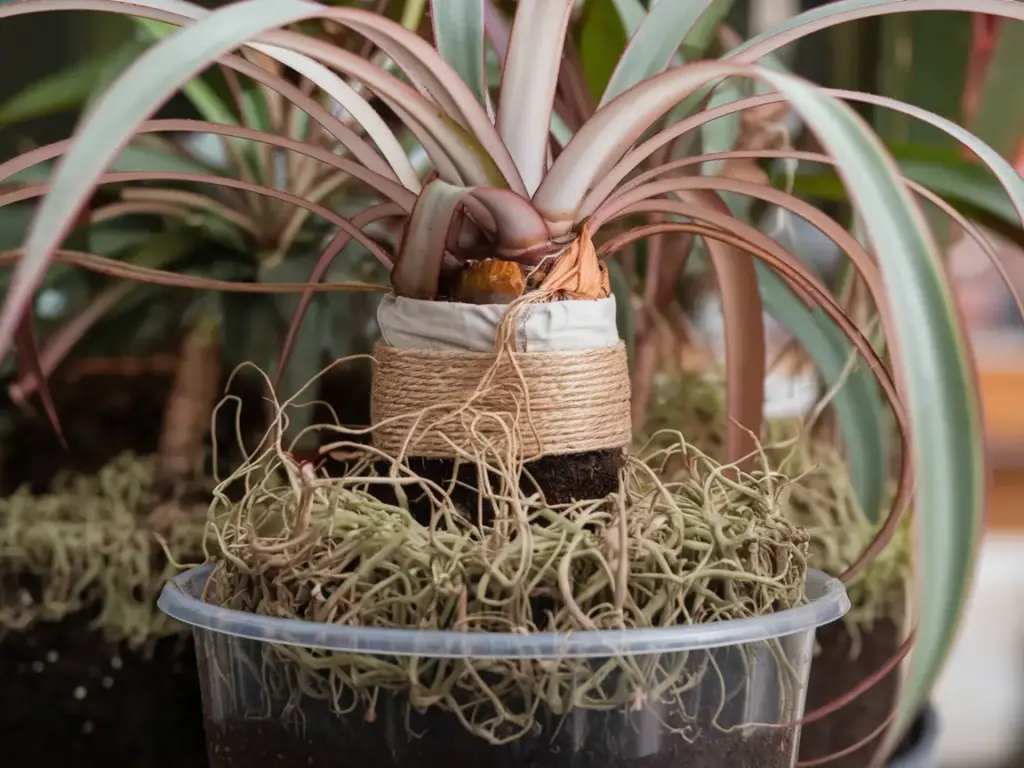
Now comes the hard part – waiting. It’s like watching paint dry, but way more rewarding in the end.
- Keep the moss moist but not waterlogged. You might need to add water every week or so.
- After about 4-6 weeks, you should start to see roots through the plastic. It’s like your plant is giving you a thumbs up!
- When you see a good network of roots (usually after 2-3 months), it’s time to separate your new plant.
To pot your new plant:
- Carefully cut below the rooted area.
- Unwrap the plastic and gently remove the moss.
- Plant in a pot with well-draining soil.
- Water thoroughly and treat it like any other new plant baby.
I remember the first time I unwrapped a successful air layer. The amount of roots was mind-blowing! It’s like uncovering buried treasure.
Now that you’re an air layering expert, you might be wondering, “What’s next in my spider plant propagation journey?” Well, plant parent extraordinaire, it’s time to talk about caring for all these new plant babies you’ve created!
Ready to ensure your propagated plants thrive? Click that “next” button and let’s dive into the essential care tips for your new spider plant offspring. Trust me, with these tips, you’ll be able to grow a whole jungle of happy, healthy spider plants in no time!


GIPHY App Key not set. Please check settings