Method 2: Soil Propagation – Direct and Simple
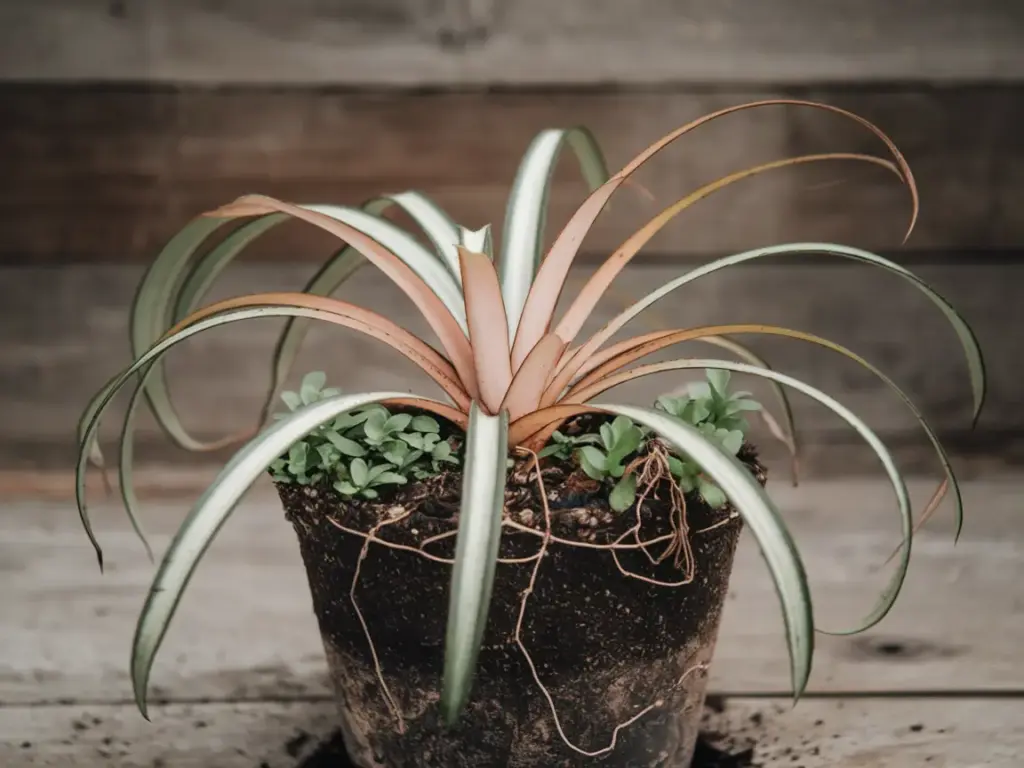
Alright, green thumbs, it’s time to get down and dirty with soil propagation! This method is like the “rip off the band-aid” approach to growing new spider plants. It’s direct, it’s simple, and it’s surprisingly effective. Plus, it’s perfect for those of us who are a tad impatient (guilty as charged).
The Soil Propagation Playbook
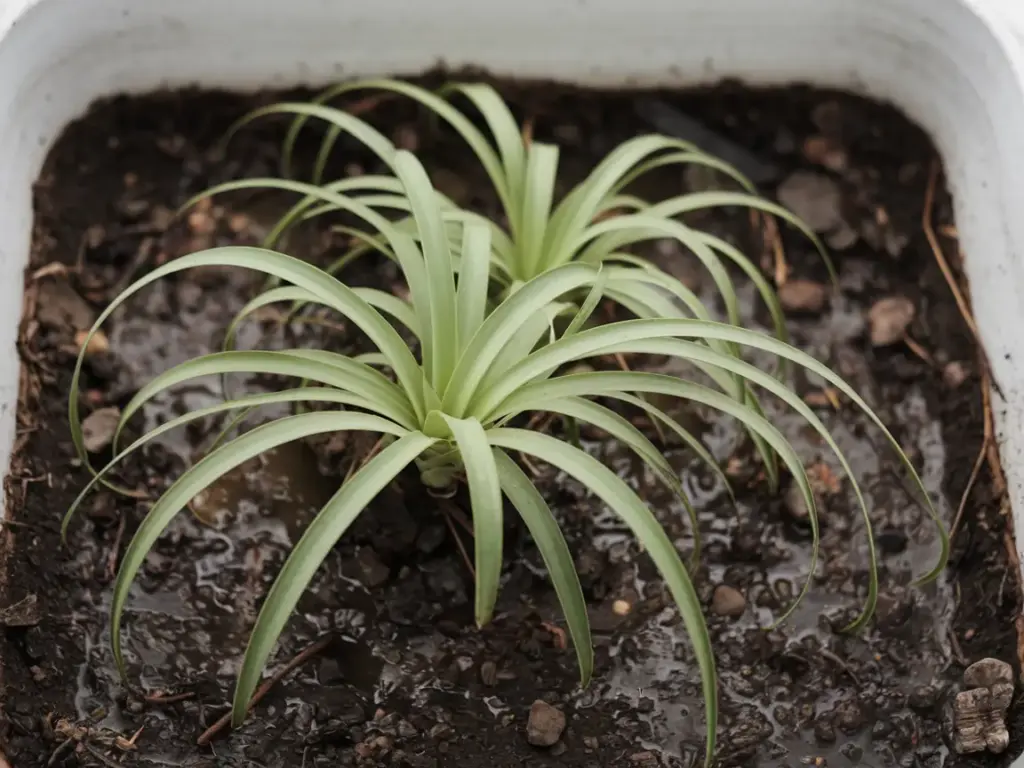
Let me walk you through this process step-by-step. Trust me, I’ve done this more times than I can count, and I’ve made every mistake in the book so you don’t have to!
- Select a healthy plantlet from your mother spider plant. Look for one with a few leaves and some tiny root nubs.
- Gently remove the plantlet from the stolon. A little twist-and-pull usually does the trick.
- Prepare a small pot (about 4 inches) with drainage holes. No holes? No dice. I learned that the hard way with my first propagation attempt.
- Fill the pot with a well-draining potting mix. We’ll talk more about soil in a bit.
- Make a small hole in the soil and nestle your plantlet in, making sure the base is covered.
- Water thoroughly and place in a spot with bright, indirect light.
The Dirt on Soil: Choosing the Right Mix
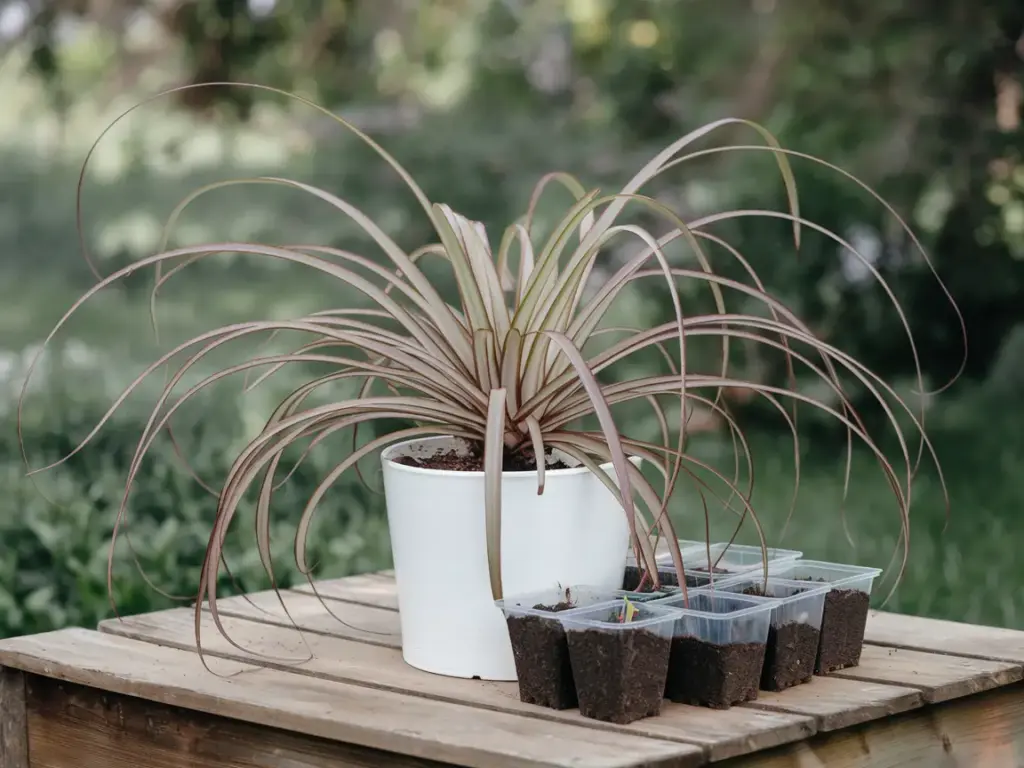
Picking the right soil for your spider plant babies is crucial. It’s like choosing the right outfit for a first date – you want to make a good impression!
- Start with a good quality potting soil as your base. Avoid heavy garden soils – they’re too dense for our spider friends.
- Mix in some perlite or vermiculite for extra drainage. I usually go for a 2:1 ratio of soil to perlite.
- A handful of compost can give your plantlets a nutrient boost. It’s like a superfood smoothie for plants!
I once used straight garden soil for my spider plant babies. Let’s just say it didn’t end well. Drainage is key, folks!
Watering Wisdom for New Plantlets
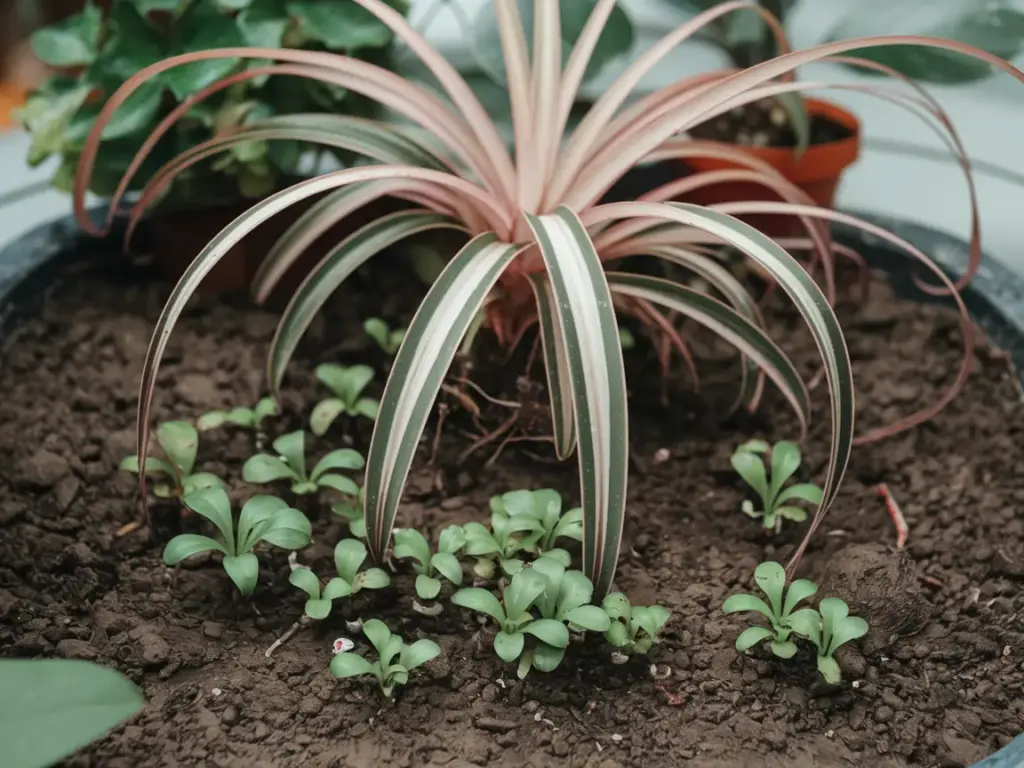
Watering newly planted spider plant offshoots can be tricky. Too much, and you’ll drown them. Too little, and they’ll shrivel up faster than my motivation on a Monday morning.
- Keep the soil consistently moist but not waterlogged for the first few weeks.
- Water when the top inch of soil feels dry to the touch.
- Consider using a spray bottle for gentle watering. It’s like a spa day for your plants!
- Avoid getting water on the leaves to prevent rot.
Troubleshooting: When Things Go South
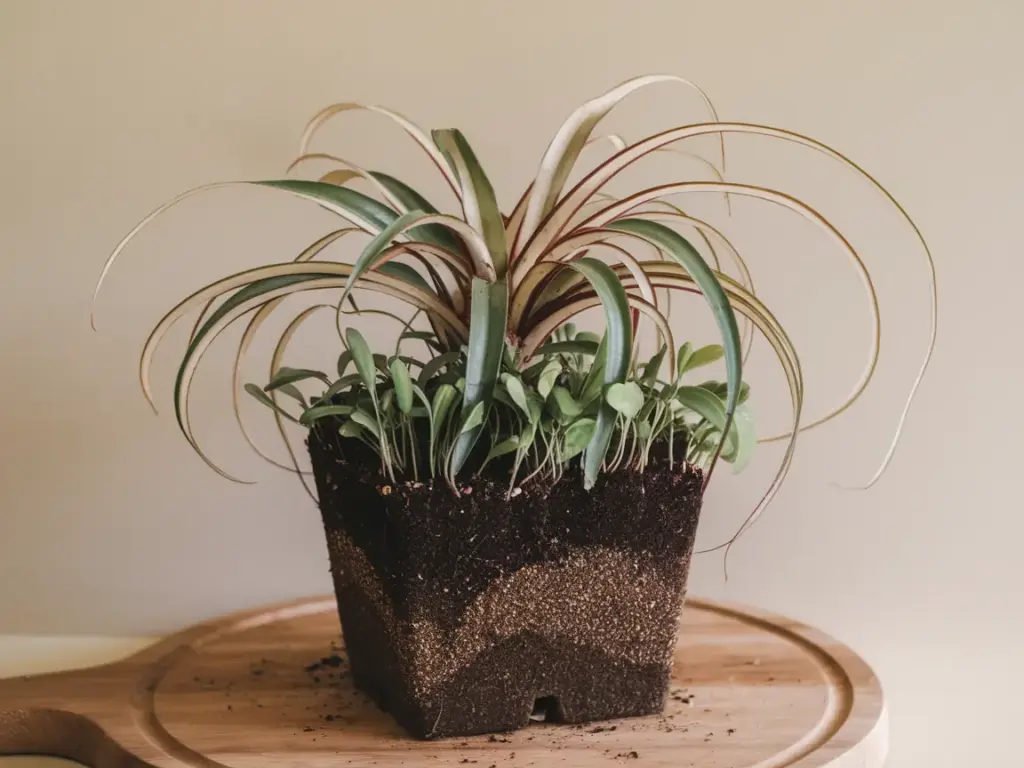
Even with the best care, sometimes things don’t go as planned. Here are some common issues I’ve faced and how to fix them:
- Yellowing leaves: Usually a sign of overwatering. Let the soil dry out a bit more between waterings.
- Wilting: Could be underwatering or too much direct sun. Check the soil moisture and lighting conditions.
- No growth: Be patient! Sometimes it takes a few weeks to see progress. If after a month there’s no change, gently tug on the plantlet. If there’s resistance, roots are forming!
- Mold on soil surface: Improve air circulation and reduce watering frequency.
Remember the time I panicked because my plantlet looked dead after two weeks? Turns out it was just taking its sweet time to root. Patience is a virtue in the plant world!
Now, I know what you’re thinking. “This soil propagation stuff is great, but what if I have a big, beautiful spider plant that I want to multiply?” Well, my friend, you’re in for a treat. In the next section, we’re going to talk about the division method – it’s like plant surgery, but way less scary and way more fun.
Ready to channel your inner plant surgeon? Click that “next” button and let’s dive into the world of spider plant division! Trust me, once you try this method, you’ll feel like a bonafide plant magician. It’s time to make one plant into many!


GIPHY App Key not set. Please check settings