Method 1: Water Propagation – The Classic Approach
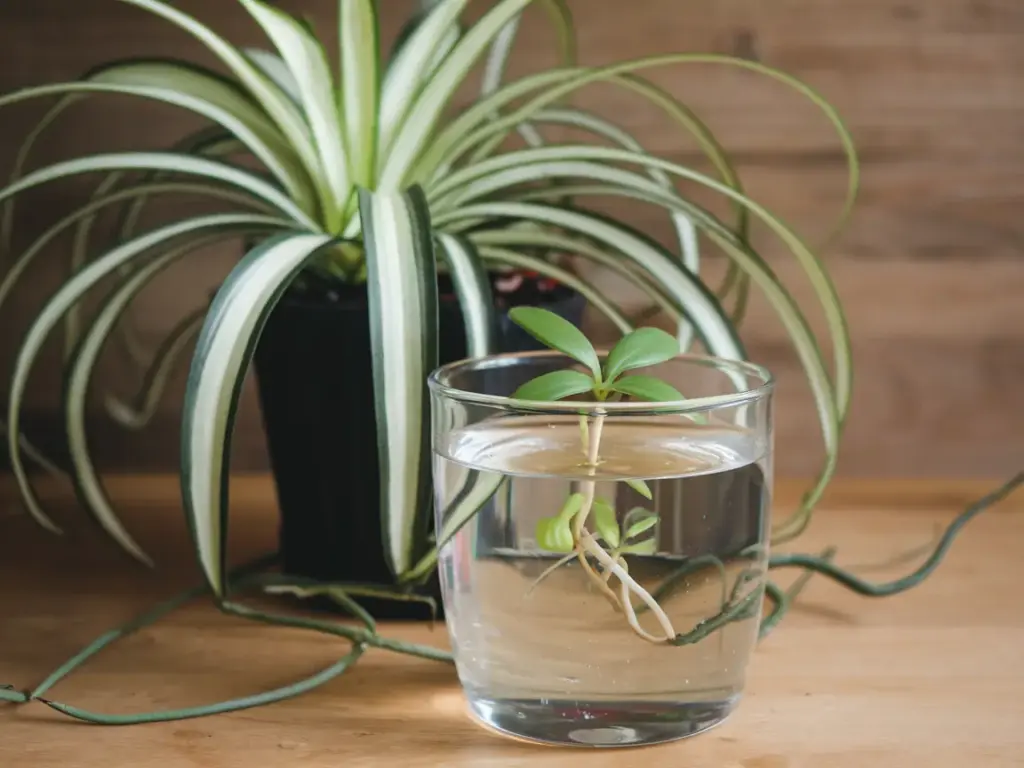
Alright, plant pals, let’s dive into the world of water propagation! This method is my go-to when I’m feeling lazy (which, let’s be honest, is pretty often). It’s like the microwave dinner of plant propagation – quick, easy, and surprisingly effective.
Step-by-Step: Getting Your Feet Wet
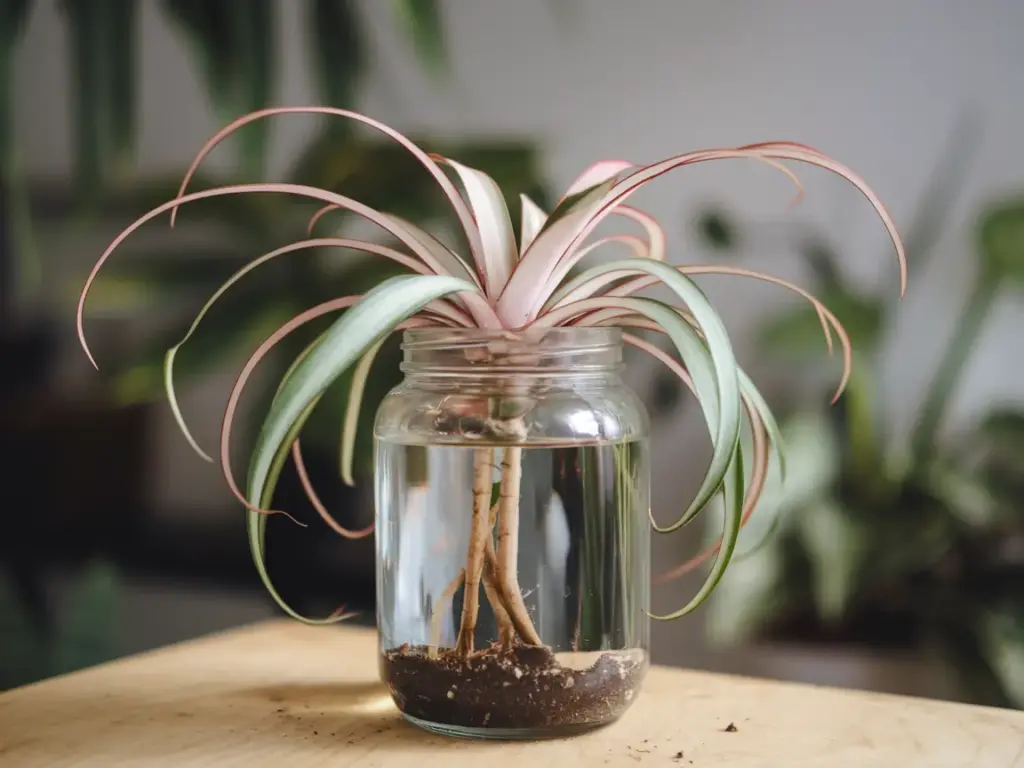
First things first, you’ll need to snag a plantlet from your mother spider plant. Now, I’ve made the mistake of just yanking these off willy-nilly, but trust me, there’s a better way.
- Choose a healthy-looking plantlet with a few leaves and some visible root nubs.
- Gently twist the plantlet while pulling it away from the stolon. It should come off easily if it’s ready.
- Find a clean glass or jar. I once used an old pickle jar and… well, let’s just say my spider plant babies were not impressed with the lingering dill scent.
- Fill the container with room temperature water. Rainwater or filtered water is best, but tap water works too.
- Plop that little plantlet in so its base is submerged, but keep the leaves above water. We’re going for “relaxing spa day,” not “drowning plant.”
Picking the Perfect Plantlet
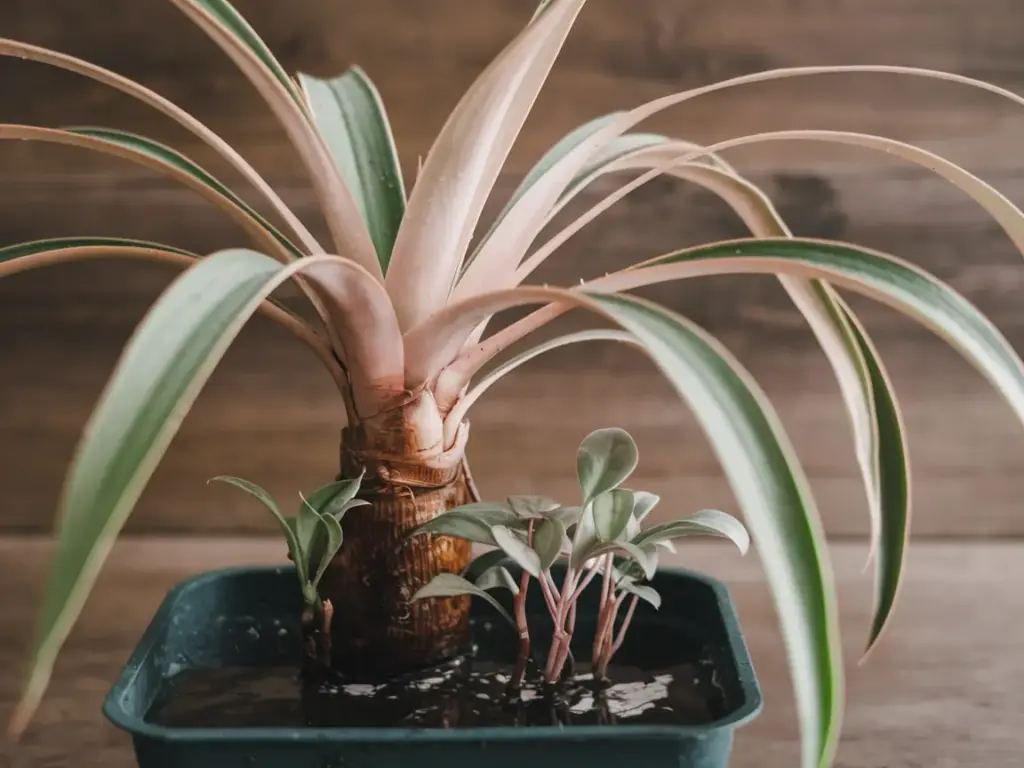
Choosing the right plantlet is like picking the perfect avocado at the grocery store – it takes practice, but you’ll get the hang of it. Look for:
- Size matters: Aim for plantlets that are at least 2 inches long.
- Root readiness: Those little brown nubs at the base? Those are your future roots. The more, the merrier!
- Leaf health: Vibrant, green leaves are a good sign. If it looks sad and yellow, maybe give it a pass.
I once propagated a sickly-looking plantlet out of pity, and let me tell you, it was an uphill battle the whole way. Learn from my mistakes, folks!
Babysitting Your Water Babies
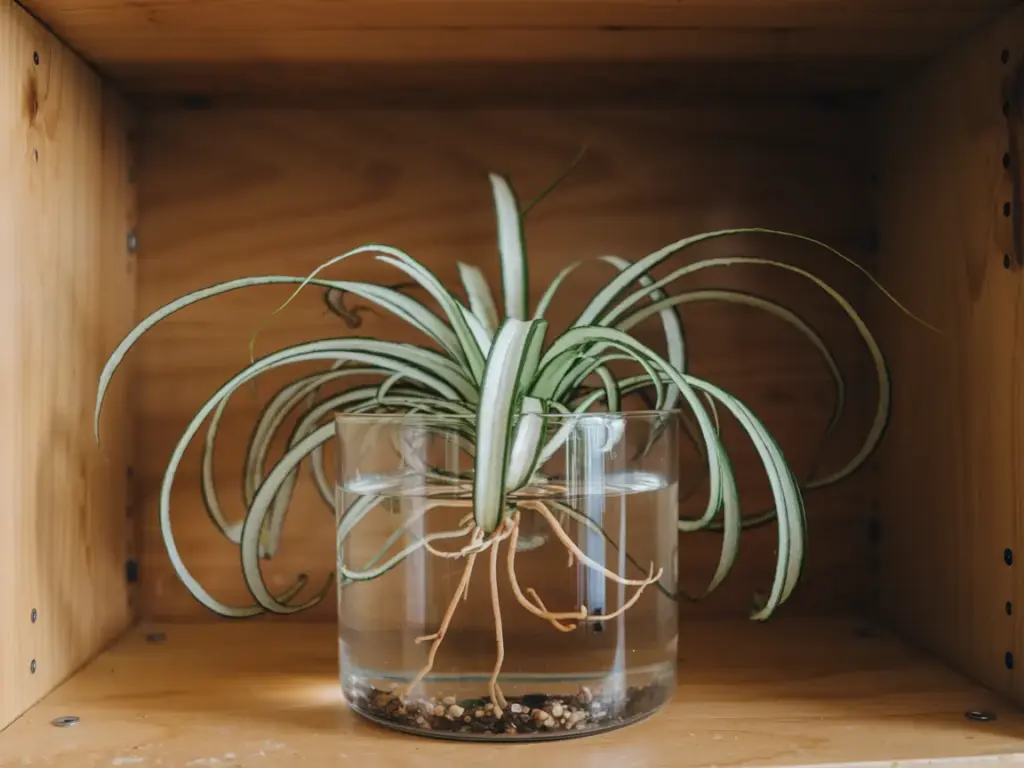
Caring for your spider plant cuttings in water is pretty chill, but there are a few things to keep in mind:
- Change the water every few days. Stagnant water is a breeding ground for bacteria, and trust me, you don’t want to smell that.
- Keep them in bright, indirect light. I put mine on a north-facing windowsill and they thrived.
- Be patient! It usually takes 1-2 weeks to see roots, but it can take longer. I’ve had some stubborn plantlets take almost a month.
- Celebrate every little root! I may or may not have thrown a tiny party when I saw my first root appear.
The Big Move: From Water to Soil
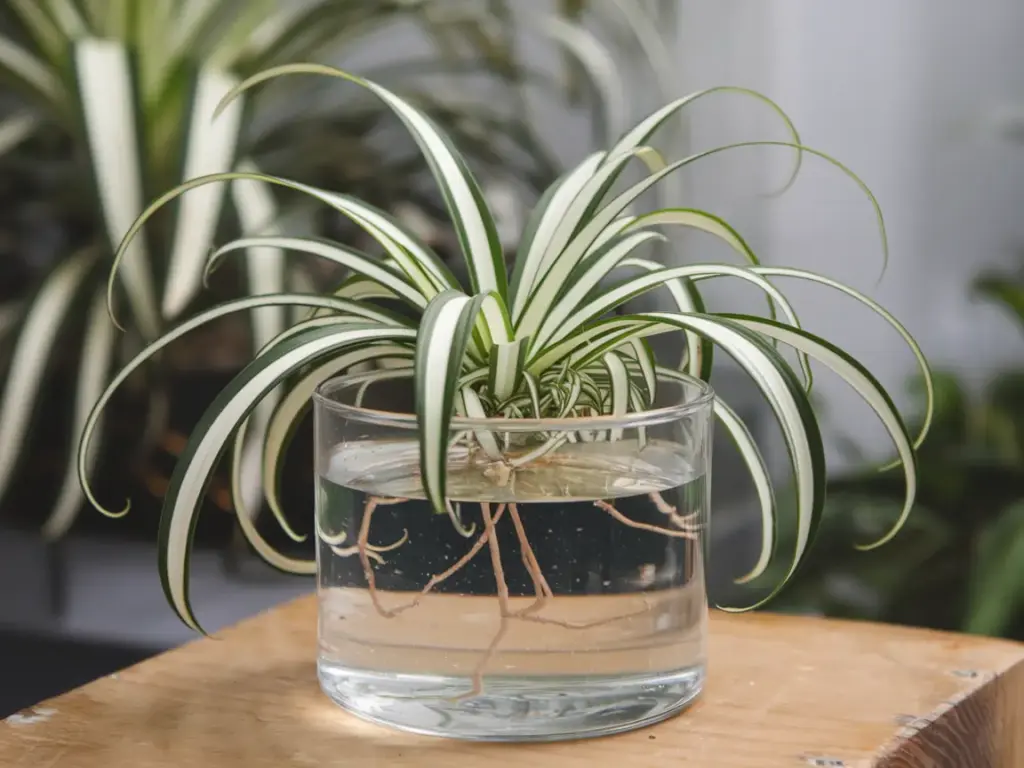
Alright, your plantlet has grown some impressive roots. Time for the big leagues – soil! Here’s how to make the transition smooth:
- Wait until the roots are at least 1-2 inches long. Longer is even better.
- Prepare a small pot with well-draining potting mix. I like to add some perlite for extra drainage.
- Make a hole in the soil and gently place your rooted plantlet in.
- Water thoroughly and keep the soil moist (but not waterlogged) for the first couple of weeks.
The first time I did this, I was so nervous I practically hovered over the plant 24/7. But these little guys are tougher than they look!
Now, I know what you’re thinking – “Water propagation sounds great, but what if I want to skip the middle man and go straight to soil?” Well, my impatient friend, you’re in luck! In the next section, we’re going to explore the direct-to-soil method. It’s like the express lane of spider plant propagation.
Ready to get your hands dirty? Click that “next” button and let’s dig into soil propagation! Trust me, it’s just as satisfying as water propagation, but with 100% more dirt under your fingernails.


GIPHY App Key not set. Please check settings