5. Post-Repotting Care: The Critical Phase
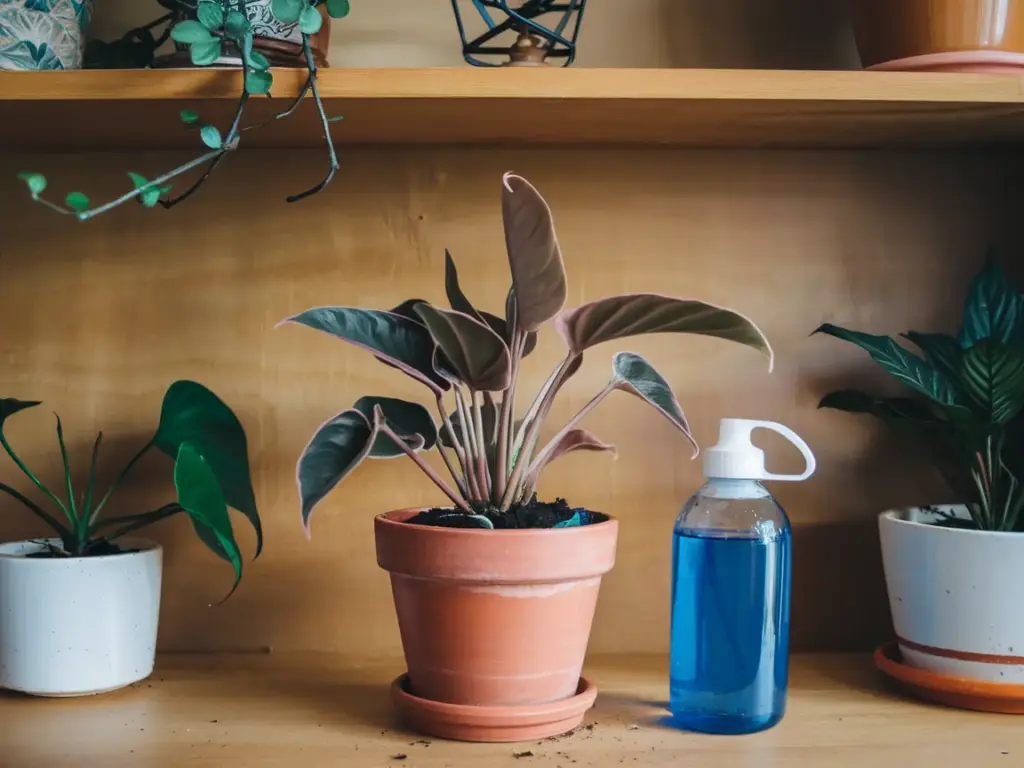
Alright, plant parents, we’ve made it through the repotting process, but we’re not out of the woods yet. The next few days are crucial for your plant’s recovery. Think of it like bringing home a newborn – everything needs to be just right. I’ve learned these lessons the hard way, so let me save you some heartache (and maybe a few plant casualties).
Watering Techniques for Newly Repotted Plants
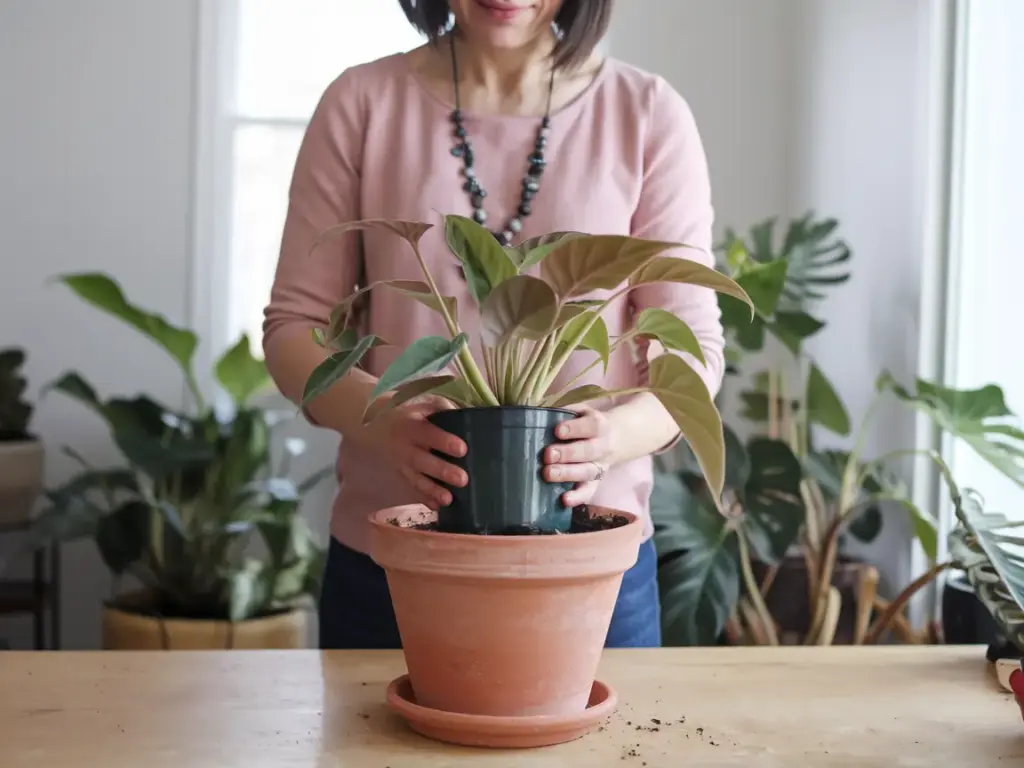
First things first: let’s talk about hydration. You might be tempted to give your newly repotted plant a big drink right away. But hold your horses!
- Wait at least a day before watering your newly repotted plant. This gives any damaged roots time to heal and helps prevent root rot.
- When you do water, do it thoroughly. Water until you see it coming out of the drainage holes. This ensures the entire root ball gets moistened.
- After the initial watering, let the top inch of soil dry out before watering again. Stick your finger in the soil – if it feels dry up to your first knuckle, it’s time to water.
I once made the mistake of overwatering a newly repotted snake plant, thinking it needed extra TLC. Spoiler alert: it didn’t appreciate the swamp-like conditions and started to yellow faster than you can say “root rot.”
Light and Temperature Considerations
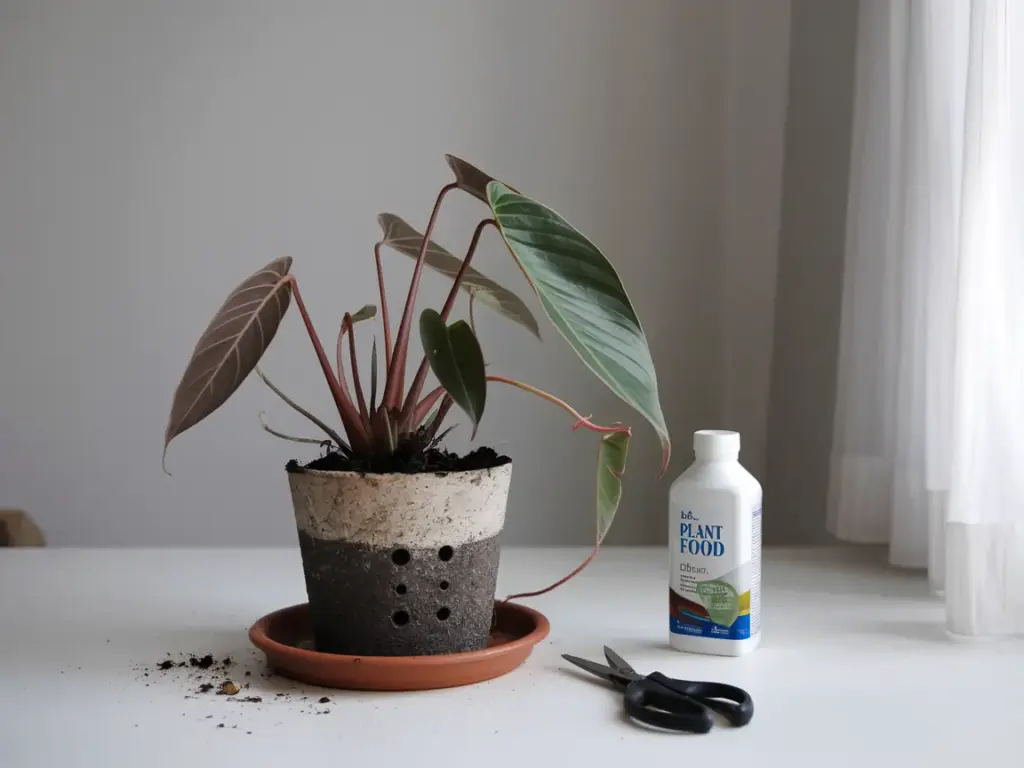
Your repotted plant is like a patient recovering from surgery – it needs the right environment to heal.
- Keep your plant in indirect light for a few days after repotting. Even if it’s normally a sun-lover, it needs time to adjust.
- Maintain a consistent temperature. Avoid placing your newly repotted plant near drafty windows or air conditioning vents.
- If you have a humidity-loving plant, consider giving it a little extra moisture. A pebble tray or a nearby humidifier can work wonders.
I learned this the hard way when I repotted a fern and immediately put it back in its usual sunny spot. Poor thing looked like it had been through a war by the end of the day.
Monitoring for Signs of Stress or Shock
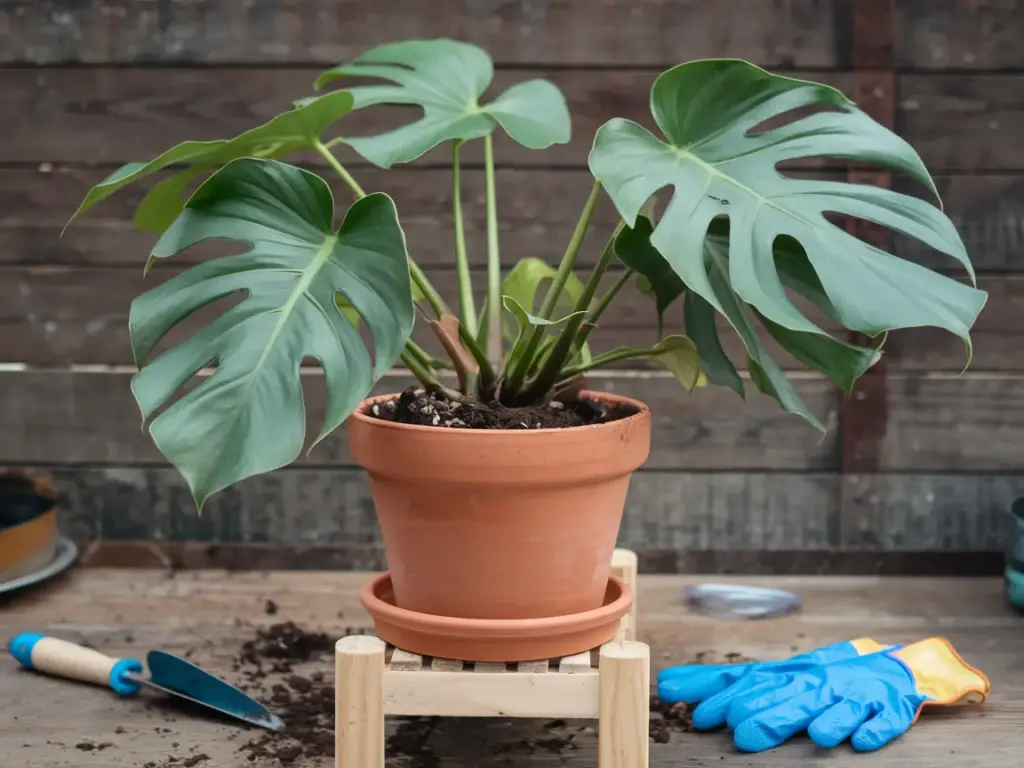
Now, it’s time to play plant detective. Keep a close eye on your green friend for any signs of distress.
- Wilting is normal for the first day or two, but if it persists, you might need to adjust your care routine.
- Yellowing leaves could indicate overwatering or nutrient issues. Don’t panic – it’s not uncommon to lose a leaf or two during the transition.
- Watch for any sudden leaf drop. While losing a few leaves is normal, a mass exodus is a sign something’s wrong.
- New growth is a great sign! If you see new leaves popping up within a few weeks, pat yourself on the back – you’ve successfully navigated the repotting process.
I remember the first time I saw new growth on a plant I’d repotted. I was so excited, I’m pretty sure I threw a little party for my pothos. No shame in celebrating your plant parenting wins!
Remember, every plant is different. Some bounce back from repotting like champs, while others might sulk for a while. The key is patience and consistent care.
Now that we’ve covered the critical post-repotting phase, you might be feeling pretty confident. But what happens if things don’t go according to plan? Don’t worry, we’ve got you covered. In our next section, we’ll dive into Troubleshooting Common Repotting Issues. Because let’s face it, even the most experienced plant parents run into problems sometimes. So stick around – we’re about to turn you into a plant-rescuing superhero!


GIPHY App Key not set. Please check settings