4. The Art of Repotting: Step by Step
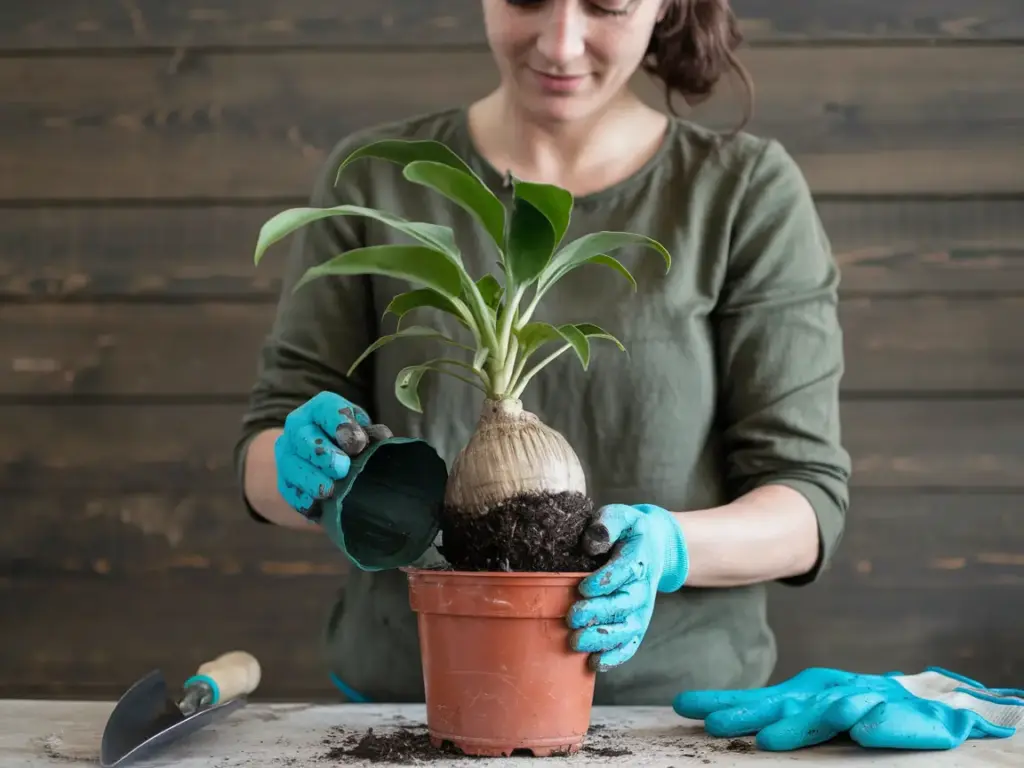
Alright, plant parents, we’ve made it to the main event! It’s time to get down and dirty with the actual repotting process. Think of this as giving your plant its forever home (or at least until it outgrows this one). Let’s break it down, shall we?
Adding Drainage to Your New Pot
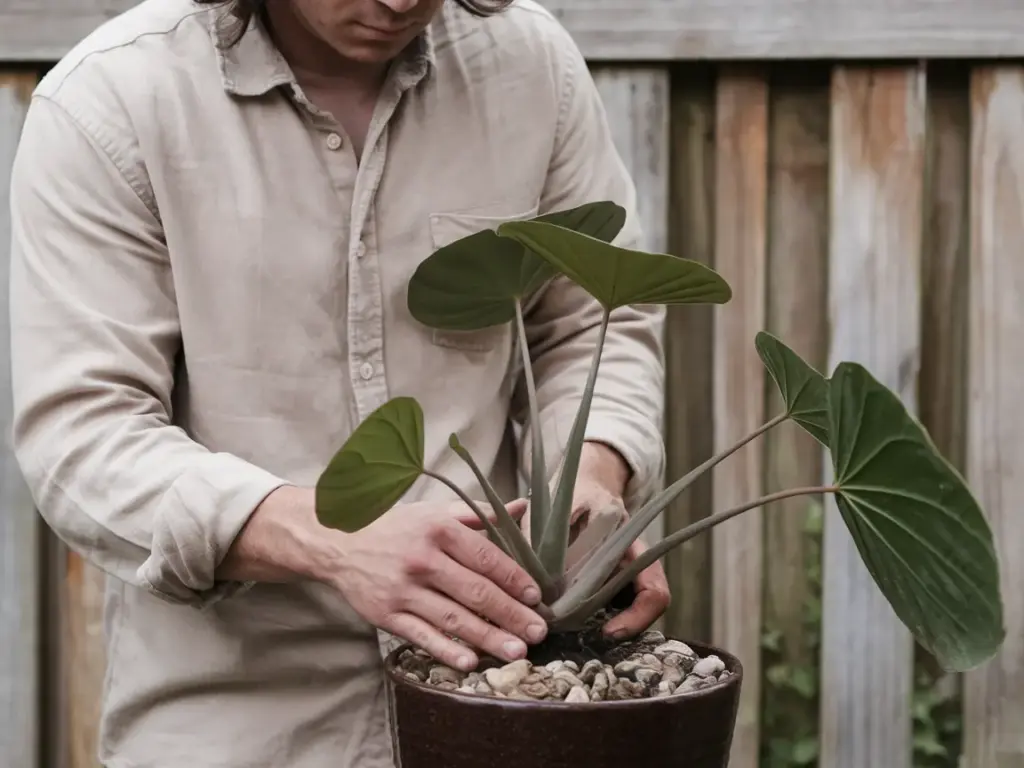
First things first: drainage is key. I can’t stress this enough. I once thought I could get away with a pot without drainage holes by adding a layer of rocks at the bottom. Spoiler alert: it didn’t end well.
Here’s what you need to do:
- If your pot doesn’t have drainage holes, drill some. Yes, even in that cute ceramic pot you bought on impulse.
- Cover the drainage holes with a piece of mesh or a coffee filter. This prevents soil from escaping while still allowing water to drain.
- Don’t add a layer of rocks or pebbles at the bottom. I know, I know, it seems logical. But trust me, it actually reduces drainage and can lead to root rot.
Remember, good drainage prevents root rot, which is basically the boogeyman of the plant world.
Laying the Foundation with Fresh Soil
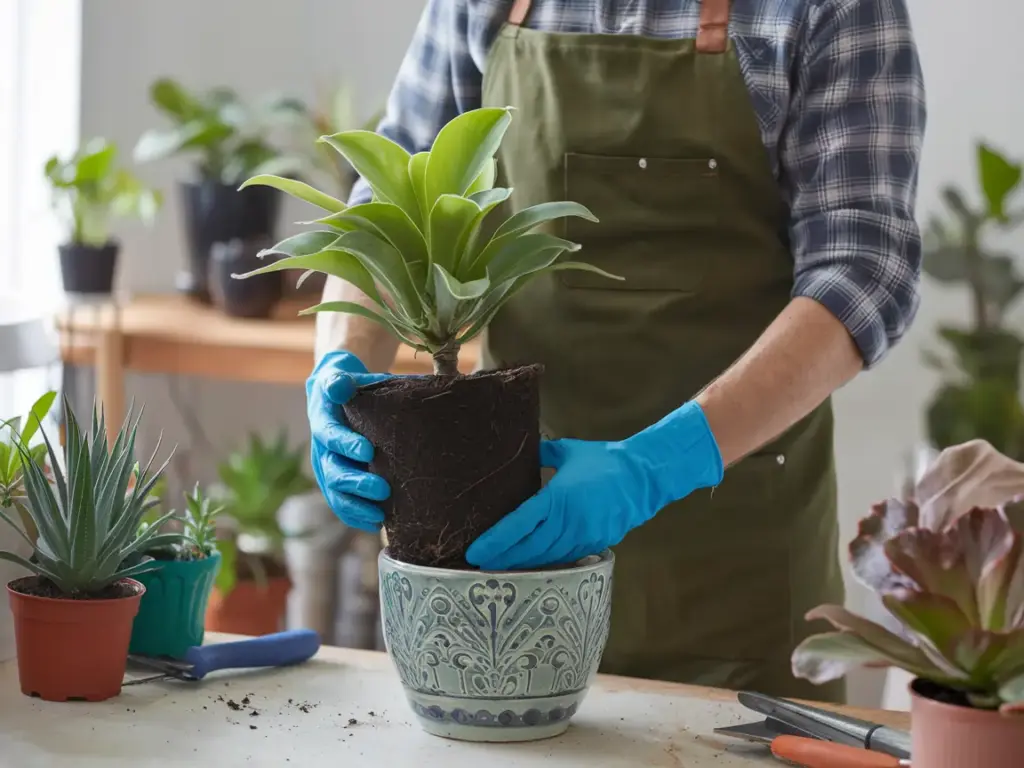
Now it’s time to create a cozy bed for your plant. This step is crucial for giving your green buddy the best start in its new home.
- Add a layer of fresh potting mix to the bottom of the pot. How much? Enough so that when you put your plant in, the top of the root ball sits about an inch below the rim of the pot.
- Gently press down on the soil to remove any large air pockets. But don’t go crazy here – you’re aiming for firm, not compacted.
- If you’re feeling fancy, you can mix in some perlite or vermiculite for extra drainage. Your plants will thank you for it.
I once skipped this step and just plopped my plant directly into an empty pot before adding soil. Let’s just say it ended up looking like it was trying to escape its pot, roots and all.
Positioning Your Plant in its New Home
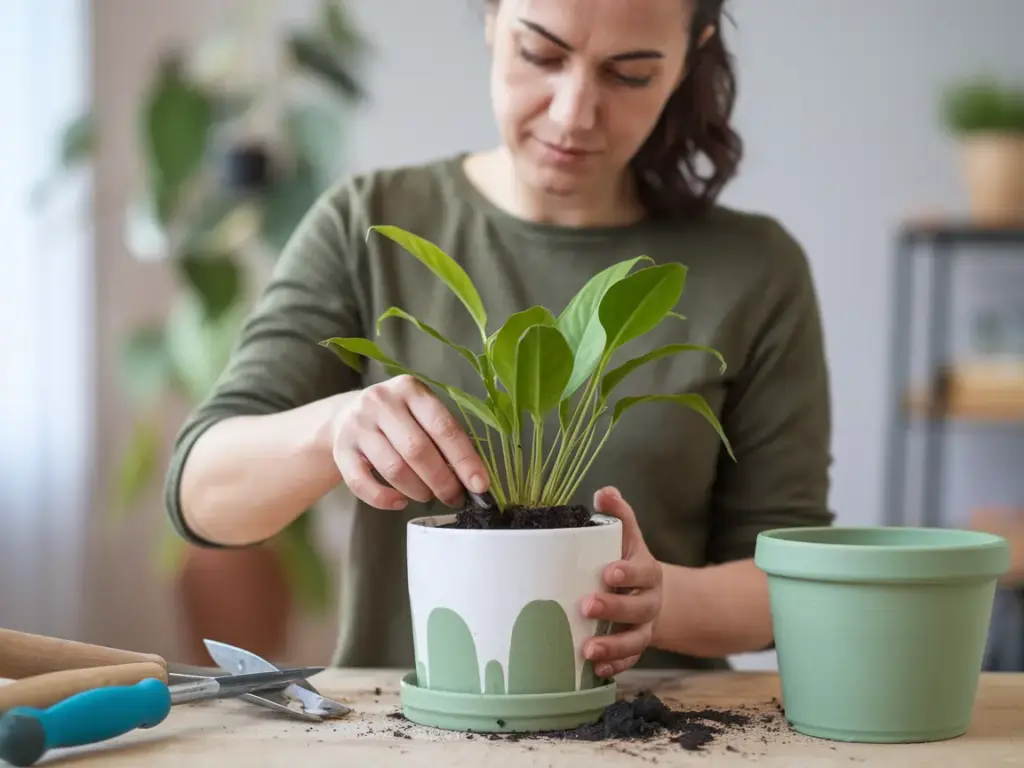
This is where the magic happens, folks. It’s time to introduce your plant to its new digs.
- Carefully lower your plant into the pot, holding it by the root ball, not the stem. (Learned that one the hard way!)
- Center the plant in the pot. This isn’t just for aesthetics – it ensures even growth and stability.
- Check the height. The top of the root ball should sit about an inch below the rim of the pot. This leaves room for watering without overflow.
- If your plant is leaning or lopsided, now’s the time to adjust. You can add or remove soil underneath to get it just right.
Remember, this is your plant’s home for the foreseeable future, so take your time to get it right.
Filling in with Potting Mix (and Why Air Pockets are the Enemy)
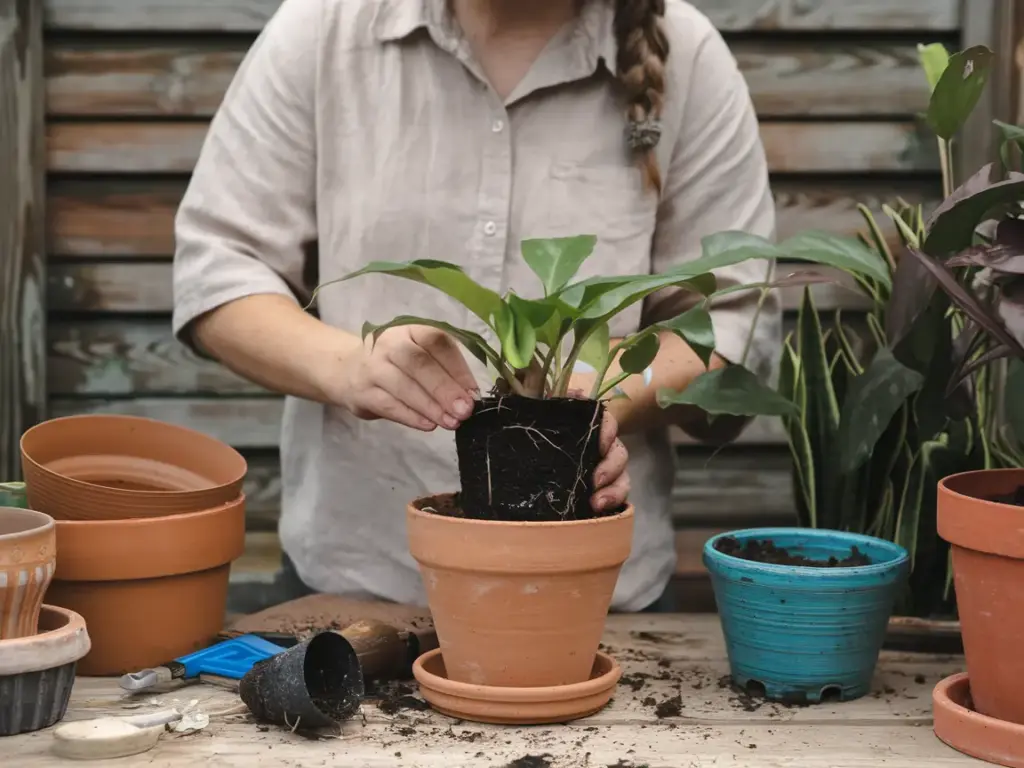
We’re in the home stretch now! Let’s fill ‘er up.
- Gradually add potting mix around the sides of the plant, gently pressing down as you go. The goal is to eliminate air pockets without compacting the soil too much.
- Use your fingers or a chopstick to poke around and fill in any hidden air pockets. Trust me, those sneaky little voids can cause big problems down the line.
- Keep adding soil until it reaches about an inch below the rim of the pot. This gives you room for watering without making a mess.
- Give the pot a gentle tap on your work surface to help the soil settle.
Why are we so obsessed with air pockets, you ask? Well, they can prevent roots from making good contact with the soil, leading to poor water absorption and stunted growth. Plus, they can create pockets where water collects, potentially leading to root rot. So yeah, air pockets are public enemy number one in the repotting world.
Phew! You’ve done it. Your plant is officially repotted. But wait, don’t break out the champagne just yet. The next 24-48 hours are critical for your plant’s adjustment. In our next section, we’ll dive into Post-Repotting Care: The Critical Phase. We’ll cover everything from watering techniques to monitoring for signs of stress. Because let’s face it, we want our plants to not just survive this ordeal, but thrive! So stick around, your plant’s success story is just beginning.


GIPHY App Key not set. Please check settings