3. Prepare Your Plant for the Big Move
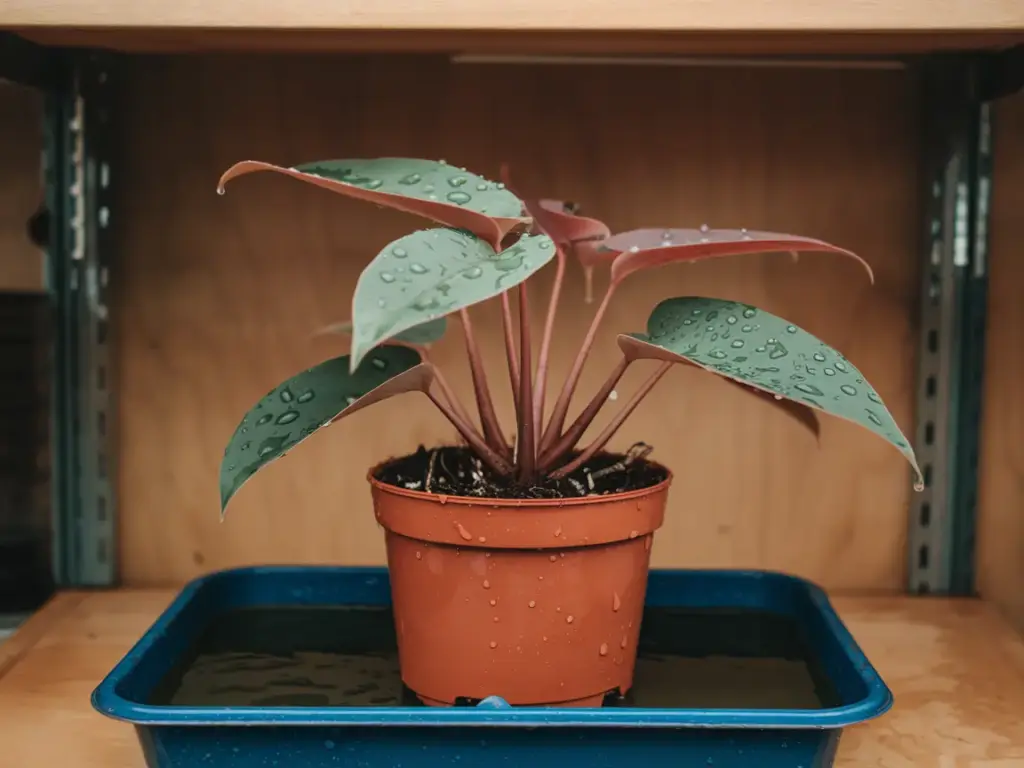
Okay, folks, we’re about to embark on the plant equivalent of moving day. And just like you wouldn’t want to be yanked out of bed and thrown into a moving van, your plant needs some TLC before its big transition. Let’s walk through this process step-by-step, shall we?
Watering Tips Before Repotting
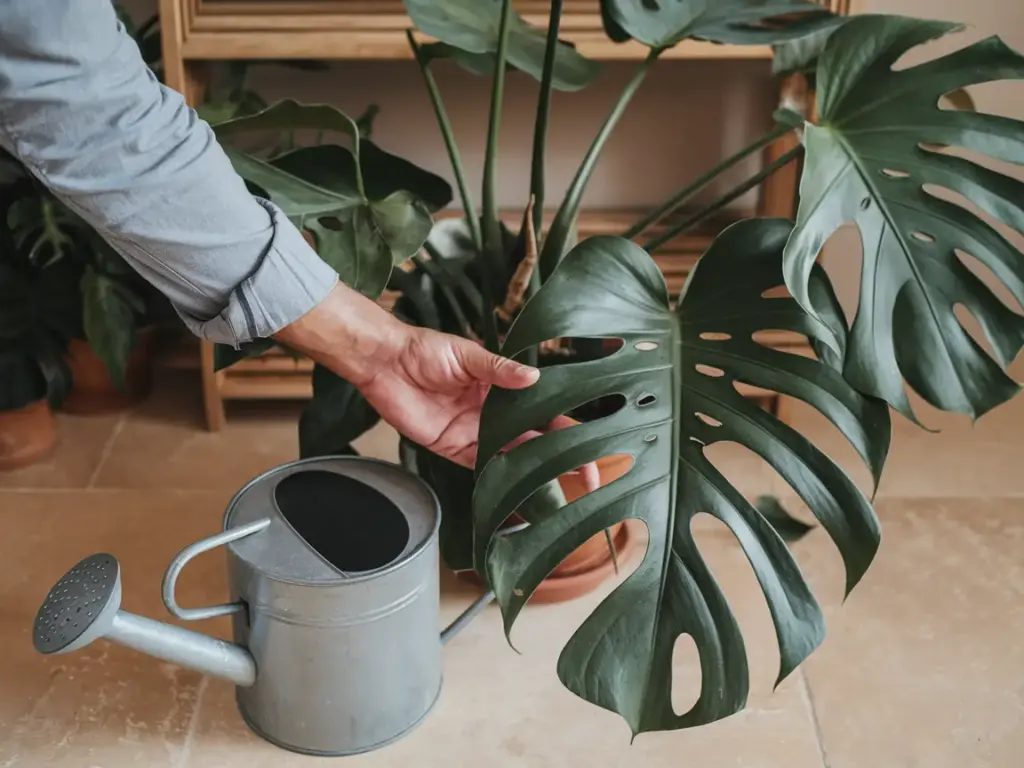
First things first: to water or not to water? That is the question. And the answer might surprise you.
I used to think I should water my plants right before repotting. Made sense, right? Keep ’em hydrated for the big move. Well, turns out I was dead wrong. Here’s the deal:
- Water your plant thoroughly about 24 hours before repotting. This gives the roots time to absorb the water, making the plant more pliable and less likely to go into shock.
- On repotting day, the soil should be moist but not soggy. Think of it like a wrung-out sponge.
- If you’re dealing with a succulent or cactus, you might want to skip watering altogether. These drought-tolerant divas actually prefer to be repotted when they’re dry.
Remember, overwatering is the silent killer of houseplants. I’ve lost more plants to drowning than I care to admit. So when in doubt, err on the side of drier soil.
How to Remove the Plant from its Current Pot
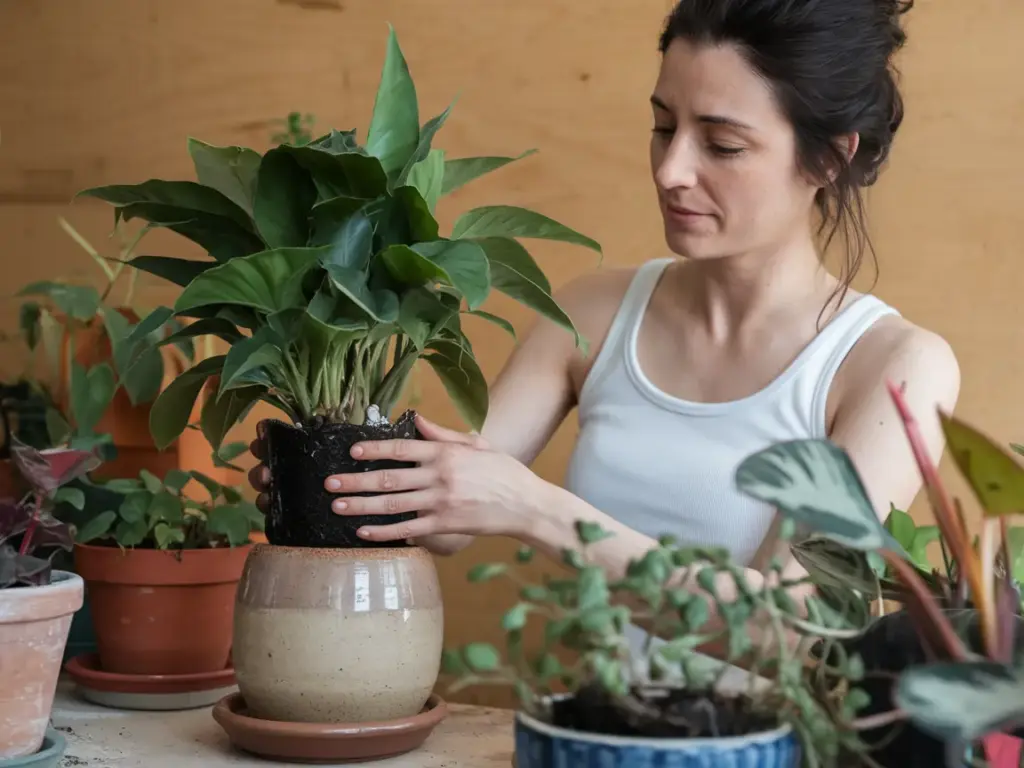
Alright, it’s time for the main event: evicting your plant from its current home. This can be tricky, especially if your plant has become a bit, shall we say, attached to its pot.
Here’s my tried-and-true method:
- Gently turn the pot on its side and support the plant stem with your hand.
- Tap the bottom and sides of the pot to loosen the root ball. If you’re dealing with a plastic pot, you can squeeze it a bit to help break the soil’s suction.
- Carefully slide the plant out. If it’s being stubborn, you might need to run a knife around the inside edge of the pot to loosen things up.
- If all else fails and you’re dealing with a terracotta pot, you might have to break it. I’ve had to do this a few times with severely root-bound plants. It feels a bit barbaric, but sometimes it’s necessary.
Whatever you do, don’t yank on the stem. I made this mistake once and ended up with a handful of leaves and a very sad, stemless plant.
Inspecting and Pruning Roots (Yes, it’s Okay to Do This!)
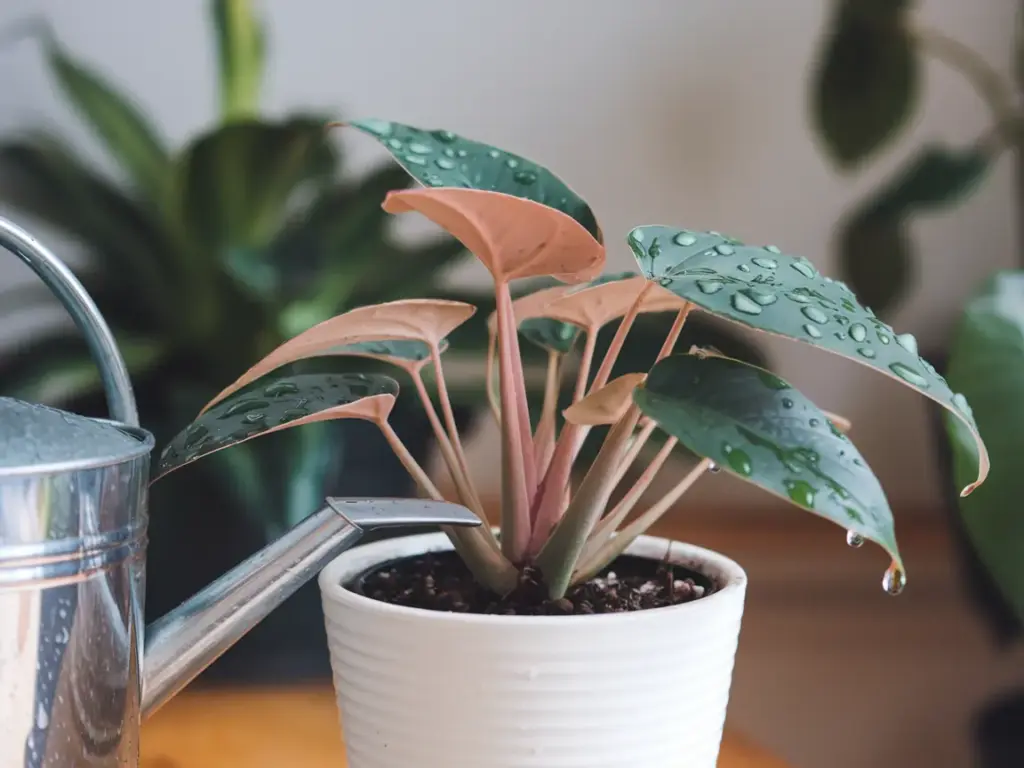
Now that your plant is free, it’s time to play doctor. Don’t worry, a little root pruning is totally normal and can actually be beneficial for your plant’s health.
Here’s what to look for:
- Healthy roots should be firm and light in color. If you see any that are black, mushy, or smell funky, it’s time for those to go.
- Gently tease apart the roots, especially if they’re circling the bottom of the root ball. This encourages them to grow outward in their new pot.
- If you’ve got a severely root-bound plant, don’t be afraid to be a bit more aggressive. You can trim up to about 1/3 of the roots without causing harm.
I remember the first time I had to prune roots. I was so nervous, I barely trimmed anything. The plant ended up still being root-bound and struggled in its new pot. Lesson learned: sometimes you gotta be cruel to be kind.
Now that we’ve got our plant prepped and ready, you might be thinking, “Finally! Let’s get this plant in its new home!” But hold your horses, green thumb. The actual repotting process is where the real magic happens. In our next section, we’ll dive into the art of repotting step by step. Trust me, you won’t want to miss these crucial tips for ensuring your plant thrives in its new digs. Stay tuned!


GIPHY App Key not set. Please check settings