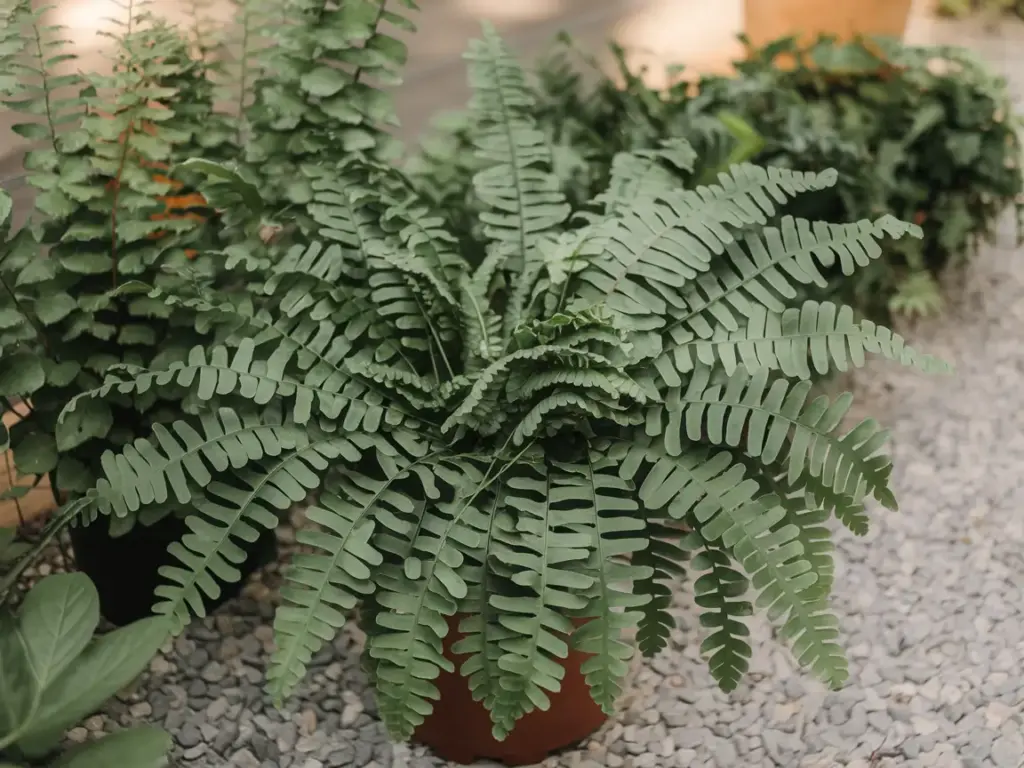
Spore Propagation: Advanced Method

Alright, let’s dive into what I consider the most fascinating way to propagate Boston ferns – through spores! I won’t sugar-coat it: my first attempts at spore propagation were complete failures. But after countless tries and some pretty detailed note-taking, I’ve finally mastered this advanced technique.
Understanding Fern Spore Basics
The magic of fern reproduction happens on the underside of mature fronds. Look closely, and you’ll see small brown dots called sori arranged in neat rows. Each contains thousands of microscopic spores. It’s pretty mind-blowing when you think about it – each tiny spore can grow into a whole new fern!
The best time to collect spores is when:
- The fronds are fully mature
- Sori have turned dark brown
- The frond appears slightly dry
- You notice some spores naturally falling
Collecting and Storing Spores
Here’s my tried-and-true method for harvesting Boston fern spores:
- Select a healthy frond with mature sori
- Cut the entire frond and place it in a clean paper envelope
- Store the envelope in a warm, dry place for 2-3 days
- Gently tap the envelope to release the spores
- Transfer the fine, dust-like spores to a sealed container
Pro tip: Store collected spores in an airtight container in a cool, dark place. They can remain viable for several months this way!
Creating the Perfect Growing Environment
This is where most people go wrong (myself included, initially!). Your spore germination setup needs:
- A shallow, sterile container with drainage holes
- Sterilized growing medium (I use a mix of peat moss and vermiculite)
- A clear cover for humidity
- Bottom heat (around 70-75°F)
- Indirect, bright light
Step-by-Step Propagation Process
Here’s my detailed process that’s given me the best results:
- Sterilize everything – containers, growing medium, and tools
- Moisten the medium thoroughly
- Sprinkle spores very thinly over the surface
- Cover with clear plastic
- Place in bright, indirect light
- Wait for prothalli development (4-6 weeks)
- Look for tiny fronds (2-3 months)
Troubleshooting Common Issues
Let me share some solutions to problems I’ve encountered:
- Green algae growth: Usually means too much moisture. Increase air circulation.
- No germination: Often due to non-viable spores or incorrect temperature. Try fresh spores and adjust heating.
- Mold development: Indicates poor sterilization. Start over with sterile materials.
- Slow growth: Usually related to insufficient light or temperature. Adjust conditions accordingly.
Remember, patience is absolutely crucial with spore propagation. My most successful batch took nearly 4 months before I saw actual fronds, but the wait was totally worth it!
Ready to learn how to care for your newly propagated ferns? Click the “next” button below to discover my essential care tips for helping your baby ferns thrive – including my special fertilizer recipe that transformed my struggling propagations into lush, healthy plants. Plus, I’ll share the exact watering schedule that’s given me the best results over the years!


GIPHY App Key not set. Please check settings