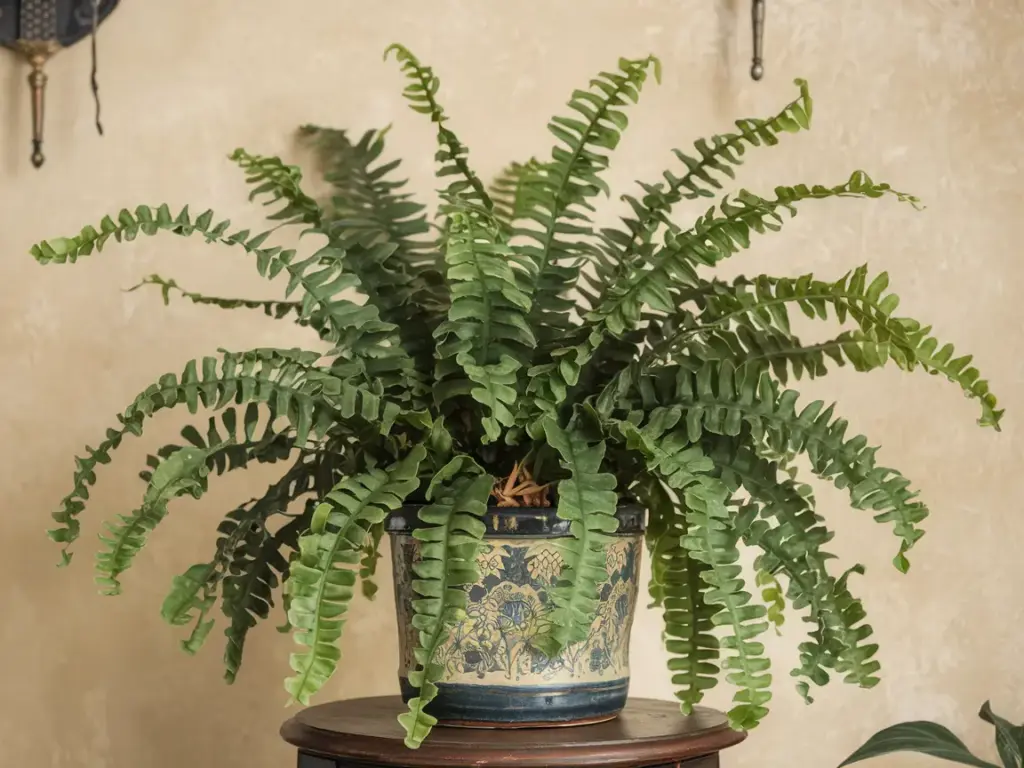
Division: The Most Reliable Method

After years of propagating Boston ferns, I can tell you that division is hands-down the most successful method I’ve used. The first time I divided a fern, I was honestly terrified of killing my beloved plant! But now, after countless successful divisions, I’m here to share my fool-proof approach to Boston fern division.
Preparing Your Parent Plant
Before you even think about diving in, proper preparation is crucial. I always start by watering the parent plant thoroughly 24 hours before division. This makes the root ball more flexible and reduces stress on the plant. I learned this trick after destroying a perfectly good fern by trying to divide it when it was too dry!
Your parent plant should be:
- At least 2 years old
- Actively growing and healthy
- Slightly rootbound (but not severely cramped)
- Well-hydrated before division
Step-by-Step Division Process
Here’s my tried-and-true process for dividing Boston ferns:
- Carefully remove the fern from its pot by turning it sideways and gently squeezing the container
- Use your fingers to gently tease apart the root ball to identify natural division points
- Look for sections with at least 3-4 healthy fronds and their own root system
- Using clean, sharp tools, make clean cuts through the root ball at these natural division points
- Never pull or tear the divisions apart – that’s a mistake I made once and deeply regretted!
Post-Division Care Tips
The first few weeks after division are super critical. I keep my newly divided ferns in what I call the “recovery zone” – a bright spot with indirect light and higher humidity. Here’s what works best:
- Place each division in a 4-inch pot with fresh, well-draining potting mix
- Water thoroughly but avoid waterlogging
- Maintain humidity around 60-70% (I use a pebble tray filled with water)
- Keep temperature between 65-75°F (18-24°C)
- Mist daily for the first two weeks
Troubleshooting Common Division Problems
Let me share some solutions to issues I’ve encountered:
- Yellowing fronds: Usually a sign of transplant shock. Remove affected fronds and increase humidity.
- Wilting: Often means too much direct sun or not enough water. Move to a shadier spot and check soil moisture.
- Brown tips: Usually indicates low humidity. Increase misting or add a humidifier.
- Root rot: Caused by overwatering new divisions. Always ensure proper drainage and let soil surface dry between waterings.
One of my biggest successes came after what seemed like a complete failure. Half my divisions were struggling, but after adjusting the humidity and lighting, they bounced back stronger than ever! Remember, these plants are more resilient than you might think.
Want to explore an even more interesting propagation method? In the next section, I’ll show you how to work with those fascinating runners (or stolons) that your Boston fern produces. Click the “next” button below to discover how these natural propagators can help you grow your fern family with almost zero effort – including my special technique for getting runners to root while still attached to the parent plant!


GIPHY App Key not set. Please check settings