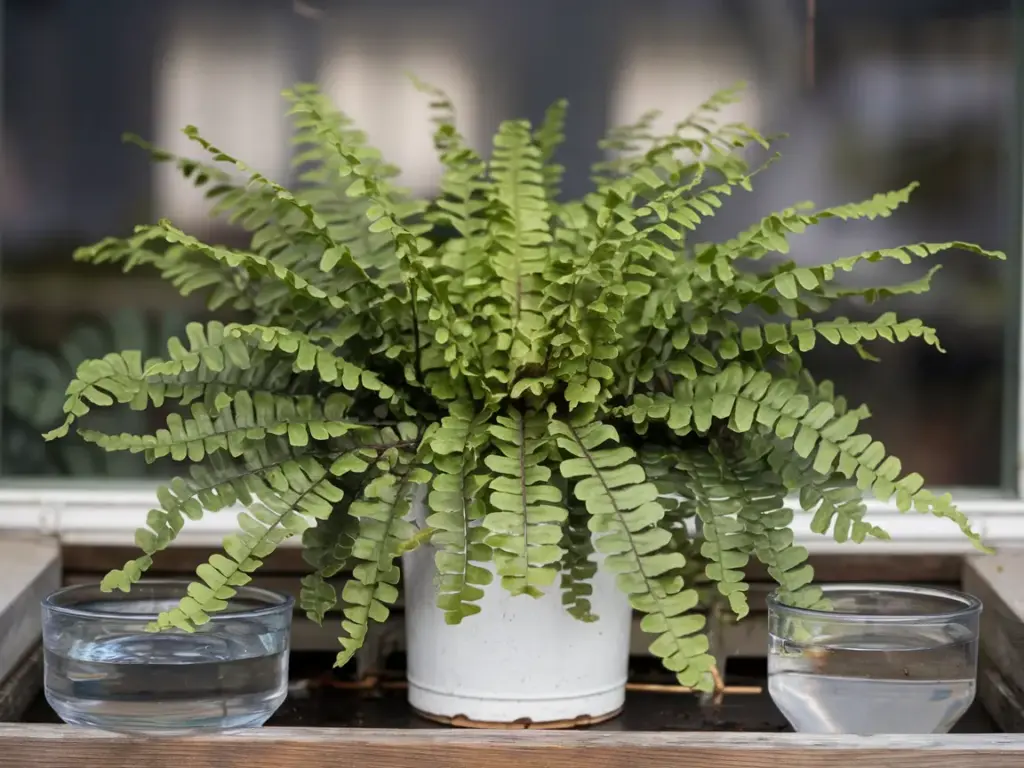
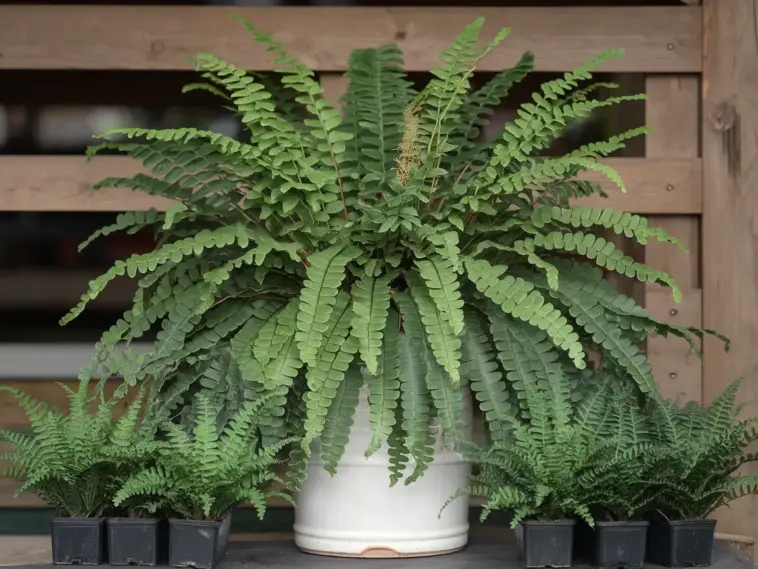
Did you know that a single healthy Boston fern can become the source of dozens of new plants? As a passionate plant propagator, I’ve discovered that these classic houseplants are surprisingly easy to multiply! In fact, according to the University of Florida, Boston ferns (Nephrolepis exaltata) can double in size every 6 months when properly cared for.
Whether you’re looking to expand your indoor jungle or share these beautiful plants with friends, I’ll guide you through every step of the propagation process. Let’s dive into the most successful methods for growing new Boston ferns!
Understanding Boston Fern Propagation Methods

Let me tell you something – I learned about propagating Boston ferns the hard way. After killing three beautiful specimens trying to multiply them incorrectly, I finally figured out the secrets to successful Boston fern propagation. Now, after 15 years of growing these gorgeous plants, I’m excited to share everything I’ve discovered!
The Three Main Propagation Methods
There are actually three different ways to propagate these beautiful houseplants, and I’ve tried them all. The most reliable method is division, where you’re basically splitting up an established plant into smaller ones. Then there’s runner propagation using those long stolons that dangle over the pot (my personal favorite because it feels like magic watching new plants grow!). Finally, there’s spore propagation – which, I’ll be honest, took me several attempts to master.
Timing Is Everything
Here’s something that took me way too long to learn: timing can make or break your propagation success. I used to try propagating my Boston ferns whenever I felt like it, and boy, was that a mistake! The absolute best time to propagate these beauties is during their active growth phase in spring and early summer. I’ve found that mid-March to early June gives the best results, with May being the sweet spot when the plants are really putting out new growth.
Essential Tools for Success
Let me share my propagation toolkit with you – and trust me, having the right tools makes all the difference! You’ll need:
- A pair of sharp, clean pruning shears (I learned the hard way that dull scissors just won’t cut it)
- A few clean 4-inch pots with drainage holes
- High-quality potting mix specifically for ferns
- A spray bottle for misting
- A clean, sharp garden knife for division
- Optional but helpful: rooting hormone powder
Recognizing When Your Fern Is Ready
This is probably the most important part that many people miss – knowing when your Boston fern is actually ready for propagation. I’ve developed a kind of checklist over the years:
- The plant should be at least 2 years old for division
- You’ll see healthy runners dangling from the pot
- The fern should be actively producing new fronds
- The root ball should be slightly rootbound but not severely cramped
- The parent plant should have vibrant green fronds without any major damage
One thing I absolutely love about Boston ferns is how they’ll actually tell you when they’re ready. If you see lots of new growth and those characteristic runners starting to appear, that’s your green light to start propagating!
Ready to dive deeper into the world of Boston fern propagation? In the next section, I’ll walk you through my tried-and-true method of division – it’s honestly the most foolproof way to get started, and I’ll share some game-changing tips I wish I’d known when I first started. Click the “next” button below to learn exactly how to divide your Boston fern like a pro, including my special technique for ensuring both the parent plant and divisions thrive after separation!


GIPHY App Key not set. Please check settings