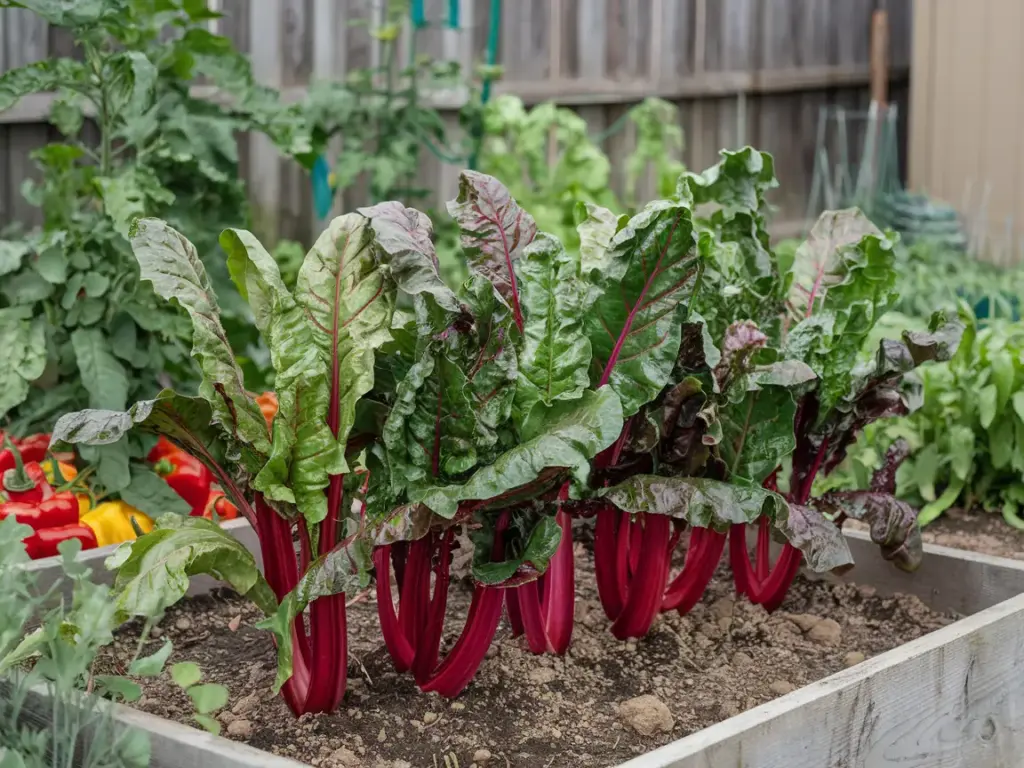
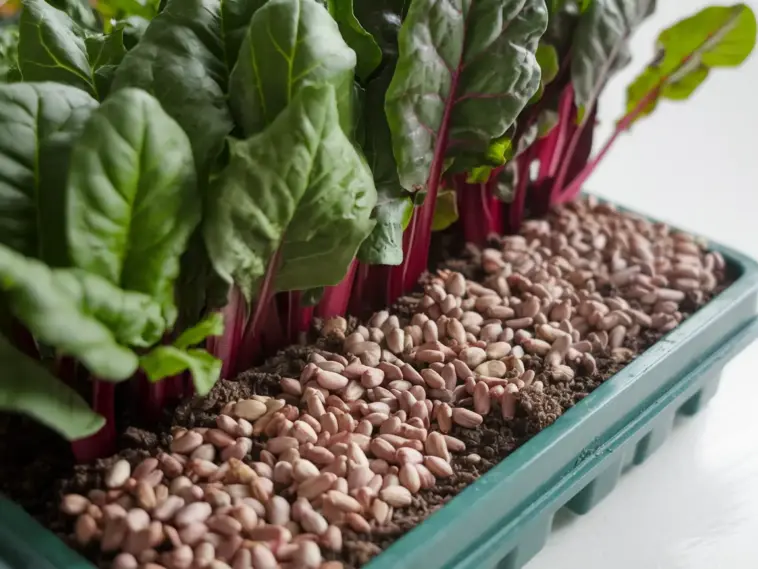
Want to know the gardening secret that professional growers don’t tell you? Swiss chard is actually one of the most forgiving vegetables to grow, with a single plant producing nutritious leaves for up to 8 months! I’ve discovered some game-changing techniques that have revolutionized my Swiss chard growing game, and I can’t wait to share them with you.
Whether you’re a first-time gardener or a seasoned pro, these never-fail tips will ensure your success. Ready to unlock the secrets of growing the most vibrant, productive Swiss chard you’ve ever seen? Let’s dive in!
Secret #1: Perfect Timing & Planning

Let me tell you about my biggest Swiss chard failure that turned into the most valuable lesson I’ve ever learned about timing. I used to think you could just toss these seeds in the ground whenever you felt like it. Boy, was I wrong! After watching an entire crop bolt faster than my dog chasing a squirrel, I finally figured out the secrets to perfect timing.
The Magic Planting Window
Here’s the thing about Swiss chard – it’s actually a twice-a-year superstar. The optimal planting times are early spring (4-6 weeks before the last frost) and late summer (6-8 weeks before the first frost). I’ve found that starting seeds around mid-March to early April for spring, and late July to August for fall gives the absolute best results.
For my zone 6 garden, March 15th and August 1st are my golden dates. Mark them on your calendar! These dates ensure your plants establish themselves during cooler temperatures, which is exactly what Swiss chard loves.
Foolproof Varieties That Never Disappoint
After experimenting with countless varieties, I’ve narrowed it down to three that simply refuse to fail:
- Bright Lights: My absolute go-to variety for beginners. The multicolored stems aren’t just pretty – they’re incredibly vigorous and forgiving.
- Fordhook Giant: This old-timer has never let me down. The large, dark green leaves are perfect for cooking.
- Perpetual Spinach Chard: Don’t let the name fool you – it’s actually Swiss chard, but with more tender leaves that taste amazing raw.
The Professional Soil Secret
Want to know what really changed my chard game? The soil mix. After years of mediocre results, I finally cracked the code. Here’s my never-fail mixture:
- 60% high-quality garden soil
- 20% aged compost
- 10% vermiculite
- 10% perlite
The pH should be between 6.0 and 6.8 – I learned this the hard way after wondering why my plants looked yellowish in my originally too-acidic soil.
Spacing for Success
Here’s a pro tip that doubled my harvest: Instead of the traditional 12-inch spacing, I use what I call the “diamond pattern“. Plant your chard 18 inches apart in rows that are 18 inches apart, but stagger the plants to create a diamond pattern. This gives each plant the perfect amount of space while maximizing your garden bed usage.
Location, Location, Location!
The biggest game-changer I discovered? Swiss chard actually prefers partial shade in hot climates! I used to bake my poor plants in full sun, wondering why they looked stressed. Now I plant them where they get morning sun and afternoon shade, and they’re thriving like never before.
Ready to learn my foolproof seed-starting method that guarantees 99% germination rates? Click the next button below to unlock Secret #2, where I’ll share my “sandwich technique” that revolutionized how I start my Swiss chard seeds. Trust me, you won’t want to miss this one – it’s the difference between spotty germination and a garden full of healthy seedlings!


GIPHY App Key not set. Please check settings