Prep Like a Pro: Getting Your Scraps Ready

Let me tell you about my first attempt at regrowing spring onions – it was a complete disaster! I chopped those stems way too short and wondered why nothing was happening. After countless attempts (and quite a few failed experiments), I’ve finally mastered the art of prep work. Trust me, this step makes or breaks your success rate!
The Perfect Cutting Technique
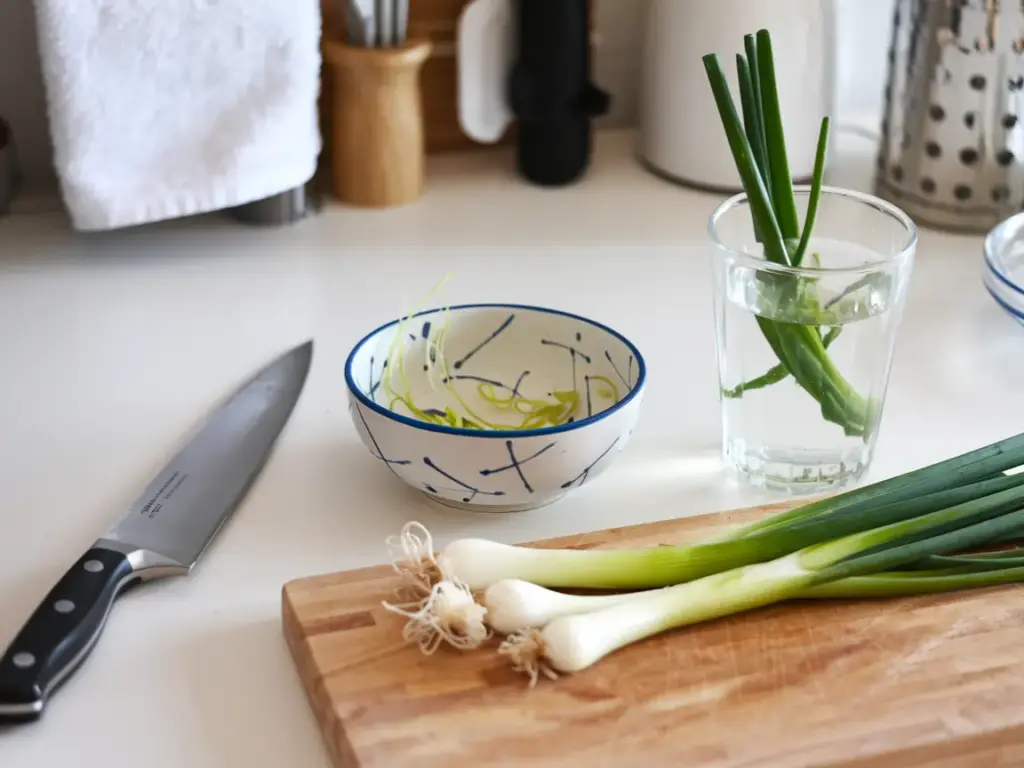
Here’s the game-changer I wish someone had told me years ago: always leave about 2-3 inches of the white stem above the roots. I know it feels like you’re wasting good parts of the spring onion, but this length is absolutely crucial for successful regrowth.
When cutting, use a sharp, clean knife and make a straight cut across the stem. Those jagged cuts from dull knives can actually invite bacteria and slow down the regrowth process. I learned this the hard way after using scissors for months!
Identifying Regrow-Worthy Scraps
Not all spring onion scraps are created equal! Here are the three golden signs I look for:
- Firm white bases – if they’re soft or slimy, toss them out
- Intact root ends with at least a few tiny roots visible
- Fresh-looking stems without any brown or yellow spots
Pro tip: The thicker the white base, the better your chances of successful regrowth!
The 99% Success Ritual
Here’s my foolproof prep ritual that almost never fails:
- Remove any loose outer layers from the white part
- Trim off any slimy or damaged roots, leaving the healthy ones
- Give them a thorough rinse under cool running water
- Pat them dry with a clean paper towel
- Let them sit out for about 30 minutes to develop a slight callus
Common Mistakes to Avoid
Oh boy, have I made some blunders! Here are the biggest mistakes that can kill your regrowth chances:
- Leaving old, wilted outer layers attached
- Using scraps that have been stored too long
- Skipping the cleaning process (big no-no!)
- Starting with already sprouting or flowering stems
- Using scraps from spring onions that were stored in the fridge for weeks
Pro Cleaning Hacks
After years of trial and error, these cleaning tricks have become my secret weapons:
- Add a splash of white vinegar to your rinse water to kill bacteria
- Use a soft brush to gently clean the root area
- Never use soap – it can penetrate the layers and affect growth
- Trim any dark or discolored parts completely
- Give extra attention to cleaning between the layers where dirt loves to hide
Ready to see these prepped spring onions turn into a thriving indoor garden? Click the next button below to discover my tried-and-true water propagation method. I’ll show you exactly how I got my spring onions to grow an inch taller overnight using a special water temperature trick that’s been going viral lately!
Remember, proper prep work is like laying a strong foundation – take your time with this step, and you’ll be rewarded with amazing results. Your future self will thank you for being thorough!


GIPHY App Key not set. Please check settings