Hidden Planting Techniques of Pro Indoor Gardeners

Let me tell you something that took me years to figure out through trial and error in my indoor potato growing journey. When I first started, I thought growing potatoes indoors was as simple as throwing them in some soil. Boy, was I wrong! After countless failed attempts and many lessons learned, I’ve discovered some game-changing techniques that transformed my indoor potato garden.
The “Eye-Up” Method: A Game-Changing Approach
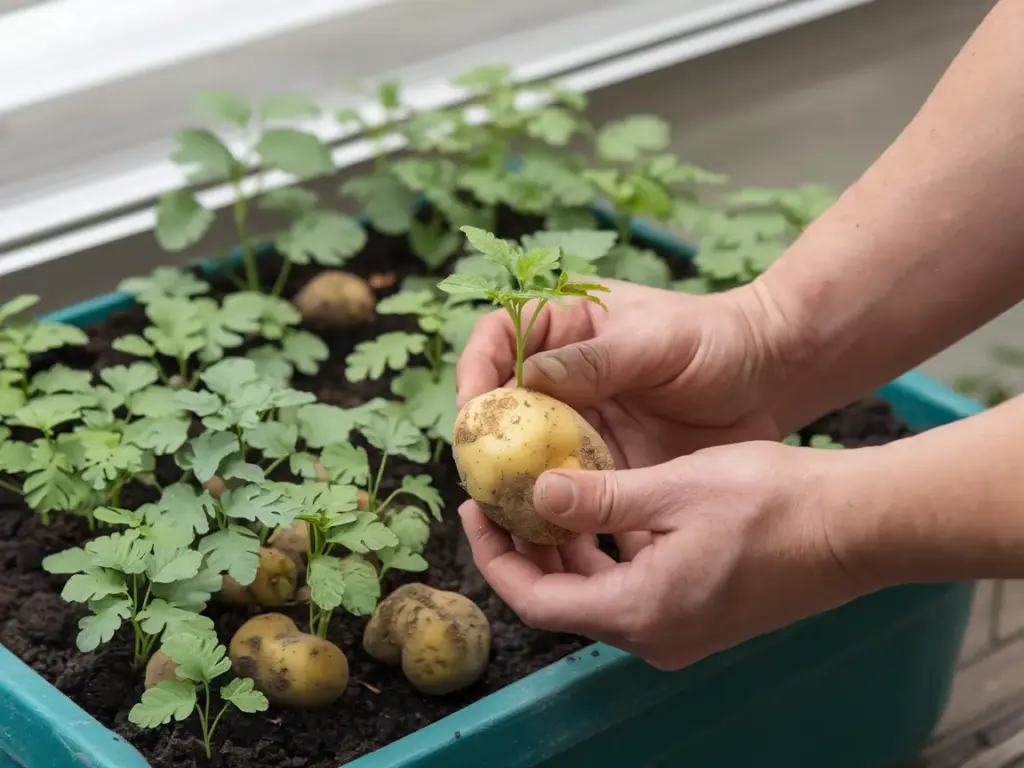
The first thing you need to know is the “eye-up” planting method. I remember the day I learned this technique from an old-timer at our local gardening club. The secret is to position your potato pieces so the eyes point upward at a slight 45-degree angle. This might seem obvious, but you’d be surprised how many folks get this wrong!
When cutting your seed potatoes, make sure each piece has at least 2-3 healthy eyes and weighs about 2 ounces. I learned this the hard way after trying to be too frugal with my cuts one season. Those tiny pieces produced weak plants that barely yielded anything.
Depth and Spacing: The Foundation of Success
Here’s where most indoor gardeners mess up – planting depth. The perfect planting depth isn’t just about following a standard measurement. I’ve found that the depth should be adjusted based on your container height. For a 5-gallon container, start with 4 inches of soil, place your potato pieces, then cover with another 3 inches. This leaves plenty of room for hilling later.
As for spacing, here’s my tried-and-true approach: maintain at least 12 inches between each seed potato. In my early days, I tried to cram more plants into each container. Trust me, overcrowding is a recipe for disaster! Your potatoes will compete for nutrients and you’ll end up with a bunch of marble-sized spuds.
Unconventional Planting Positions That Work
Want to know something cool? Traditional horizontal containers aren’t your only option. I’ve experimented with vertical growing systems and even tried growing potatoes in hanging bags! The key is ensuring proper drainage and enough space for tuber development. My favorite setup uses repurposed 5-gallon buckets mounted on a sunny wall – saves space and looks pretty neat too!
Timing Your Plantings for Continuous Harvests
Here’s a pro tip that changed everything for me: staggered planting. Instead of starting all your potatoes at once, plant a new container every 3-4 weeks. This way, you’ll have fresh potatoes throughout the year. I keep a simple calendar marking when I started each container, and it’s made such a difference in maintaining a steady supply.
Want to know the real secret to timing your plantings perfectly? It’s all about watching your potato eyes develop. When they reach about 1/2 inch long, that’s your signal to plant. Any longer and they become leggy and weak.
Ready to learn more about maintaining your indoor potato garden? Click the “next” button below to discover my underground maintenance secrets, including a moisture testing trick that professional growers swear by. I’ll show you exactly how to spot the hidden signs that your potatoes are thriving and share my secret feeding schedule that consistently produces bigger, healthier potatoes.


GIPHY App Key not set. Please check settings