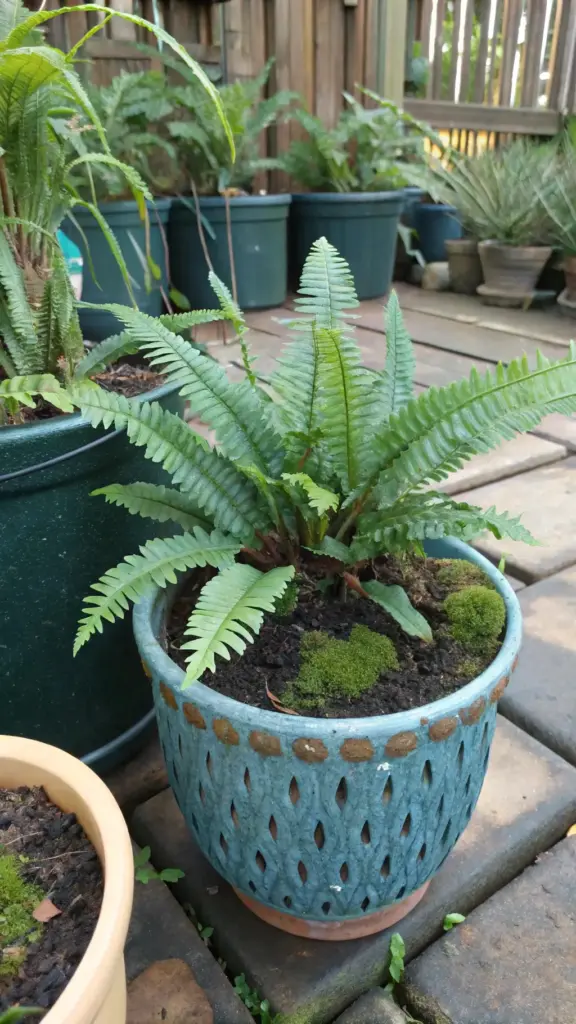
Trick #2 – The Underground Root Aeration System

Nobody talks about what’s happening underground with Blue Star Ferns, and that’s exactly why so many of us struggle. I spent months obsessing over leaf care while my poor plants were literally suffocating from the roots up.
The breakthrough came when I accidentally knocked over one of my “healthy” ferns and saw the root system. Those thick, fleshy rhizomes were completely waterlogged and starting to turn mushy. That’s when I realized most plant care advice completely ignores the underground ecosystem.
The Hidden Truth About Blue Star Fern Roots
Here’s what blew my mind – Blue Star Fern roots are epiphytic by nature. In the wild, they grow on tree bark and rocks where air flows freely around the root system. Shoving them into regular potting soil is like asking a fish to breathe air.
Those chunky rhizomes need constant air circulation to stay healthy. When they’re packed in dense soil, they literally can’t breathe properly. This leads to that dreaded root rot that kills more Blue Star Ferns than any other issue.
I learned this lesson after losing a$40 mature specimen. The leaves looked perfect until one day they just started dropping like crazy. By the time I checked the roots, half the rhizome system had turned to mush.
Creating Drainage Without Expensive Specialty Pots
Forget those overpriced orchid pots with fancy drainage holes. I’ve found a way better solution using stuff you probably already have at home.
Take any regular ceramic pot and line the bottom with large lava rocks (I get mine from the hardware store’s landscaping section). Then add a layer of activated charcoal chunks – the kind used for aquarium filters works perfectly.
The magic happens when you mix your potting medium. I use 40% regular potting soil, 30% orchid bark, 20% perlite, and 10% sphagnum moss. This creates these amazing air pockets that let the roots breathe while still holding moisture.
The “Double Pot” Method That Changed Everything
This technique literally saved my plant collection. You place your Blue Star Fern in a smaller nursery pot with drainage holes, then set that inside a decorative outer pot without drainage.
The genius part is the 1-inch gap between the pots. I fill this space with damp sphagnum moss, which creates perfect humidity while preventing waterlogged soil. It’s like having a built-in moisture regulation system.
When I water, excess moisture drains into the outer pot but gets absorbed by the moss layer. No more guessing about drainage or dealing with soggy soil that never dries out properly.
Spotting Root Problems Before They Kill Your Plant
Most people wait until they see yellowing leaves, but by then it’s often too late. I’ve learned to read the early warning signs that happen weeks before visible damage appears.
The first clue is slower new growth. If your fern usually puts out 2-3 new fronds monthly but suddenly slows down, check those roots immediately. Healthy Blue Star Fern rhizomes should feel firm and look silvery-green, not dark or squishy.
Here’s my monthly root check routine: I gently lift the inner pot and look at the drainage holes. If I see black or brown roots poking through, or if there’s a sour smell, it’s intervention time.
The finger test for roots works better than any moisture meter. Stick your finger down into the soil about 2 inches. If it feels soggy or smells funky, your aeration system needs an upgrade.
Repotting Timing That Maximizes Growth
Everyone says to repot in spring, but I’ve discovered the real secret is watching for active rhizome growth. Blue Star Ferns have these growth spurts that happen 3-4 times per year, and timing your repotting with these cycles makes all the difference.
The best indicator is when you see new silvery root tips emerging from the drainage holes. This means the plant is actively expanding its root system and will recover from repotting stress much faster.
I keep a simple calendar note every time I see new growth starting. Usually this happens in early spring, mid-summer, and sometimes again in early fall depending on your indoor conditions.
The two-week rule has never failed me: repot exactly 14 days after you first notice new root activity. This gives the plant enough energy reserves to handle the transition while maximizing the growth potential.
Ready to discover why your Blue Star Fern might be getting the wrong kind of light in the worst possible location? The next trick reveals the strategic positioning formula that can transform pale, leggy fronds into lush, vibrant growth in just 30 days. Click below to learn the lighting secrets that most plant guides get completely wrong!


GIPHY App Key not set. Please check settings