Want to know the secret to quadrupling your vegetable harvest? Raised garden beds are the answer! According to the National Gardening Association, raised beds can produce up to 4x more vegetables than traditional garden plots.
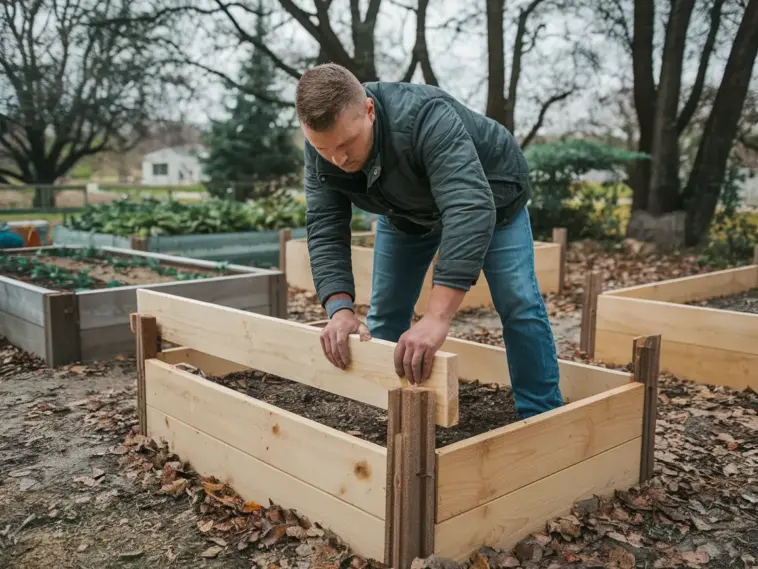
I’ve built dozens of these over the years, and I’m excited to share my foolproof method! This step-by-step guide will walk you through creating beautiful, productive raised beds, even if you’ve never picked up a power tool before. Let’s get building!
Step 1: Gather Your Materials and Tools

Let me tell you about my first attempt at building a raised garden bed – it was a disaster! I rushed to the hardware store without a proper list and ended up making three separate trips. That’s exactly what I don’t want happening to you. After building over 20 raised beds for myself and helping countless neighbors with theirs, I’ve got this materials list down to a science.
Essential Materials List
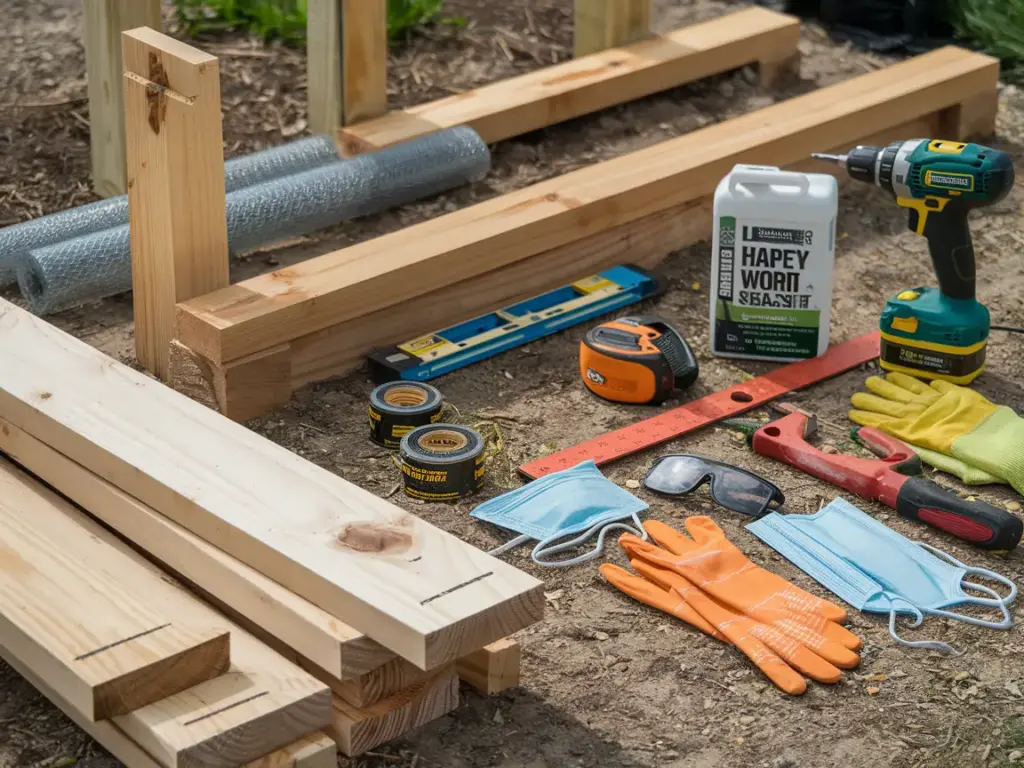
First things first – let’s talk about what you’ll need. For a standard 4×8 foot raised bed that’ll last you years, here’s your shopping list:
- 6 pieces of 2×6 lumber (8 feet long)
- 4 pieces of 4×4 posts for corners (2 feet long)
- 1 roll of hardware cloth (1/4 inch mesh)
- 1 box of 3-inch deck screws (about 32 screws)
- 1 box of 1.5-inch deck screws (for the hardware cloth)
- Landscape fabric (10×12 feet)
- Wood sealant (1 quart)
Pro tip: Always buy about 10% more materials than you think you’ll need. Trust me on this one – nothing’s worse than having to pause your project for another store run!
Tools You Can’t Skip
I learned this the hard way – trying to use a manual screwdriver instead of a power drill nearly gave me blisters! Here’s what you actually need:
- Power drill (with drill bits for pre-drilling)
- Measuring tape
- Level
- Square
- Saw (circular saw preferred, but hand saw works)
- Safety glasses
- Work gloves
- Dust mask
Budget alternative: If you’re trying to save money, most hardware stores rent power tools by the day. I’ve seen folks split the rental cost with neighbors who are also building beds.
Wood Selection Guide
Here’s where experience has taught me some valuable lessons. While browsing lumber at my local store last spring, I overheard someone choosing pressure-treated wood for their vegetable garden – big mistake!
Cedar is your premium choice. Yes, it’s pricey (about $45-60 per board), but it’ll last 10-15 years without treatment. I built my first cedar bed seven years ago, and it still looks amazing.
Pine is your budget-friendly option ($15-20 per board). It’ll last 3-5 years with proper sealing. That’s what I started with, and honestly? It’s perfect for beginners.
Composite lumber falls in the middle ($30-40 per board). It’s maintenance-free but can get wobbly if not properly supported.
Cost Breakdown
Let me break down the total cost for you:
- Basic pine bed: $150-200
- Cedar bed: $300-400
- Composite bed: $250-300
These prices include all materials and basic tools, based on my recent builds in 2024. Remember, many of these tools are one-time purchases you’ll use for multiple projects.
Safety First!
After accidentally getting sawdust in my eye (not fun!), I never skip safety gear anymore. You’ll need:
- Safety glasses ($10)
- Work gloves ($15)
- Dust mask ($5)
- Sturdy boots (whatever you have)
Ready to start building your raised bed? Now that we’ve got all our materials together, it’s time for the fun part – choosing the perfect location for your garden bed. Click the next button below to discover my tried-and-true tips for positioning your bed for maximum sun exposure and easy access. Trust me, the spot you choose can make or break your garden’s success!


GIPHY App Key not set. Please check settings