Essential Materials and Tools

Before we dive into making our DIY self-watering planters, let’s get organized! The best part about these projects is that you probably have most of these materials lying around your house right now. I learned this the hard way after spending way too much money at garden stores before realizing I could upcycle items from my recycling bin.
Basic Household Items
First up, you’ll need some containers. Look around your house for:
- Clean plastic bottles (2-liter soda bottles work great)
- Empty mason jars or glass containers
- Plastic food containers with lids
- Old coffee containers or milk jugs
For the wicking system, I’ve had great success with:
- Cotton rope or thick string
- Old t-shirt strips (100% cotton works best)
- Synthetic felt pieces
- Any absorbent material that won’t rot quickly
Essential Tools for Assembly
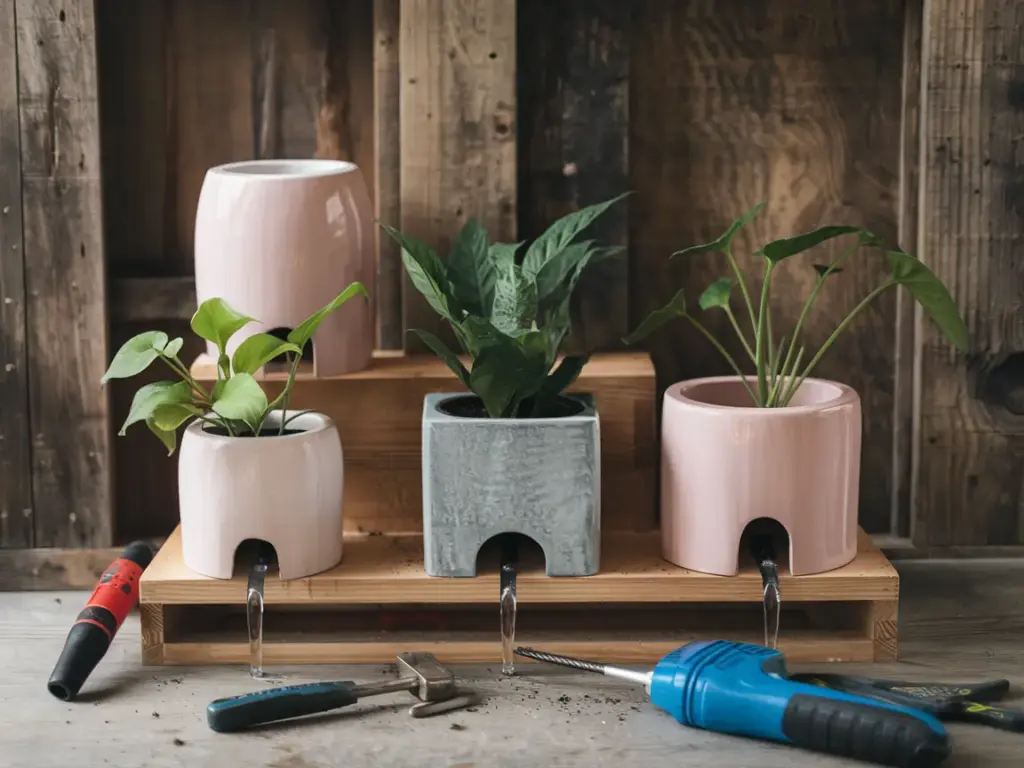
Trust me on this one – having the right tools makes all the difference. I once tried to make holes with a kitchen knife and… well, let’s just say it didn’t end well. Here’s what you actually need:
- Sharp scissors or craft knife
- Electric drill with various bit sizes
- Marker for marking cutting lines
- Measuring tape or ruler
- Safety glasses (non-negotiable!)
Optional Materials for Customization
Here’s where you can get creative! Some of my favorite decorative elements include:
- Spray paint (make sure it’s suitable for your container material)
- Weather-resistant twine for hanging planters
- Decorative stones or pebbles for the top layer
- Plant markers for keeping track of what’s growing
I’ve found that adding personal touches makes these projects so much more satisfying. Your plants deserve a stylish home, after all!
Safety First: Important Considerations
After accidentally poking a hole in my favorite gardening pants, I learned that safety gear isn’t optional. Always have:
- Work gloves for protection
- Safety glasses when drilling or cutting
- Dust mask if working with treated wood or paint
- A well-ventilated workspace
Remember to check that your containers are food-safe if you’re planning to grow edibles. Not all plastics are created equal, and some might leach chemicals into the soil. I always look for the recycling numbers 1, 2, 4, or 5 for food plants.
Preparation Tips
Before starting any project, I always:
- Clean all containers thoroughly with mild soap
- Sand down any sharp edges
- Let containers dry completely
- Test all tools on scrap materials first
Ready to turn these basic materials into something amazing? In our next section, we’ll start with the easiest project – transforming a simple soda bottle into a self-watering wonder! Click the “next” button below to learn how to make your very first self-watering planter. It’s perfect for beginners, and I’ll share some tips I wish I’d known when I started. Trust me, you’ll be amazed at how professional it looks when finished!


GIPHY App Key not set. Please check settings