Tip 8: Transplant with Confidence

Let me tell you about my first time transplanting tomato seedlings – it was a complete disaster! I rushed the process, didn’t prepare the soil properly, and ended up with stressed plants that took weeks to recover. But after years of practice (and plenty of mistakes), I’ve developed a foolproof system for transplanting that works every time.
Preparing the Perfect Planting Site
First things first – soil preparation is absolutely crucial. I learned this the hard way when I tried planting directly into my clay-heavy garden soil. Your tomatoes will reward good soil prep with explosive growth and early fruiting.
I always start by working in about 4 inches of organic compost into the top 12 inches of soil. This might seem like overkill, but trust me, tomatoes are heavy feeders. My secret weapon? I add a handful of crushed eggshells into each planting hole. The calcium helps prevent blossom end rot, which used to plague my early gardening attempts.
Spacing That Makes Sense
When it comes to plant spacing, I’ve tried it all. Initially, I crammed my plants together thinking I’d get more tomatoes per square foot. Big mistake! Now I stick to these tried-and-true spacing guidelines:
- Determinate varieties: 2 feet apart in rows 3 feet apart
- Indeterminate varieties: 3 feet apart in rows 4 feet apart
- Container plants: One plant per 5-gallon container minimum
The Deep Planting Technique
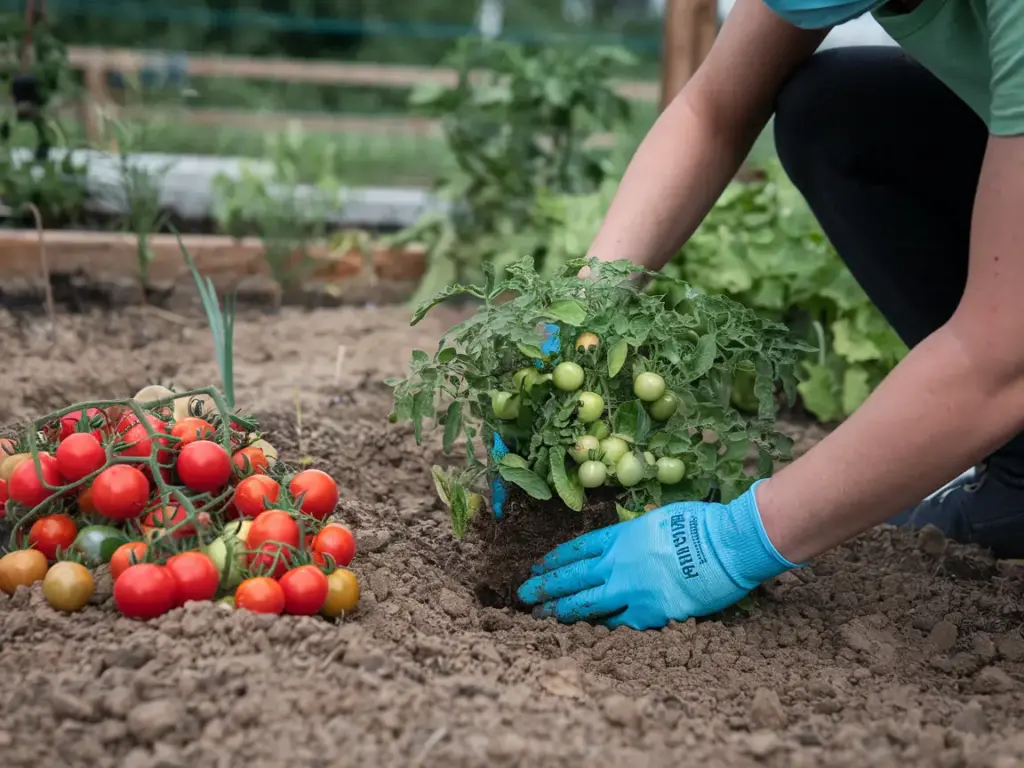
Here’s something that blew my mind when I first learned it: tomatoes are one of the few plants that actually benefit from deep planting. Unlike other vegetables, tomatoes can grow roots all along their buried stems.
I remove all but the top 4-5 leaves and bury about 2/3 of the plant. This might seem scary the first time you do it – I remember feeling like I was killing my precious seedlings! But this technique creates a stronger root system and more stable plants.
Support Systems That Actually Work
After watching my unsupported plants flop over mid-season (and losing half my crop to rot), I became a bit obsessed with tomato support systems. Here’s what I’ve found works best:
- Single-stem plants: Strong 8-foot stakes or cattle panels
- Multi-stem plants: Heavy-duty tomato cages (not those flimsy wire ones!)
- Large indeterminate varieties: Florida weave system between posts
Post-Transplant Care Tips
The first week after transplanting is critical. I lost several plants early in my gardening journey because I didn’t know about transplant shock. Now I follow this care routine:
- Water deeply immediately after planting
- Provide shade for 3-5 days if temperatures are above 80°F
- Hold off on fertilizing for the first week
- Monitor for signs of stress daily
- Keep the soil consistently moist but not waterlogged
Want to know my number one tip for transplant success? Always transplant on a cloudy day or in the late afternoon. This gives your plants time to adjust before facing intense sunlight.
Ready to learn how to prevent those pesky problems that can pop up after transplanting? Click the next button below to discover my battle-tested strategies for dealing with common tomato growing issues. Trust me, you’ll want to know how to spot early blight before it takes over your garden!
I’ve dealt with every tomato problem under the sun, and in the next section, I’ll show you exactly how to identify and fix them before they become serious. Your tomato growing journey is about to get a whole lot easier!


GIPHY App Key not set. Please check settings