Layout Secrets for Maximum Impact

Let me tell you about the time I completely messed up my first garden layout. I had planted everything in straight rows like a vegetable garden, and boy, did it look boring! After 15 years of designing gardens, I’ve learned that creating an impactful garden layout is like composing a beautiful photograph – it’s all about layers, focal points, and visual flow.
The Art of Layered Planting
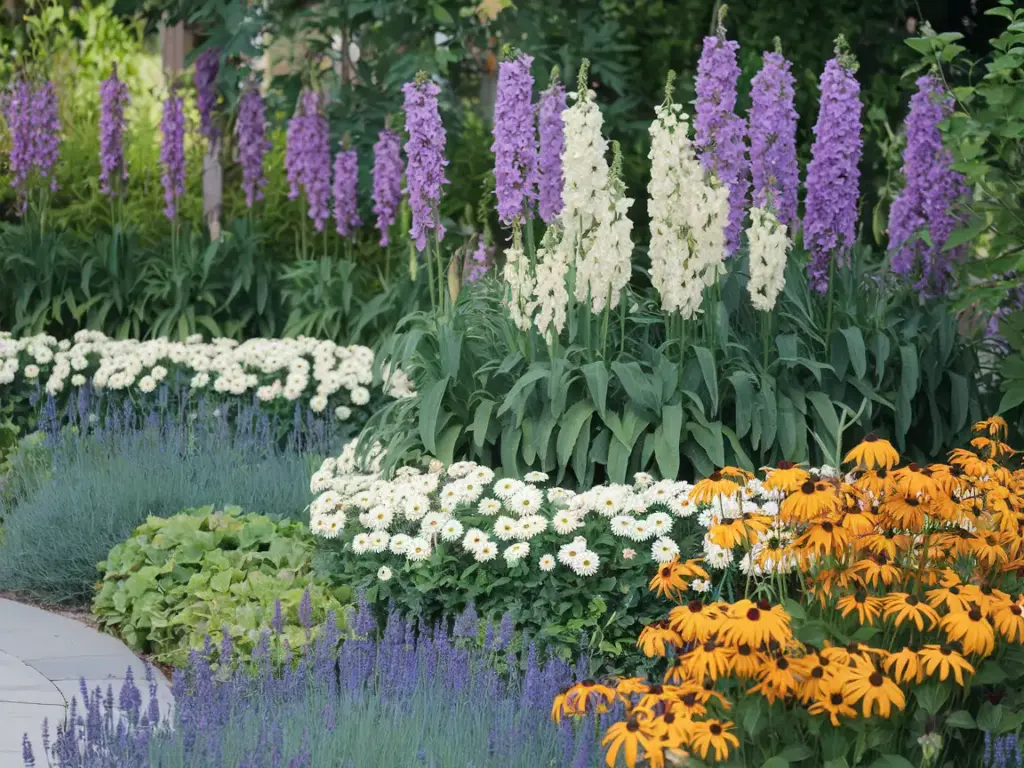
Layered planting is hands-down the most transformative technique I’ve discovered. Think of your garden like a theater stage – you need performers at different heights to create drama! I always start with the tall background plants (my go-to is usually Delphinium or ornamental grasses) at the back, then work my way forward with medium-height plants in the middle, and finally, edge-worthy ground covers in the front.
One mistake I see beginners make all the time is not leaving enough space between layers. Trust me on this – plants grow! I learned this the hard way when my Black-Eyed Susans completely swallowed up my precious lavender border. Now I always follow the rule of 18 inches between layers.
Creating Show-Stopping Focal Points
Every garden needs that wow factor – a feature that makes people stop in their tracks. My absolute favorite focal point trick is using architectural plants like Angelica gigas or Japanese Maples. Position these statement pieces about one-third of the way into your garden bed (hello, rule of thirds!).
I remember installing a stunning copper water feature in a client’s garden, and while it looked amazing, we hadn’t considered the viewing angles from their kitchen window. Big lesson learned! Now I always ask my clients to look out their windows before finalizing focal point placement.
Pathways That Pull You In
Here’s a secret that transformed my designs: curved pathways are like magic tricks for your garden! They create mystery and make even small spaces feel larger. I use the S-curve technique – gentle curves that lead the eye naturally through the space.
Pro tip: Make your paths at least 4 feet wide. I once designed a narrow path that looked charming but was practically unusable when plants matured. Functionality should never be sacrificed for aesthetics.
The Power of Repetition
Plant repetition is like the chorus in your favorite song – it brings everything together. I typically repeat plants in groups of 3 or 5 throughout the garden. My favorite combination is using Russian Sage, Echinacea, and Sedum as recurring elements.
The key is not to overdo it. I once repeated the same plant twelve times in a small garden, and it looked more like a nursery than a designed space! Three repetitions is usually the sweet spot.
Working with the Rule of Thirds
The rule of thirds isn’t just for photographers! Divide your garden mentally into a 3×3 grid, and place key elements where the lines intersect. This simple trick has helped me create more balanced and professional-looking gardens every single time.
Ready to take your garden design to the next level? In the next section, we’ll dive into “Practical Design Solutions” where I’ll share my tried-and-true tips for managing tricky sun patterns and solving common space challenges. Click the next button below to discover how to tackle those challenging garden situations that every gardener faces!


GIPHY App Key not set. Please check settings